
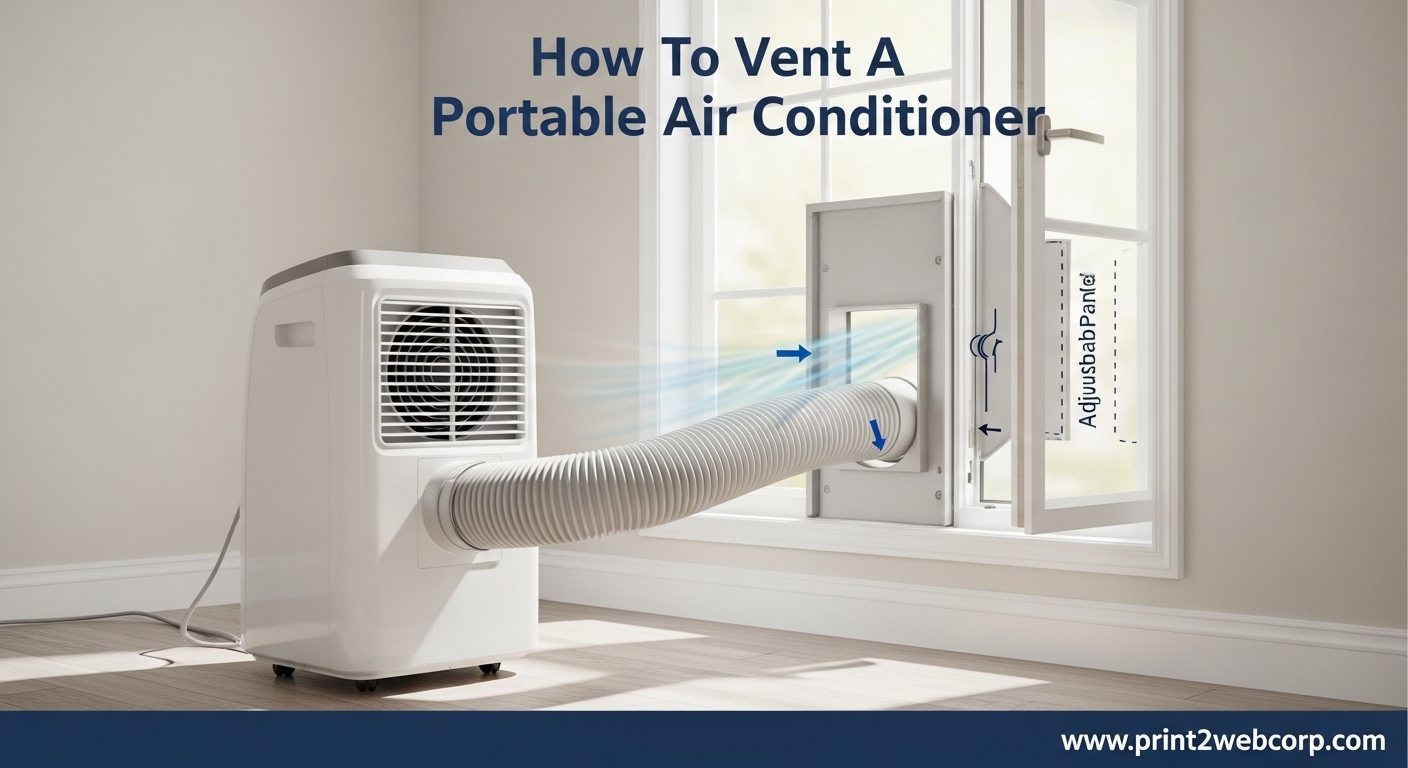
Living in a windowless room doesn’t mean you’re stuck sweltering through summer heat. I’ve helped countless renters, basement apartment dwellers, and office workers figure out how to vent a portable air conditioner without a window. The good news is you have several viable options depending on your living situation and how much modification you’re allowed to make.
Portable air conditioners are fantastic cooling solutions, but they all share one non-negotiable requirement: the hot air extracted from your room must go somewhere. Without proper venting, your unit will simply circulate warm air while working harder and costing more to run. Let me walk you through every practical method I’ve tested and seen work in real-world situations.
Why Venting Your Portable AC Is Essential
Before diving into specific methods, it’s important to understand what’s actually happening inside your portable AC. These units work by pulling warm room air over cold evaporator coils, which absorb the heat and moisture. The cooled air gets blown back into your space, while the extracted heat must be expelled outside through an exhaust hose.
Never vent your portable AC into an enclosed space like a closet, attic without proper ventilation, or another room. The heat will simply find its way back, and you’ll create a dangerous situation with potential moisture buildup and mold growth. I’ve seen the damage this causes firsthand.
Single-hose portable ACs create a slight negative pressure in your room by expelling conditioned air outside. This pulls hot air from adjacent spaces through cracks and gaps. Dual-hose units solve this problem by drawing intake air from outside, but they’re less common and often more expensive. Keep this in mind when evaluating your cooling efficiency.
Proper venting also handles the condensation your unit produces. Most portable ACs extract several gallons of water per day from humid air. This water either needs to drain manually or be evaporated out through the exhaust hose. Poor venting can lead to water pooling around your unit or dripping onto surfaces below.
Method 1: Vent Through a Wall
Venting through an exterior wall is the most permanent and efficient solution for how to vent a portable air conditioner without a window. This method requires cutting a hole but provides the cleanest installation and best cooling performance. I recommend this primarily for homeowners or those with landlord permission.
Step-by-Step Wall Vent Installation:
Step 1: Choose an exterior wall location with clear access on both sides. Avoid areas with electrical wiring, plumbing, or structural elements. Use a stud finder to map out the wall before cutting anything.
Step 2: Purchase a wall vent kit designed for portable AC units. These typically include a 4-5 inch diameter vent sleeve, exterior grill, and mounting hardware. The hole size will match your exhaust hose diameter (usually 5 inches for most units).
Step 3: Cut the hole using a hole saw appropriate for your wall material (drywall, wood, siding, or brick). For brick or concrete walls, you may need a masonry bit and hammer drill. If you’re uncomfortable with this step, hire a professional—it’s worth the $100-200 to avoid costly mistakes.
Step 4: Install the vent sleeve according to the kit instructions. Apply caulk around the exterior to prevent water infiltration and air leaks. Ensure the vent angles slightly downward to prevent rain from entering.
Step 5: Connect your exhaust hose to the interior vent and secure it with the provided clamps. Test the fit to ensure there are no air gaps.
Pros: Maximum cooling efficiency, permanent installation, clean appearance, no impact on room functionality.
Cons: Requires permanent modification, may need professional installation, not renter-friendly, potential approval needed from building management.
Method 2: Vent Through a Door
Venting through a door is my top recommendation for renters and anyone who can’t make permanent modifications. This method uses a door vent kit or a DIY panel to route the exhaust hose outside while keeping the door mostly functional. I’ve used this setup in three different apartments with excellent results.
Door Vent Installation Options:
Purchased Door Vent Kit: These specialized kits include a plexiglass or acrylic panel that fits into your door frame, with a pre-cut hole for the exhaust hose. Some models are adjustable to fit different door widths. Installation typically takes 10-15 minutes and requires no tools.
DIY Foam Board Panel: For a budget-friendly solution, cut a piece of rigid foam board or insulation board to fit your door frame. Cut a hole matching your exhaust hose diameter, then slide the panel into the door jamb. Use weatherstripping around the edges to seal gaps. This costs about $15-20 in materials.
Slider Panel Installation: For sliding doors or French doors, install a panel in the track system similar to a window kit. Measure your door’s track width and cut plexiglass or polycarbonate to fit. Create a hole for the hose and seal the edges with foam tape.
Important: The door will need to remain mostly closed to maintain the seal. You can still use the door for entry and exit by removing the panel temporarily, but this interrupts your cooling. For doors you use frequently, consider a different method.
Pros: Completely reversible, no permanent modifications, renter-friendly, inexpensive DIY option possible, quick installation.
Cons: Door must remain closed while cooling, slightly less efficient than wall venting, visible panel in doorway.
Method 3: Vent Into a Drop Ceiling
Drop ceiling venting is an excellent solution for offices, server rooms, and commercial spaces with suspended ceilings. This method hides the exhaust hose above the ceiling tiles while routing hot air into the plenum space above. I’ve seen this work exceptionally well in windowless interior offices.
Drop Ceiling Installation Steps:
Step 1: Locate a ceiling tile near your AC unit with adequate plenum space above. Ensure the space above the drop ceiling is ventilated to the exterior or has adequate airflow to prevent heat buildup.
Step 2: Purchase a ceiling tile vent kit or create your own by cutting a hole in a replacement ceiling tile. Commercial kits include a flush-mount vent that blends with the ceiling tiles.
Step 3: Route your exhaust hose upward through the hole. Use zip ties or mounting brackets to secure the hose to ceiling joists or support structures. This prevents the hose from sagging and restricting airflow.
Step 4: Ensure adequate ventilation in the plenum space. The hot air needs somewhere to go. If the plenum is sealed, you’ll need to install additional exhaust fans or vents to move the air outside.
Important Warning: Some building codes restrict venting into plenum spaces due to fire safety and air quality concerns. Always check with your building manager or facilities department before installing this type of system. Fire dampers may be required.
Pros: Hidden installation, professional appearance, works well in commercial settings, no exterior modifications needed.
Cons: Only works with drop ceilings, building code restrictions may apply, requires plenum ventilation, not suitable for residential settings.
Method 4: Vent Through a Dryer Vent
If your home has an existing dryer vent on an exterior wall, you can temporarily use it for your portable AC exhaust. This clever solution repurposes existing infrastructure without creating new holes. I recommend this for short-term cooling needs or as a backup option.
Dryer Vent Adapter Installation:
Step 1: Purchase a dryer vent adapter kit designed for portable AC units. These typically cost $25-40 and include a coupler that fits over your existing dryer vent exterior opening.
Step 2: Disconnect your dryer vent hose from the exterior vent cap (if temporarily repurposing the vent entirely) or install a Y-adapter that allows both appliances to connect. The Y-adapter is more convenient but costs more.
Step 3: Connect your AC exhaust hose to the adapter using the provided clamps. Ensure a tight seal to prevent hot air from leaking back into your laundry area.
Step 4: Critical safety warning: Never run your dryer and portable AC simultaneously using the same vent. The lint from your dryer can clog the AC unit, and the backpressure from both appliances running can cause overheating or fire hazards.
Practical Consideration: This method works best when you primarily use your dryer at night and the AC during the day. You’ll need to switch the connection each time, which takes about 2-3 minutes once you’re practiced.
Pros: Uses existing opening, no new holes needed, inexpensive adapter cost, reversible setup.
Cons: Can’t use dryer and AC simultaneously, requires switching connections, only works if dryer vent is conveniently located, potential lint issues.
Method 5: Vent Through a Chimney
If you have a non-functioning fireplace or unused chimney, you can vent your portable AC through the chimney opening. This method takes advantage of existing vertical ventilation pathways in your home. It’s less common but can work well in specific situations.
Chimney Venting Approach:
Step 1: Verify that your chimney is completely unused and will not be used during the cooling season. Gas fireplaces, wood-burning stoves, and any active heating equipment connected to the chimney make this method unsafe.
Step 2: Clean the chimney thoroughly to remove any soot, debris, or creosote buildup. This prevents contaminants from being drawn back into your home and reduces fire risk.
Step 3: Install a vent plate or chimney cap with an exhaust port. Some homeowners fabricate a plate from sheet metal that fits over the fireplace opening, with a hole for the exhaust hose. Professional installation is recommended for this step.
Step 4: Route your exhaust hose into the chimney opening. The natural draft of the chimney will help pull the hot air upward and out. Ensure the connection is sealed to prevent hot air from leaking back into the room.
Important Considerations: This method works best with chimneys that are in good condition with adequate draft. Older chimneys or those with structural issues may not provide proper airflow. Have your chimney inspected before attempting this installation.
Pros: Uses existing structure, hidden installation, natural draft assists exhaust, no new holes required.
Cons: Only works with unused chimneys, potential soot and odor issues, requires chimney inspection, not suitable for all homes.
Method 6: Vent Into an Attic
Venting into an attic is a viable option for upstairs rooms with attic access. This method cuts a vent hole in your ceiling and routes the exhaust hose into the attic space. I’ve seen this work in bonus rooms, converted attics, and second-story bedrooms.
Attic Vent Installation:
Step 1: Locate an area in your ceiling with adequate attic access and clearance. Use a stud finder to avoid ceiling joists. Plan the location carefully to minimize visible hose length.
Step 2: Cut a hole in your ceiling matching your exhaust hose diameter. Install a ceiling vent boot or register to create a clean opening. These typically cost $15-25 at home improvement stores.
Step 3: Route your exhaust hose through the ceiling vent. Secure the hose in the attic space using straps or brackets to prevent sagging. Ensure the hose terminates in an area with adequate airflow.
Step 4: Critical moisture warning: Attics can trap moisture, leading to mold growth and structural damage. Ensure your attic has adequate ventilation (soffit vents, ridge vents, or gable vents) to exhaust the hot air and moisture. Consider installing a small attic fan to improve airflow.
Building Code Alert: Some municipalities prohibit venting air conditioners into attics due to moisture and insulation concerns. Check local building codes before proceeding. This method may also affect your home’s energy efficiency by adding heat to the attic space.
Pros: Hidden installation, works for upstairs rooms, minimal exterior modifications.
Cons: Adds heat and moisture to attic, potential building code issues, may reduce insulation effectiveness, requires good attic ventilation.
Important Considerations for Venting Without a Window
Choosing the right venting method depends on your specific situation. Here are the key factors I consider when helping people decide on the best approach for their space.
Hose Length and Efficiency
Exhaust hose length dramatically affects your portable AC’s performance. Every foot of hose beyond the manufacturer’s recommended length reduces efficiency by approximately 5-10%. Most portable ACs come with 4-7 feet of hose, and extending beyond 9-10 feet can cause significant cooling loss.
If you must use a longer hose, consider upgrading to a dual-hose unit or choosing a venting method closer to your AC. The resistance in longer hoses makes the compressor work harder, increasing energy consumption and reducing lifespan. I’ve seen units lose 30-40% of their cooling capacity with hoses over 12 feet.
Single-Hose vs Dual-Hose Units
For windowless applications, dual-hose portable ACs perform significantly better. Single-hose units create negative pressure by expelling indoor air, which pulls hot air from adjacent spaces through gaps and under doors. Dual-hose units draw intake air from outside, maintaining neutral pressure and improving efficiency by 20-30%.
If you’re using a single-hose unit in a windowless room, keep interior doors open slightly to reduce pressure differentials. This simple adjustment can improve cooling performance noticeably.
Condensation Management
All portable ACs produce water as they dehumidify the air. Units with self-evaporation systems exhaust most moisture through the hose, but in humid conditions, you may still need to drain water manually. Plan for drainage access when choosing your venting method.
Some units include a drainage hose that can be routed to a floor drain, sink, or out a window. In windowless setups, you may need to empty a condensate tank periodically. High-humidity environments can produce 2-3 gallons of water per day.
Renter-Friendly vs Permanent Solutions
If you rent your home, prioritize non-permanent venting methods like door panels or portable vent kits. Always get written permission before making any modifications, even seemingly minor ones. Many landlords approve door vent kits or removable panels but prohibit wall penetrations.
Document the original condition of your space before installing any venting system. Take photos and save them. This protects your security deposit and ensures you can restore the space when moving out.
Building Code and Safety Considerations
Some venting methods may violate local building codes or fire regulations. Attic venting and plenum ceiling installations are particularly regulated. Always check with your local building department or a licensed HVAC contractor if you’re unsure about code compliance.
Fire safety is paramount. Never vent near flammable materials, electrical wiring, or gas lines. Ensure all vent installations maintain proper fire ratings for walls and ceilings. When in doubt, consult a professional—safety is worth the investment.
Frequently Asked Questions
Can I use a portable air conditioner in a room without window access?
Yes, you can use a portable AC in a windowless room by venting through alternative exits including walls, doors, drop ceilings, dryer vents, chimneys, or attics. The key requirement is expelling hot air to the outside or a well-ventilated space, not specifically using a window. Choose a venting method based on your room’s configuration, whether you rent or own, and what modifications are permitted.
Can I vent a portable AC through the floor?
Venting through the floor is generally not recommended unless you have a basement or crawlspace with exterior access. Floor venting requires cutting through flooring and subfloor, which creates structural and moisture concerns. The exhaust hose would need to extend through the floor to an exterior vent, which is complex and may violate building codes. Wall or ceiling venting options are typically safer and more effective.
Can you vent portable AC into a drop ceiling?
Yes, drop ceiling venting works well in offices and commercial spaces with suspended ceilings. Install a ceiling tile vent kit and route the exhaust hose into the plenum space above. Ensure the plenum has adequate ventilation to move the hot air outside. Check building codes first, as some jurisdictions restrict venting into plenum spaces due to fire safety and air quality regulations.
Can I vent a portable AC into a bucket?
No, you cannot vent a portable AC into a bucket or container. The exhaust hose expels hot air, not water. Venting into an enclosed container would cause hot air to back up into the room, eliminate all cooling effect, and could damage the unit. The heat must go somewhere outdoors or into a large, well-ventilated space. For water drainage (not venting), some units can drain into a bucket or floor drain.
What happens if you don’t vent a portable air conditioner?
Without proper venting, a portable AC will completely fail to cool your room. The hot air extracted from your space will simply circulate back, and the unit will work harder while producing zero net cooling. In extreme cases, the compressor may overheat and fail. Additionally, without venting, moisture from dehumidification has nowhere to go, leading to water pooling, potential water damage, and mold growth around the unit.
Do all portable air conditioners need venting?
Yes, all true portable air conditioners require venting to function. Portable ACs work by extracting heat from your room and expelling it elsewhere through an exhaust hose. This heat must go outside or into a different space. The exception is evaporative coolers (swamp coolers), which are different from portable air conditioners and don’t require venting. If a product claims to be a ventless portable AC, it’s either an evaporative cooler or the claim is misleading.
Conclusion
Learning how to vent a portable air conditioner without a window opens up cooling possibilities for any space. Whether you’re dealing with a basement apartment, windowless office, or any room without traditional window access, there’s a venting solution that will work for your situation.
For renters and temporary situations, door vent kits provide the perfect balance of effectiveness and reversibility. Homeowners looking for a permanent solution should consider wall venting for maximum efficiency. Commercial spaces often benefit from drop ceiling installations, while homes with existing infrastructure can repurpose dryer vents or unused chimneys.
The key is choosing the method that matches your living situation, modification permissions, and cooling needs. Always prioritize safety by following building codes, never venting into enclosed spaces, and ensuring adequate moisture management. With the right venting setup, your portable AC will keep you comfortable regardless of your room’s window situation.
Leave a Reply