
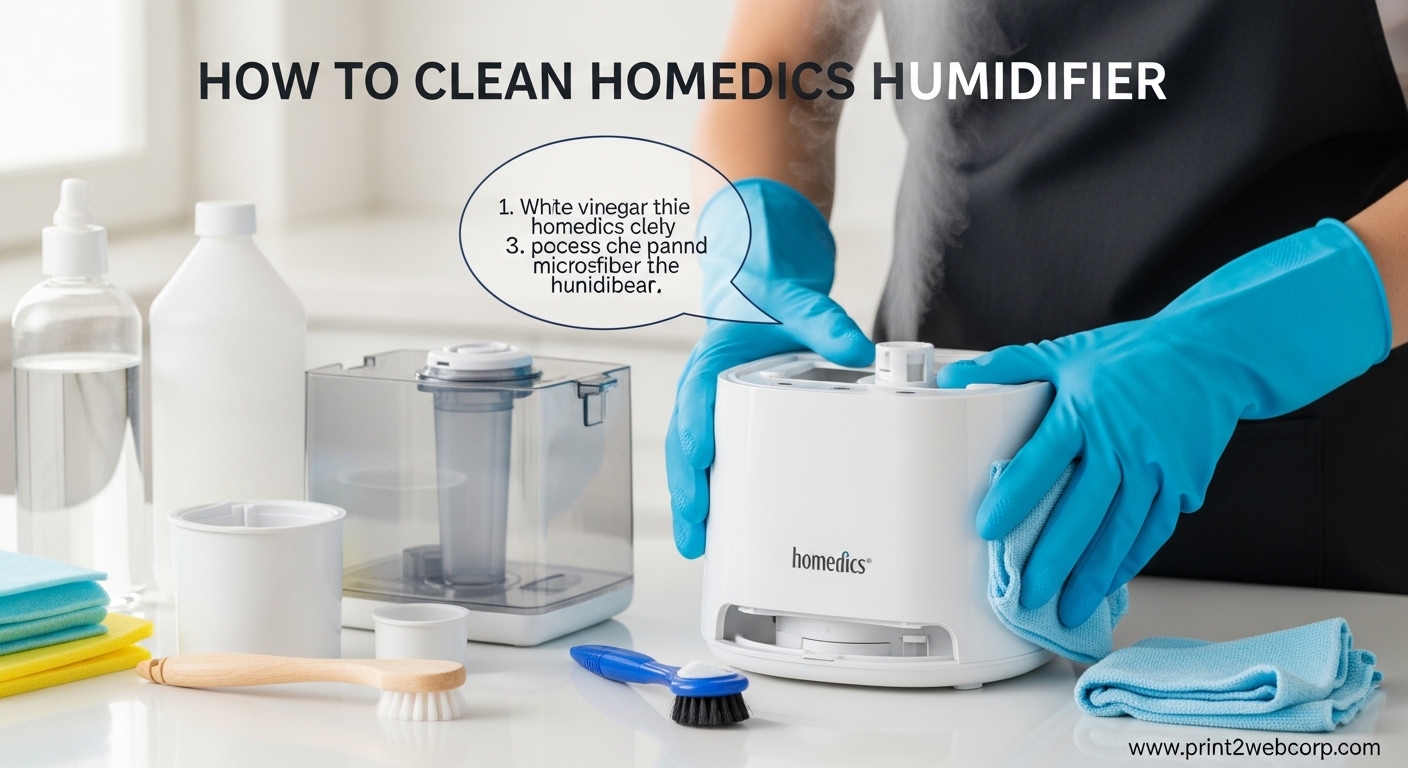
Living with dry air can make every breath feel like a struggle. That’s why I bought my Homedics humidifier, and I’m guessing you did too. But here’s what most people don’t realize until it’s too late: a dirty humidifier can be worse than no humidifier at all. Learning how to clean Homedics humidifier properly isn’t just about maintenance, it’s about protecting your family’s health.
After using Homedics humidifiers for over five years across multiple models, I’ve learned the exact cleaning routine that keeps them running flawlessly. The TotalComfort Ultrasonic models are fantastic, but they require regular attention to prevent the dreaded pink bacteria and white dust issues that plague so many users.
This guide covers everything you need to know about Homedics humidifier cleaning, from the simple weekly routine to deep cleaning for stubborn mineral buildup. I’ll walk you through resetting that annoying clean indicator light and share the exact 50/50 vinegar solution ratio that Homedics recommends.
Why Regular Humidifier Cleaning Is Essential
Let me be blunt about what happens when you skip cleaning. The warm, moist environment inside your humidifier is a perfect breeding ground for bacteria and mold. I’ve seen the pink slime that can develop in neglected tanks, and it’s not just gross, it’s a serious health hazard.
Dirty humidifiers can actually make you sick. The mist they release carries whatever is growing in the water tank directly into the air you breathe. This is especially concerning for anyone with asthma, allergies, or respiratory conditions. Even healthy individuals can experience coughing, congestion, and flu-like symptoms from a contaminated unit.
Beyond health concerns, mineral buildup from hard water will gradually destroy your humidifier’s performance. The transducer that creates the mist gets coated with scale, reducing output and eventually failing completely. I’ve replaced enough failed units to know that regular cleaning is far cheaper than buying a new humidifier every year.
What You’ll Need for Cleaning
Before diving into the cleaning process, gather these supplies. Having everything ready makes the job faster and ensures you won’t skip steps because you’re missing something basic.
Essential supplies:
White vinegar is your best friend here. It cuts through mineral deposits and kills bacteria without harsh chemicals. You’ll need enough for a 50/50 mix with water, usually about 2-4 cups depending on your model’s tank size.
A soft-bristle brush or non-abrasive sponge is crucial. Avoid steel wool or abrasive pads that can scratch the plastic and create more surface area for bacteria to cling to. I use a dedicated baby bottle brush that reaches all the corners.
Cotton swabs are non-negotiable for cleaning the transducer and other tight spaces. The transducer is the heart of your ultrasonic humidifier, and it deserves careful attention. I also keep some clean microfiber cloths for drying.
Optional but helpful items include hydrogen peroxide for tough bacteria problems and distilled white vinegar for the final rinse if you have especially hard water. Some users swear by denture cleaning tablets, but I’ll cover that later.
How to Clean Homedics Humidifier: Weekly Routine
This is the core cleaning routine that should happen every week, or at minimum every two weeks. I’ve learned from experience that stretching it beyond two weeks invites problems that take much longer to fix.
Step 1: Unplug and Disassemble
Safety first. Always unplug your humidifier before cleaning. Water and electricity don’t mix, and even though most Homedics models have safety features, there’s no reason to risk it. Remove the water tank and set it aside. If your model has a removable water tank cap, take that off too.
Step 2: Empty and Rinse the Tank
Pour out any remaining water. Don’t save it, even if it looks clean. Bacteria are microscopic, and clear water can still be contaminated. Rinse the tank thoroughly with fresh water to remove loose debris and sediment.
Step 3: Prepare the Cleaning Solution
Mix equal parts white vinegar and water to create your 50/50 cleaning solution. For most Homedics models, 2 cups of each will be sufficient. The vinegar’s acidity will dissolve mineral deposits and kill bacteria, mold, and mildew.
Step 4: Soak the Tank
Pour the vinegar solution into the water tank and swish it around to coat all surfaces. Let it soak for at least 20-30 minutes. If you have significant mineral buildup or notice any slime, extend the soaking time to an hour. The longer soak gives the vinegar time to work on stubborn deposits.
Step 5: Clean the Base
While the tank soaks, turn your attention to the base unit. Wipe down the exterior with a damp cloth. For the water reservoir, use the vinegar solution and your soft brush to gently scrub away any mineral deposits or film. Pay special attention to corners and crevices where buildup likes to hide.
Step 6: Clean the Transducer
This is the most critical step and requires special care. The transducer is usually a small metal disc in the center of the water reservoir. Use a cotton swab dipped in vinegar solution to gently clean it. Never touch the transducer with your bare fingers – oils from your skin can damage it.
If the transducer has heavy mineral deposits, use a soft brush or more cotton swabs. Be patient and gentle. Some users recommend hydrogen peroxide for stubborn transducer cleaning, but vinegar works well for regular maintenance.
Step 7: Rinse Everything Thoroughly
After soaking, empty the vinegar solution and rinse the tank multiple times with clean water. I usually do at least three rinses to ensure no vinegar smell remains. Rinse the base reservoir similarly until the water runs clear and you can’t smell any vinegar.
Step 8: Dry Completely
This step is often skipped but absolutely essential. Use clean towels or let all parts air dry completely before reassembling. Moisture trapped in corners or the transducer area is a recipe for bacterial growth. I usually let everything dry for at least an hour, often overnight if I have time.
Deep Cleaning for Hard Water Deposits
Even with weekly cleaning, hard water can gradually build up stubborn deposits that regular vinegar soaking won’t remove. If you notice white crusty buildup or reduced mist output, it’s time for a deep cleaning session.
Signs you need deep cleaning include visible white scale, reduced mist output even with a full tank, or the clean indicator light coming on more frequently. I’ve found that doing a deep clean every 2-3 months prevents most problems in areas with hard water.
For severe mineral buildup, create a stronger cleaning solution using pure vinegar instead of the 50/50 mix. Soak affected parts for several hours or even overnight. The extended time allows the vinegar to really penetrate and dissolve tough deposits.
For the nebulizer tube (if your model has one), use a pipe cleaner or flexible brush to reach inside. Some users have success with denture cleaning tablets dropped into the tank – the effervescent action helps dislodge buildup in hard-to-reach areas.
If you’re dealing with pink mold or bacteria, hydrogen peroxide can be more effective than vinegar alone. Spray or wipe affected areas with 3% hydrogen peroxide, let sit for 10 minutes, then rinse thoroughly. This is especially useful for the stubborn pink bacteria that sometimes develops in neglected units.
For really stubborn deposits that won’t budge, you can use a commercial descaling solution designed for humidifiers. Follow the product instructions carefully, and always rinse extremely well afterward to remove any chemical residue.
How to Reset the Clean Indicator Light
Most modern Homedics humidifiers feature a clean indicator light that reminds you when cleaning is due. This is a helpful feature, but the light can be frustrating when it won’t turn off after you’ve cleaned the unit.
The clean light typically illuminates after about 2 weeks of use, based on the manufacturer’s recommended cleaning interval. It’s not actually detecting dirt – it’s just a timer. That’s why it needs to be manually reset after each cleaning.
To reset the clean indicator:
With the humidifier unplugged, locate the reset button. On most Homedics models, it’s a small button near the power button, sometimes labeled “Reset” or marked with a drop symbol. Press and hold this button for 3-5 seconds while plugging the unit back in.
On some models, you need to hold the button while pressing the power button. The light should flash and then turn off, indicating the reset was successful. If it doesn’t work the first time, try unplugging and repeating the process.
If the clean light won’t reset, try these troubleshooting steps: make sure the unit is completely dry before resetting, check that you’re holding the button long enough, and verify the humidifier is actually powered on. Some users find that leaving it unplugged for 10 minutes before attempting the reset helps.
Remember that the clean indicator is just a reminder. If you clean your humidifier on a regular schedule (like every Sunday), you don’t need to wait for the light. Developing a routine is more reliable than relying on the indicator.
Common Problems and Solutions
Even with regular cleaning, issues can arise. Based on my experience and community feedback, here are the most common problems Homedics humidifier users face and how to solve them.
Pink Mold or Bacteria
This is perhaps the most alarming issue for new humidifier owners. The pink or orange slime that can develop in the tank is actually a bacteria (Serratia marcescens) that thrives in moist environments. It’s not technically mold, but it’s still unpleasant and potentially harmful.
To remove pink bacteria, clean the tank thoroughly with a vinegar solution as described above. For stubborn cases, use hydrogen peroxide or a diluted bleach solution (1 teaspoon bleach per gallon of water). Rinse extremely well if using bleach – I mean multiple rinses until you can’t detect any bleach smell.
Prevention is key here. Using distilled water instead of tap water dramatically reduces bacterial growth. Daily rinsing and allowing the tank to dry completely between uses also helps. I’ve found that keeping the humidifier in a cooler area slows bacterial development.
Bad Smells
If your humidifier smells musty or like dirty socks, it’s definitely time for a cleaning. Bacteria and mold are likely growing somewhere in the unit. The full cleaning routine should eliminate most odors.
For persistent smells after cleaning, try leaving the vinegar solution in the tank overnight. The stronger concentration and longer time can eliminate odor-causing bacteria that regular cleaning misses. Some users add a few drops of essential oil to the water tank, but I recommend against this – oils can damage the transducer and create a film that traps bacteria.
White Dust
That fine white powder settling on everything near your humidifier? That’s mineral dust from hard water. The ultrasonic process vaporizes water along with dissolved minerals, which then settle as dust when the water evaporates.
The solution is simple: use distilled water instead of tap water. Distilled water has had minerals removed, so it won’t produce white dust. It costs more but saves you from constantly dusting and protects your furniture and electronics.
If distilled water isn’t an option, consider a demineralization cartridge if your model supports it. These cartridges filter minerals from the water before it reaches the transducer. They need regular replacement but are cheaper than buying distilled water in the long run.
Reduced Mist Output
If your humidifier isn’t putting out as much mist as it used to, mineral buildup on the transducer is the likely culprit. The transducer vibrates at ultrasonic frequencies to create mist, and scale accumulation dampens these vibrations.
Clean the transducer thoroughly with vinegar solution and cotton swabs as described in the weekly cleaning section. Be gentle but thorough – you need to remove all the scale without damaging the delicate transducer surface. If cleaning doesn’t restore output, the transducer may be failing and need replacement.
Also check that the water level is sufficient and that the cap is properly sealed. Air leaks can reduce mist output. On some models, a clogged nebulizer can also cause reduced output – clean it with a pipe cleaner or flexible brush.
Daily Maintenance Tips
While weekly deep cleaning is essential, small daily habits can dramatically reduce the frequency and intensity of needed cleanings. These simple practices take just a minute but add up to significant time savings and better humidifier performance.
First, develop a habit of emptying unused water daily. Stagnant water, especially at room temperature, is a bacterial breeding ground. I empty my tank every morning and refill with fresh water. It takes 30 seconds and prevents most bacterial growth issues.
Second, position your humidifier thoughtfully. Keep it elevated on a waterproof surface, not directly on carpet or wood. This protects both your flooring and the humidifier base. Ensure good airflow around the unit – placing it in a corner or against a wall can reduce efficiency and promote moisture buildup.
When not in use for extended periods, clean and dry all parts thoroughly before storage. Store in a cool, dry place with the tank cap removed to allow air circulation. I learned this the hard way after finding a mold surprise when unpacking a humidifier after summer storage.
The distilled water versus tap water debate is worth addressing. Distilled water is superior for preventing mineral buildup and white dust. It’s more expensive, but consider it an investment in both your humidifier’s longevity and your air quality. If you must use tap water, weekly cleaning becomes non-negotiable, and plan for more frequent descaling.
Finally, pay attention to replacement parts. Most Homedics humidifiers have replaceable components like filters, wicks, or demineralization cartridges. Mark your calendar for regular replacements – these parts lose effectiveness over time and can harbor bacteria if not changed regularly.
When to Replace Versus Clean
Even with impeccable maintenance, humidifiers don’t last forever. Knowing when to replace parts or the entire unit saves money and ensures you’re always breathing clean, healthy mist.
The transducer typically lasts 2-3 years with proper care. If cleaning doesn’t restore mist output, or if you notice cracks or physical damage, the transducer may need replacement. On some models, the transducer can be replaced; on others, it means replacing the entire unit.
Water tanks should be replaced if they develop cracks, leaks, or deep scratches that can harbor bacteria. Cloudiness that doesn’t clear with cleaning also indicates it’s time for a new tank. Most manufacturers sell replacement tanks separately.
If your humidifier is more than 3-4 years old and requiring increasingly frequent cleaning, replacement might be more economical than continued maintenance. Technology improves, and newer models often clean more easily and operate more efficiently.
Frequently Asked Questions
How do you clean a HoMedics humidifier?
Clean your HoMedics humidifier weekly using a 50/50 white vinegar and water solution. Disassemble the unit, soak the tank for 20-30 minutes, clean the base and transducer with a soft brush and cotton swabs, then rinse thoroughly and air dry completely before reassembling.
Can I put vinegar in my HoMedics humidifier?
Yes, white vinegar is the recommended cleaning solution for HoMedics humidifiers. Use a 50/50 mix of white vinegar and water for regular cleaning. Never run vinegar through the humidifier during operation – only use it for soaking and cleaning when the unit is turned off and unplugged.
What kills bacteria in a humidifier?
White vinegar effectively kills most bacteria and mold when used as a 50/50 solution with water. For stubborn bacteria like pink mold, hydrogen peroxide (3%) or a diluted bleach solution (1 teaspoon per gallon of water) can be used. Always rinse thoroughly after using any cleaning solution to remove residue before running the humidifier.
Can I use Dawn to clean my humidifier?
Dish soap like Dawn can be used for basic cleaning of the water tank and exterior, but it’s not effective against mineral buildup or bacteria. For thorough cleaning, use white vinegar. If you do use dish soap, rinse extremely well to remove all soap residue before running the humidifier.
How often should I clean my humidifier?
Clean your HoMedics humidifier at least every 2 weeks, though weekly cleaning is ideal. Daily emptying and rinsing of unused water helps prevent bacterial growth between cleanings. Deep cleaning for mineral deposits may be needed every 2-3 months if you use tap water instead of distilled water.
Conclusion
Learning how to clean Homedics humidifier properly is one of the most important maintenance tasks you’ll undertake as a humidifier owner. The weekly routine I’ve outlined takes about 30 minutes from start to finish and prevents most common problems before they begin.
Remember the 50/50 vinegar solution ratio, never touch the transducer with bare fingers, and always let parts dry completely before reassembling. These three rules alone will prevent 90% of humidifier issues. Add daily water refreshing and monthly deep cleaning for hard water areas, and your Homedics humidifier will provide years of reliable service.
Your health is worth the 30 minutes a week this routine requires. Clean humidifier mist soothes dry skin, eases congestion, and helps you sleep better. Dirty humidifier mist does the exact opposite, potentially causing respiratory problems and spreading bacteria throughout your home.
Set a recurring reminder in your phone for the same day each week. I do mine every Sunday morning while the coffee brews. Consistency is easier than motivation, and your future self will thank you for establishing this simple but essential habit.
Leave a Reply