
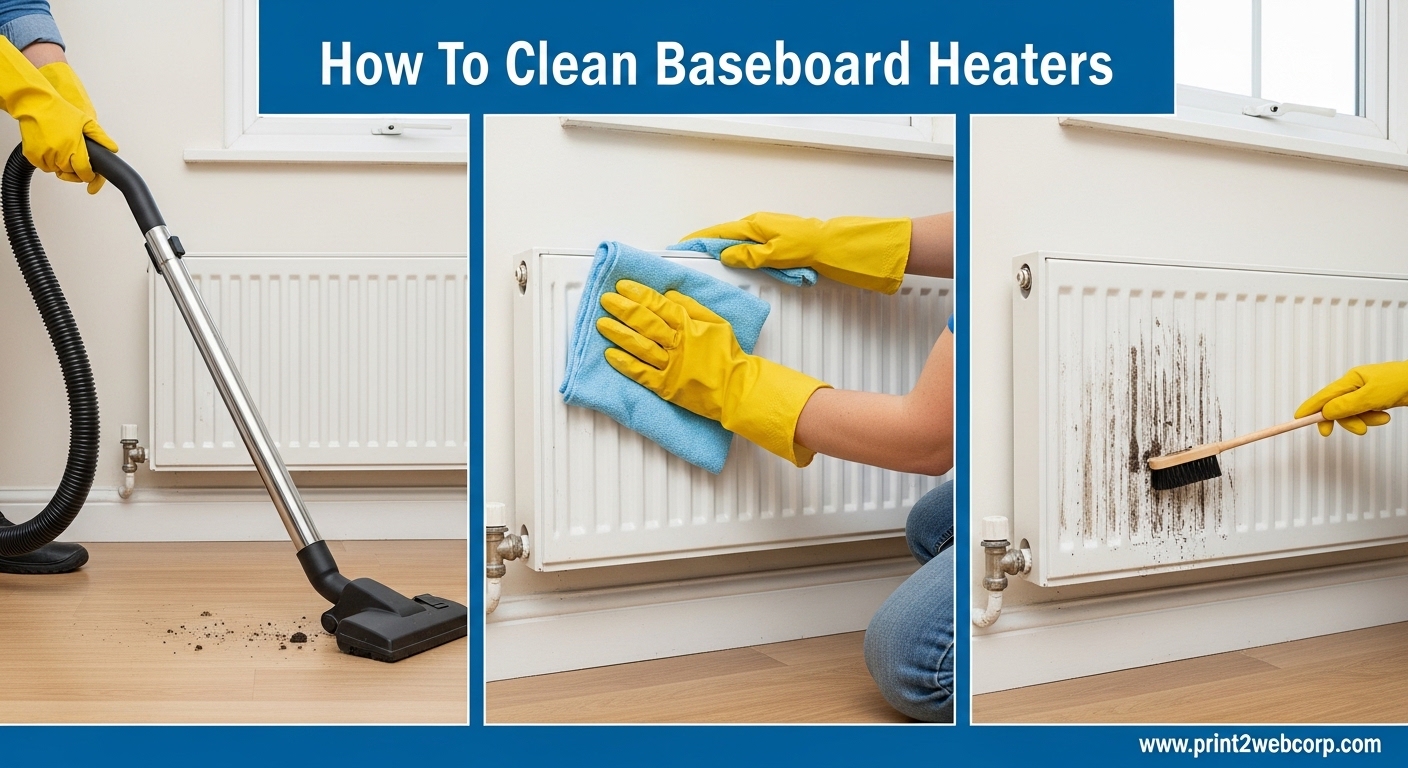
Our team has spent years helping homeowners keep their heating systems running efficiently. We have seen how neglected baseboard heaters accumulate dust, pet hair, and debris that directly impacts both air quality and heating bills. If you have been putting off cleaning your baseboard heaters, this guide will walk you through exactly how to clean baseboard heaters the right way.
A dirty baseboard heater can cause your system to work up to 20% harder, which means higher energy bills and less warmth in your home. Regular maintenance of your baseboard heating system ensures you get the BTU output you are paying for and breathing cleaner air throughout the heating season.
In this guide, you will learn what tools you need, the exact step-by-step process we use, how to handle both electric and hydronic systems, and how often you should be cleaning based on your household conditions.
What You Need: Tools for Cleaning Baseboard Heaters
Having the right tools makes this job significantly easier. Our team has tested multiple approaches, and we recommend gathering everything before you start. Here is what works best for cleaning baseboard heater fins and surrounding areas.
A vacuum with a hose attachment is essential. Look for one with strong suction and a crevice tool that can reach into tight spaces between the fins. A shop vacuum works well for this, but any vacuum with adequate suction will do.
A long-handled brush with soft bristles specifically designed for heating fins helps you scrub away stuck-on dust without bending the delicate metal. These brushes have long shafts that let you clean deep between the fins without straining.
Microfiber cloths are perfect for wiping down the exterior covers and any smooth surfaces. They trap dust effectively and can be used dry or slightly dampened with water.
A fin comb tool is invaluable if your baseboard heater fins have become bent or crushed over time. This small tool has teeth that fit between the fins to straighten them back to their original position, restoring proper airflow.
Safety gloves protect your hands from sharp edges and allow you to grip tools firmly while working in tight spaces. We also recommend having a bucket or large bag nearby for collecting debris as you work.
Safety First: Preparing to Clean
Before you touch your baseboard heating system, you need to take proper safety precautions. Our team cannot stress this enough: always turn off your heating system before cleaning.
For electric baseboard heaters, go to your circuit breaker panel and turn off the power to the heater circuit. Test that the unit is not producing heat by turning the thermostat up slightly. For hydronic systems powered by a boiler, turn off the boiler and let the system cool completely.
Let the heater remain off until it reaches room temperature. This typically takes at least two hours after the system has been running. Working on a warm heater risks burns and makes dust more difficult to remove since warm air currents push particles back at you.
If your heater has a cover or front panel, remove it carefully. Most covers slide off or have simple clips. Set the cover aside to clean separately. Take this time to visually inspect the fins and coils for any damage, excessive corrosion, or signs of wear that might need professional attention.
Step-by-Step: How To Clean Baseboard Heater Fins
With your tools ready and the system safely powered down, follow our step-by-step process for the deepest clean.
Step 1: Remove Loose Debris with Vacuuming
Start at the top of the fins and work your way down. Insert the crevice tool between the fins and vacuum out loose dust, pet hair, and debris. Move systematically along the entire length of the heater, paying special attention to the corners where accumulation is heaviest.
For hydronic systems with pipes visible behind the fins, vacuum around and between the pipes carefully. Do not press too hard against the pipes themselves, as they can be damaged.
For electric baseboard heaters, vacuum around the heating coils and along the bottom channel where heated air exits. This area collects the most dust because that is where the convection current drops particles.
Step 2: Brush Away Stuck-On Dust
After vacuuming, there will likely still be dust adhered to the fins. Use your long-handled brush to gently scrub between the fins. Work from top to bottom using short, firm strokes.
Our team recommends brushing in one direction only, moving from the back of the heater toward the front. This pushes debris out rather than deeper into the fins. Be gentle but thorough.
If you encounter stubborn buildup, slightly dampen your brush with water and continue scrubbing. For extremely crusted areas on older heaters, a mixture of Dawn dish soap and warm water applied with the brush works well to break down the gunk.
Step 3: Clean Behind the Heater
This step is where many homeowners fall short, and it is arguably the most important for air quality. Dust, pet dander, and debris accumulate behind the heater against the wall, restricting airflow and creating a breeding ground for allergens.
Use a narrow attachment or a sock wrapped around a straightened wire coat hanger to reach behind the heater. Our team has found that a flexible dryer vent brush works exceptionally well for this purpose. Push it behind the heater and sweep along the wall and floor, then vacuum up what you loosen.
Pay special attention to the wall surface directly behind the heater fins. This area is often neglected for years and can have a thick layer of dust and grime.
Step 4: Clean the Heater Covers
Take the removed covers outside if possible, or work over a large drop cloth indoors. Spray them down with water or a gentle cleaning solution, then scrub with a brush or sponge. For stubborn stains on older covers, Bar Keepers Friend applied with a melamine foam sponge works remarkably well, according to our testing and community feedback.
Rinse the covers thoroughly and let them dry completely before reinstalling. Placing them in sunlight speeds up the drying process and helps eliminate any remaining odors.
Step 5: Straighten Bent Fins
If you notice any fins that have been crushed or bent, now is the time to address them. Use your fin comb tool by inserting the teeth between the fins and gently working it back and forth to redistribute the metal to its proper position.
Our team has seen how crushed fins significantly reduce heating efficiency. Even a few bent fins can disrupt the convection current enough to measurably reduce warmth in your room. Take your time with this step and work gradually.
Step 6: Reassemble and Restore Power
Once everything is clean and dry, reattach the heater covers. Slide them back into place or re-engage the clips, depending on your model. Turn your heating system back on at the breaker or boiler.
Set your thermostat to your desired temperature and verify the heater is functioning properly. You should notice more efficient warming and better airflow within the first few minutes of operation.
Electric vs Hydronic Baseboard Heaters
Understanding which type of baseboard heater you have matters for cleaning, as the internal components differ significantly.
Hydronic baseboard heaters use hot water circulated through pipes to heat metal fins. These systems are typically found in homes with boiler heating. The pipes contain water that is heated by the boiler and circulated continuously. When cleaning hydronic units, be careful not to damage the pipes or their connections. Never use excessive force against them.
Electric baseboard heaters use electric resistance coils to generate heat. These are standalone units connected directly to your electrical system. The cleaning process for electric units allows for slightly more aggressive vacuuming since there are no pipes to worry about, but always double-check that power is completely off before cleaning near the coils.
Both types benefit from the same regular maintenance schedule. The heating fins on both systems work identically to transfer heat to the air through convection, so keeping them clean maximizes your heating efficiency regardless of the heat source.
How Often Should You Clean Baseboard Heaters
Regular cleaning frequency depends on your household conditions. Our team recommends the following schedule based on extensive research and community feedback.
For standard households with no pets and normal dust levels, cleaning your baseboard heaters once per year is sufficient. The best time to do this is in early autumn before you switch on your heat for the season. This prevents the burning dust smell that occurs when dust accumulated over summer burns off on first use.
For pet owners, we strongly recommend cleaning two to three times per year. Pet fur wraps around the fins and creates thicker buildup than regular dust. The accumulated pet dander also significantly impacts indoor air quality, which is especially important for family members with allergies or asthma.
For homes in dusty environments, near construction zones, or with many occupants, twice-yearly cleaning is advisable. These conditions accelerate dust accumulation and can lead to more significant efficiency losses if neglected.
If you notice burning smells when your heat first turns on each fall, that is a clear sign you have let too much dust accumulate. Increase your cleaning frequency if this happens.
Preventing Future Buildup
Our team has gathered several tips from community discussions that help extend the time between cleanings. Using dryer sheets to wipe down baseboard surfaces monthly creates a slight anti-static coating that repels dust. Simply run the dryer sheet along the front and top of the heater covers.
Running ceiling fans in reverse during winter helps circulate warm air more effectively, reducing the amount of dust that settles specifically on heating elements. This simple adjustment improves overall heating efficiency in rooms with baseboard units.
Changing your HVAC filter regularly if you have a forced-air system alongside baseboard heating prevents recirculated dust from settling on the heaters. This is a low-effort step that makes a measurable difference.
For pet owners, brushing your pets regularly near the heaters and vacuuming the surrounding floors frequently prevents fur from reaching the fins in the first place. Placing washable mats in front of baseboard heaters catches much of the pet hair before it enters the heating system.
FAQ’s
What is the best way to clean baseboard heaters?
The most effective method combines vacuuming with a crevice tool, followed by brushing the fins with a long-handled soft-bristle brush, then wiping all surfaces with a microfiber cloth. For best results, clean annually before heating season starts.
Do you have to clean baseboard heaters?
While not strictly mandatory, cleaning baseboard heaters improves energy efficiency by up to 20%, enhances indoor air quality by reducing dust circulation, and prevents the burning dust smell when heating season begins. Annual cleaning is recommended for standard households.
How to get rid of smell from baseboard heater?
The burning smell comes from dust accumulated over the summer burning off when heat first turns on. To eliminate it, clean the heater thoroughly before first use each fall. If smell persists after cleaning, increase frequency to twice yearly and vacuum behind the unit against the wall.
What is the best thing to clean baseboards with?
A vacuum with hose attachment and crevice tool works best for loose debris. For stuck-on dust, use a long-handled brush with soft bristles designed for heating fins. Microfiber cloths work well for final wiping. For stubborn stains on covers, Bar Keepers Friend with melamine foam is highly effective.
Conclusion
Learning how to clean baseboard heaters properly is one of the most impactful maintenance tasks you can do for your home. Our team has seen the difference firsthand: a clean baseboard heating system runs more efficiently, produces better warmth distribution, and contributes to healthier indoor air.
The process takes about 20 minutes per heater according to our testing, and doing it once a year before winter dramatically reduces the burning dust smell that plagues dirty systems. If you have pets or live in a dusty environment, consider increasing to twice-yearly cleaning for optimal results.
Gather your tools, turn off the power, and work through these steps systematically. Your heating bill will reflect the improvement, and your family will breathe easier knowing you are getting the most out of your baseboard heating system in 2026.
Leave a Reply