
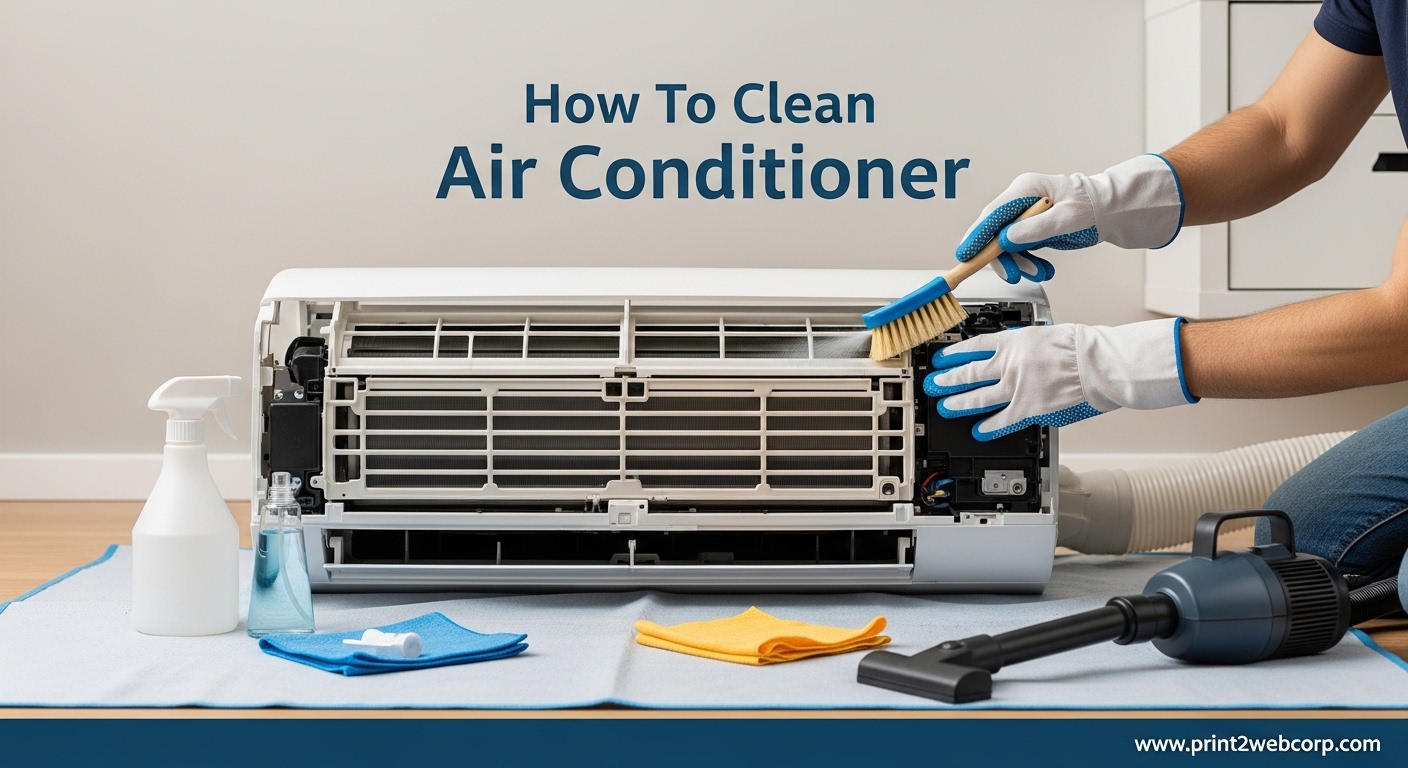
Learning how to clean air conditioner units is one of the most valuable maintenance skills for any homeowner. A dirty AC works harder, costs more to run, and can circulate dust and allergens throughout your home. I’ve cleaned dozens of units over the years and the difference in performance is dramatic. A well-maintained system can save you up to 30% on cooling costs.
Cleaning your air conditioner isn’t complicated, but it does require attention to detail and following the right steps. Whether you have a window unit, central AC system, or split system, the principles are similar. The most important thing is to clean the coils, filters, and remove any debris blocking airflow.
Why Cleaning Your Air Conditioner Matters
Dirty evaporator and condenser coils restrict airflow and reduce heat transfer efficiency. This forces your compressor to work harder and longer, increasing energy consumption. According to the Department of Energy, dirty coils can increase energy usage by up to 30%. That translates to hundreds of dollars in extra cooling costs each year.
Beyond energy savings, regular cleaning prevents breakdowns and extends your unit’s lifespan. Clogged coils cause the system to overheat, leading to compressor failure. A professional compressor replacement costs $1,500 to $2,500, so a 30-minute cleaning session is a wise investment.
Clean air conditioners also improve indoor air quality. Dirty filters and coils become breeding grounds for mold, mildew, and bacteria. These contaminants circulate through your home and can trigger allergies and respiratory issues. Regular cleaning keeps the air you breathe fresh and healthy.
Safety First: Always Disconnect Power
Before cleaning any AC unit, you must disconnect power to prevent electrical shock. For window units, unplug the unit from the wall outlet. For central AC systems, flip the breaker switch in your electrical panel. Never skip this step. Water and electricity are a dangerous combination.
Some homeowners make the mistake of just turning off the thermostat. This doesn’t cut power to the outdoor unit. The condenser receives power directly from the breaker box. Always verify power is completely disconnected before proceeding.
Wait at least 30 seconds after disconnecting power before touching any electrical components. Capacitors store electrical charge even after power is cut. This brief waiting period allows them to discharge safely.
Tools and Materials Checklist
Gather these supplies before you begin. Having everything ready makes the process smoother and prevents mid-task interruptions.
For basic cleaning you’ll need a garden hose with spray nozzle, fin comb, soft brush or vacuum with upholstery attachment, screwdriver set, coil cleaner spray, and clean rags or towels. For deeper cleaning, consider a pump sprayer for coil cleaner solution and a wet/dry vacuum.
Choose a coil cleaner specifically designed for AC units. These are available at hardware stores and home centers. Avoid household cleaners which can damage aluminum fins. Commercial coil cleaners break down grime without harming the delicate coil surfaces.
Invest in a fin comb if your unit has bent fins. This inexpensive tool straightens damaged fins and restores proper airflow. Bent fins block air and reduce efficiency. A fin comb costs about $10 and lasts for years.
Signs Your AC Needs Cleaning
Watch for these indicators that your air conditioner is overdue for cleaning. The most obvious sign is reduced cooling performance. If your AC runs constantly but struggles to maintain temperature, dirty coils may be the culprit.
Higher energy bills without increased usage often point to reduced efficiency. Compare your current bills to the same period last year. A significant increase suggests your system is working harder than necessary due to restricted airflow or dirty coils.
Unusual noises can also indicate a need for cleaning. Rattling or humming sounds might mean debris is caught in the fan or coils. Hissing sounds could indicate refrigerant leaks caused by corrosion from accumulated dirt and moisture.
Visible debris around the outdoor unit or dust coming from indoor vents are clear signs. Check your outdoor unit regularly. Leaves, grass clippings, and other debris accumulate quickly and should be removed monthly during cooling season.
How to Clean a Window Air Conditioner
Window units are relatively easy to clean because they’re accessible from inside your home. I recommend cleaning window ACs at least once per year, ideally before summer begins. Here’s my proven method:
Step 1: Remove and Clean the Filter
Start by removing the front grille or filter panel. Most window units have a washable filter located behind the front cover. Pull it out and check its condition. If it’s disposable, replace it. If it’s washable, clean it thoroughly.
Wash the filter with warm water and mild dish soap. Use a soft brush to remove embedded dirt. Rinse until the water runs clear. Let it air dry completely before reinstalling. A wet filter can cause mold growth and restrict airflow.
While the filter dries, vacuum the filter housing to remove accumulated dust. Use the upholstery attachment for best results. Pay attention to corners and crevices where dust tends to collect.
Step 2: Access the Coils
The front of the unit houses the evaporator coils. Remove the front panel completely if possible. Some models require removing screws from the sides or bottom. Set the panel aside in a safe place.
Inspect the coils for dirt, dust, and debris buildup. Light accumulation can be brushed away with a soft brush or vacuumed with careful suction. Heavier buildup requires coil cleaner spray. Never use wire brushes or abrasive tools which can damage the delicate aluminum fins.
Check for bent fins while you’re inspecting. Use a fin comb to gently straighten any damaged areas. This small step significantly improves airflow and efficiency. Work carefully to avoid breaking fins completely.
Step 3: Apply Coil Cleaner
Spray coil cleaner generously on the evaporator coils. Follow the manufacturer’s instructions for dwell time. Most cleaners need 5 to 15 minutes to break down grime. The foam will expand and lift dirt from the coil surfaces.
Avoid overspraying onto electrical components or plastic parts. Cover them with a plastic bag or cloth if necessary. Some cleaners can damage certain materials, so read the label carefully before application.
While the cleaner works, remove the unit from the window if possible. This gives you access to the back of the unit where the condenser coils and fan are located. If removing the unit isn’t practical, work from the outside using a step ladder.
Step 4: Clean the Condenser Coils
The back of the unit contains the condenser coils. These are exposed to outdoor air and collect leaves, dirt, and debris. Spray coil cleaner on these coils as well, covering all surfaces thoroughly.
Use a soft brush to loosen stubborn debris before applying cleaner. A vacuum with brush attachment can remove loose dirt before spraying. This helps the cleaner penetrate more effectively and reduces runoff mess.
Inspect the fan blades for dirt and debris. Clean them with a damp cloth, being careful not to bend them. Balanced fan blades are essential for proper operation and preventing vibration noise.
Step 5: Rinse Thoroughly
Use a garden hose with a gentle spray nozzle to rinse the coils. Start from the top and work downward. The spray should be strong enough to remove foam and dirt but not so strong that it damages the fins. A fan or shower setting works well.
Rinse both the front and back coils completely. Continue rinsing until the water runs clear. Residual cleaner can attract dirt and reduce efficiency. Take your time with this step. Thorough rinsing prevents future problems.
Wipe down plastic components and metal housing with a damp cloth. Remove any remaining cleaner residue from these surfaces. This prevents discoloration and protects the unit’s appearance.
Step 6: Clear the Drainage System
Window units have a drain hole or channel at the back. This allows condensed water to drain properly. Check for clogs and clear any blockages with a small wire or pipe cleaner. Clogged drains cause water to back up into the unit or leak into your home.
Flush the drain with water to ensure proper flow. Use a spray bottle or pour a small amount of water through the drain channel. Observe that water drains freely from the outside. This simple step prevents many common window AC problems.
Check the drip tray or drain pan for standing water or mold growth. Clean with a solution of water and mild bleach to kill any mold spores. Rinse thoroughly and let dry completely. Mold in the drainage system causes unpleasant odors and health issues.
Step 7: Allow to Dry Completely
This is the most critical step that many people rush. After cleaning, let the unit dry completely before reinstalling. Damp coils and components can cause short circuits when power is restored. I recommend waiting at least 2-4 hours for thorough drying.
Speed up drying with a fan if possible. Position it to blow air through the unit. Warm, moving air evaporates moisture faster than stagnant air. Patience here prevents electrical damage and ensures safe operation.
While waiting, reinstall the clean filter once it’s completely dry. Never put a wet filter back in the unit. Moisture in the filter encourages mold growth and reduces filtration effectiveness.
Step 8: Reassemble and Test
Reinstall the window unit in the window. Secure it properly according to the manufacturer’s instructions. Most units need side panels to seal gaps between the unit and window frame. These prevent cool air from escaping and hot air from entering.
Reattach the front panel and any removed components. Double-check that all screws are tight and panels are secure. A poorly fitted panel allows air leakage and reduces efficiency.
Reconnect power and turn on the unit. Listen for unusual sounds. Test the cooling function and verify that air flows strongly from the vents. Your cleaned AC should cool more efficiently and quietly than before.
How to Clean a Central AC Outside Unit
Central air conditioning systems have the condenser unit located outside. This unit houses the condenser coils, compressor, and fan. Cleaning it requires working outdoors but follows similar principles to window units. Clean the outdoor unit annually, ideally in spring before heavy cooling use.
Step 1: Clear the Area Around the Unit
Remove leaves, grass clippings, and debris from around the outdoor unit. The unit needs at least two feet of clearance on all sides for proper airflow. Trim any vegetation that’s grown too close. Restricted airflow reduces efficiency and can cause the system to overheat.
Check the top of the unit for leaves and twigs. Remove any debris from the fan grille. Many outdoor units have a top fan assembly that protects the fan and coils from large debris. Clean this grille thoroughly.
Inspect the unit for damage while you’re working around it. Bent panels, damaged fins, or missing fasteners should be addressed. Minor damage can often be repaired yourself. Major issues may require professional attention.
Step 2: Remove the Top Grille and Fan Assembly
Most outdoor units have a removable top grille that provides access to the coils. This usually involves removing several screws or bolts. Carefully lift the top assembly without disconnecting any wires. The fan motor is typically wired directly into the unit.
Set the top assembly aside in a safe place. Avoid pulling or stressing the electrical wires. The fan and motor are heavy, so lift with proper technique. Ask for help if the unit is large.
Clean the fan blades while the top is removed. Wipe them with a damp cloth to remove dirt and grime. Check for balance and wobble. Unbalanced fans cause vibration noise and premature bearing wear.
Step 3: Inspect and Clean the Coils
The condenser coils wrap around the sides of the unit. These aluminum fins are delicate and can be easily damaged. Use a garden hose with a spray nozzle to rinse away loose debris. Start from the top and work downward.
Spray coil cleaner on the coils following the manufacturer’s directions. Cover all surfaces thoroughly. The cleaner will foam and penetrate between the fins to dissolve stubborn dirt and grime. Allow it to work for the recommended time, usually 5 to 15 minutes.
Never use a pressure washer on AC coils. The high pressure bends and damages the fins. This permanently reduces efficiency and can cause refrigerant leaks. A standard garden hose provides adequate cleaning power without damage.
Step 4: Brush the Coils
Use a soft brush to gently clean between the coil fins while the cleaner works. Work in the direction of the fins, not against them. This loosens embedded dirt and helps the cleaner penetrate more effectively.
A fin comb can straighten any bent fins you encounter. Bent fins block airflow and reduce efficiency. The comb has teeth that match the fin spacing. Insert the comb at the base of bent fins and draw upward gently.
Avoid aggressive brushing or using metal tools. Aluminum fins are fragile and easily damaged. Plastic or soft bristle brushes are ideal for this task. Patience and gentle pressure yield the best results without damaging the coils.
Step 5: Rinse and Drain
Rinse the coils thoroughly with the garden hose. Continue until all cleaner residue is gone and water runs clear. Pay special attention to the bottom of the unit where dirt and cleaner accumulate. Proper rinsing prevents future corrosion and dirt buildup.
Check the drain pan at the bottom of the unit. Some outdoor units have a drain for condensed water. Clear any blockages and verify proper drainage. A clogged drain causes water accumulation and potential damage.
Allow the unit to dry completely before reinstalling the top assembly. This typically takes 30 minutes to an hour depending on temperature and humidity. Damp coils attract dirt and can cause electrical issues when power is restored.
Step 6: Reassemble and Restore Power
Replace the top grille and fan assembly. Secure it with the original screws or bolts. Tighten evenly to avoid warping the grille. Make sure no wires are pinched or damaged during installation.
Clear the area around the unit one more time. Ensure proper clearance for airflow. The unit needs unobstructed air intake and exhaust for optimal performance.
Restore power at the breaker box. Wait at least 5 minutes before turning on the thermostat. This allows the system to stabilize. Listen for proper operation when the unit starts. Your cleaned outdoor AC should run more efficiently and quietly.
How to Clean AC Filters
Clean filters are essential for proper AC operation. Dirty filters restrict airflow, reduce efficiency, and can cause the evaporator coils to freeze. Most manufacturers recommend cleaning or replacing filters every 1-3 months during regular use. Homes with pets or allergy sufferers may need monthly filter maintenance.
Locate your filter in the return air duct or inside the air handler. Some window units have filters behind the front grille. Remove the filter and check its condition. If it’s disposable, note the size and buy a replacement. Washable filters should be cleaned thoroughly.
Wash reusable filters with warm water and mild detergent. Use a soft brush to remove embedded dirt. Rinse until the water runs clear. Allow the filter to air dry completely before reinstalling. Never run your AC without a filter in place.
For disposable filters, choose the right MERV rating for your needs. Higher MERV ratings filter smaller particles but restrict airflow more. MERV 8-11 is adequate for most residential applications. Replace disposable filters according to the manufacturer’s recommendations.
Common Mistakes to Avoid
One of the biggest mistakes homeowners make is using a pressure washer on AC coils. The high pressure bends the delicate aluminum fins and can damage the coils permanently. Always use a garden hose with a gentle spray nozzle. A fan or shower setting provides enough cleaning power without damage.
Skipping the drying step causes electrical problems. Water and electrical components don’t mix. Always let the unit dry completely before restoring power. I recommend at least 2 hours for window units and 30 minutes for outdoor units.
Using the wrong cleaner can damage coils and components. Household cleaners like bleach or ammonia can corrode aluminum and plastic parts. Use cleaners specifically formulated for AC coils. These are designed to remove dirt without harming the materials.
Ignoring bent fins is another common error. Bent fins block airflow and reduce efficiency significantly. A simple fin comb fixes this problem in minutes. Straightening fins improves performance by up to 15% in badly damaged units.
Forgetting to clean the drain line causes water damage and mold growth. Clear the drain with a wire or pipe cleaner during each cleaning. Flush with water to ensure proper flow. This simple step prevents many common AC problems.
The 3-Minute Rule Explained
The 3-minute rule is an important safety practice for air conditioner operation. After turning off your AC, always wait 3 minutes before turning it back on. This allows the refrigerant pressures to equalize and the compressor to depressurize.
Restarting immediately can damage the compressor. The compressor tries to start against high pressure, causing strain and potential failure. This expensive component costs $1,500 to $2,500 to replace. The 3-minute wait protects this critical part.
Many modern ACs have built-in time delay protection. They automatically wait 3 to 5 minutes before allowing restart. However, older units don’t have this feature. If your AC is older than 10 years, be especially careful about this rule.
Maintenance Schedule
Consistent maintenance keeps your AC running efficiently year after year. Clean filters every 1-3 months during cooling season. Monthly cleaning is ideal for homes with pets or allergy sufferers. Inspect the outdoor unit weekly for debris accumulation during summer.
Perform a thorough cleaning of coils and components annually. Spring is the ideal time, before heavy cooling use begins. This ensures your system is ready for peak performance when you need it most.
Check refrigerant levels and electrical connections every 2-3 years. These tasks require professional equipment and expertise. A qualified technician can identify potential problems before they cause breakdowns.
Consider a professional tune-up every few years. HVAC technicians have specialized tools and knowledge for deep cleaning and system inspection. Professional service extends system life and maintains peak efficiency.
FAQ’s
Can I clean my air conditioner myself?
Yes, most homeowners can clean their air conditioners themselves. Basic cleaning requires simple tools and takes 1-2 hours. Follow safety procedures, disconnect power first, and use appropriate cleaning products. Professional cleaning is recommended for complex issues or refrigerant-related problems.
What is the 3 minute rule for air conditioners?
The 3-minute rule means waiting 3 minutes after turning off your AC before restarting it. This allows refrigerant pressures to equalize and the compressor to depressurize. Restarting immediately can damage the compressor, which is an expensive repair. Modern units often have this delay built-in automatically.
Can I use a pressure washer to clean my AC coils?
No, never use a pressure washer on AC coils. The high pressure bends and damages the delicate aluminum fins, permanently reducing efficiency. Use a garden hose with a gentle spray nozzle instead. A standard garden hose provides adequate cleaning power without causing damage to your unit.
How long to wait before turning on AC after cleaning coils?
Wait at least 2-4 hours after cleaning window units and 30 minutes to 1 hour for outdoor units. This ensures all components are completely dry. Damp coils can cause electrical short circuits when power is restored. Use a fan to speed up drying if possible.
Will cleaning my coils actually lower my energy bill?
Yes, cleaning your AC coils can reduce energy consumption by up to 30% according to the Department of Energy. Dirty coils restrict airflow and reduce heat transfer efficiency, forcing your system to work harder. Regular cleaning maintains optimal efficiency and can save hundreds of dollars annually on cooling costs.
What not to clean AC coils with?
Never use pressure washers, wire brushes, or abrasive tools on AC coils. Avoid household cleaners like bleach, ammonia, or harsh chemicals that can damage aluminum. Don’t use compressed air which can bend fins. Use only coil cleaners specifically designed for air conditioners and soft-bristle brushes.
Conclusion
Learning how to clean air conditioner units is a valuable skill that saves money and improves comfort. A clean AC runs more efficiently, lasts longer, and provides healthier air. The process takes 1-2 hours once per year but yields significant benefits. Your wallet and your family will thank you.
Start with safety by disconnecting power. Gather the right tools including coil cleaner, soft brushes, and a garden hose. Follow the step-by-step process for your specific unit type. Allow adequate drying time before restoring power. These simple steps keep your AC running at peak performance.
Regular maintenance prevents costly repairs and extends your system’s lifespan. Clean filters monthly, clear debris weekly, and perform deep cleaning annually. Mark your calendar as a reminder. Consistent care is the key to reliable, efficient cooling year after year.
Leave a Reply