
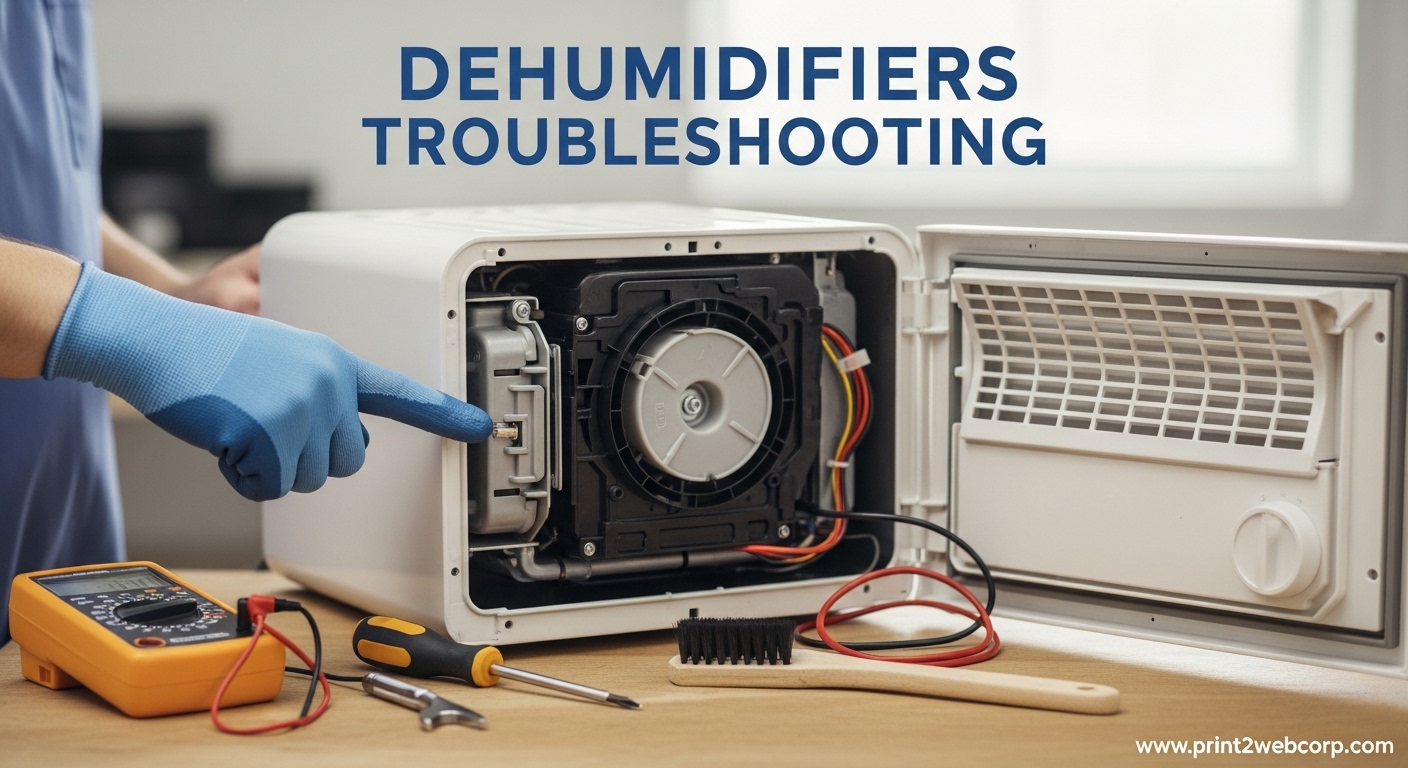
Dealing with a malfunctioning dehumidifier can be frustrating, especially when humidity levels in your home start climbing. Most dehumidifier problems fall into a few predictable categories that you can diagnose and often fix yourself. This comprehensive dehumidifiers troubleshooting guide covers the most common issues and their solutions.
What is a common problem with a dehumidifier? The top issues include units not collecting water, freezing up, leaking, and failing to power on. Most of these problems stem from dirty coils, clogged filters, improper settings, or simple maintenance oversights. Before you consider replacing your unit, try these best dehumidifier models for 2026 might be on your list, but your current unit might just need some attention.
Tools You’ll Need for Dehumidifiers Troubleshooting
Before diving into dehumidifiers troubleshooting, gather these basic tools. Most repairs require minimal equipment, and having everything ready will save time.
- Screwdriver set (Phillips and flathead)
- Soft brush or vacuum cleaner with hose attachment
- Multimeter for electrical testing
- Warm, soapy water and vinegar for cleaning
- Towels or shallow container for water spills
- Flashlight for inspecting internal components
Safety should always come first. Always unplug your dehumidifier before performing any inspection or cleaning. If you’re uncomfortable with electrical components or the unit is still under warranty, contact the manufacturer or a professional technician.
Dehumidifiers Troubleshooting: When the Unit Won’t Turn On
A dehumidifier that won’t power on is one of the most frustrating issues. Start with the simplest solutions before assuming the worst. Often, the problem is something basic like a tripped breaker or a blown fuse rather than a failed component.
Check Power Source First
Verify the outlet is working by plugging in another device. Check that the power cord is securely connected at both ends. Inspect the cord for any visible damage, fraying, or burns. A damaged power cord is a serious fire hazard and requires immediate replacement.
Reset the Dehumidifier
How do I reset a dehumidifier? Follow these steps for a proper reset:
- Unplug the unit from the power outlet
- Wait 5-10 minutes to allow capacitors to discharge
- Remove the water bucket and ensure it’s properly seated
- Check for any error codes on the display
- Plug the unit back in
- Power on and check if the unit responds
Many dehumidifiers have a built-in reset function after power outages. Forum users frequently report units failing to work after electrical storms, which can trip internal safety mechanisms. A full power cycle often resolves these issues.
Test the Outlet and Breaker
Check your home’s electrical panel for any tripped breakers. Dehumidifiers draw significant power, especially when the compressor starts. A dedicated 15-amp circuit is recommended for most units. If the breaker trips repeatedly, this could indicate a failing capacitor or compressor short.
When It’s a Control Board Issue
If power reaches the unit but it remains unresponsive, the control board might be faulty. Look for any indicator lights or display activity. A completely dead unit with verified power often points to a blown fuse on the control board or a failed transformer. These repairs require soldering skills and replacement parts, making them a job for professionals or warrantied service calls.
Dehumidifiers Troubleshooting: Not Collecting Water
The most common complaint in dehumidifiers troubleshooting is a unit that runs but doesn’t collect water. This problem has multiple potential causes, from simple settings issues to component failures.
Check Your Humidity Settings
Your dehumidifier might be working correctly but set to a target humidity level that’s already been reached. Most units are factory-set to 50% or 60%. If your room’s humidity is at or below this level, the compressor won’t run. Try lowering the humidity setting to 35% or 40% to trigger operation.
Test your humidistat by placing it near a humidity source like a running shower or damp towel. The unit should respond within a few minutes. If there’s no response, the humidity sensor may need cleaning or replacement.
Inspect and Clean the Coils
Dirty evaporator and condenser coils are the leading cause of poor water collection. When coils become coated with dust and debris, heat transfer becomes inefficient. The compressor may run, but little to no condensation occurs.
Clean the coils using a soft brush attachment on your vacuum. For stubborn buildup, use a coil cleaning solution available at hardware stores. Rinse carefully and allow to dry completely before operating. This simple maintenance step resolves most collection issues.
Verify Compressor Operation
Listen for the compressor humming when the unit should be running. If the fan runs but the compressor doesn’t, you have a classic symptom of capacitor failure. The start capacitor provides the extra voltage needed to engage the compressor.
A failed capacitor is one of the most repairable issues in dehumidifiers troubleshooting. Replacement capacitors cost under $20 and require basic electrical knowledge. However, if the compressor itself has failed, repair costs often exceed the value of the unit.
Check for Refrigerant Leaks
Refrigerant leaks are less common but serious. Signs include reduced cooling capacity, hissing sounds, or visible frost patterns on the copper tubing. A refrigerant leak requires professional repair with EPA-certified handling.
Forum users report that units with slow refrigerant leaks will gradually collect less water over months or years. If your dehumidifier has slowly declined in performance, a leak might be the culprit.
Clean or Replace Air Filter
A clogged air filter restricts airflow across the coils, preventing proper condensation. Check your filter monthly and clean it every 2-4 weeks depending on usage. Washable filters can be cleaned with warm water and mild soap. Replace disposable filters according to manufacturer guidelines.
Dehumidifiers Troubleshooting: Freezing Up
Ice formation on the coils indicates a problem with temperature, airflow, or refrigerant levels. A frozen dehumidifier cannot collect water and may suffer permanent damage if left running.
Check Room Temperature
Most standard dehumidifiers operate effectively down to 65°F (18°C). Below this temperature, coils can freeze. If you need dehumidification in cooler spaces, look for low-temperature models designed for basements or garages.
Some units feature auto-defrost modes that cycle the compressor to melt ice. If your unit freezes frequently in cold conditions, it may be undersized for the space or the defrost sensor could be malfunctioning.
Improve Airflow Around the Unit
Ensure at least 12 inches of clearance on all sides of the dehumidifier. Restricted airflow prevents proper heat transfer and contributes to freezing. Don’t place the unit against walls or in corners where air circulation is limited.
Clean air intake and discharge vents regularly. Dust buildup on these vents reduces airflow even when the filter is clean. Use a vacuum with a brush attachment to clear any obstructions.
Clean the Coils Thoroughly
Dirty coils act as insulation, preventing proper heat absorption. This causes the evaporator to become abnormally cold, leading to ice formation. Deep clean your coils at least annually, or more often in dusty environments.
Auto-Defrost Function Issues
If your unit has auto-defrost but continues freezing up, the defrost sensor or control may be faulty. These components detect coil temperature and cycle the compressor to prevent ice buildup. Testing these components requires a multimeter and technical knowledge of your specific model.
Dehumidifiers Troubleshooting: Leaking Water
Water leakage creates potential floor damage and indicates a specific failure in the collection or drainage system. Most leaks originate from the bucket area, drain connections, or internal hoses.
Check the Water Tank Placement
Ensure the water bucket is fully inserted and seated correctly. Many dehumidifiers have safety switches that prevent operation when the bucket is removed. If the bucket isn’t positioned properly, water may bypass the container and pool underneath.
Inspect the bucket for cracks or damage, especially around the mounting points. A hairline crack can cause slow leaks that aren’t immediately obvious. Test the bucket by filling it with water outside the unit and watching for drips.
Inspect the Float Switch
The float switch detects when the water tank is full and triggers shutdown. A stuck or malfunctioning float switch can cause two problems: continuous running without collection, or premature shutdown when the tank is empty.
Clean the float assembly regularly to prevent buildup that can cause sticking. The float should move freely without obstruction. If cleaning doesn’t resolve the issue, the switch may need replacement.
Examine Drain Hose Connections
For units with continuous drain capability, check that the hose is properly connected and not kinked. A loose connection can cause water to leak before reaching the drain. Verify the hose is directed downward to prevent backflow.
If using a garden hose adapter, ensure proper threading and hose washers are in place. Gravity-drain systems must have the unit elevated above the drain point to function correctly.
Look for Cracks or Damage
Internal cracks in the water collection reservoir or condensate pan can cause leaks. These components are usually sealed and not serviceable, often requiring unit replacement. Look for water dripping from the bottom during operation to identify internal leaks.
Dehumidifiers Troubleshooting: Humidity Sensor and Control Problems
Inaccurate humidity readings or erratic operation often point to sensor issues. Modern dehumidifiers rely on electronic sensors to monitor moisture levels and control operation.
Test the Humidity Reading
Compare your dehumidifier’s humidity display with a separate hygrometer. A difference of more than 5% indicates sensor calibration drift or failure. Some models allow manual calibration through the control panel settings.
Place the dehumidifier and your reference hygrometer side by side for 30 minutes. This allows both devices to equalize to the same conditions. Significant discrepancies confirm sensor problems.
Clean the Humidity Sensor
Dust and chemical residues can coat the humidity sensor, causing inaccurate readings. Locate the sensor (usually a small grille or port near the air intake) and clean gently with a soft, dry brush. Avoid using water or cleaning chemicals directly on electronic sensors.
Understanding Error Codes
Modern dehumidifiers display error codes to help with troubleshooting. Common codes include E1, E2, E3 for sensor failures, and various codes for bucket, float, or system errors. Consult your manual for specific code meanings, as they vary by manufacturer.
Error codes often persist even after the underlying problem is fixed. Reset the unit by unplugging for 5 minutes to clear stored errors. If the code returns, the problem requires further investigation.
Dehumidifiers Troubleshooting: Strange Noises and Sounds
Unusual noises often indicate developing problems that should be addressed before they cause complete failure. Different sounds point to specific issues.
Loud buzzing or humming when the compressor starts suggests a failing start capacitor or compressor mount. Rattling or vibration often means loose panels, fan blades, or internal components. A high-pitched squeal indicates worn fan motor bearings.
Clicking sounds during normal operation are usually the compressor engaging and are normal. However, rapid clicking without compressor operation indicates a relay problem or failed capacitor.
Address noise issues promptly to prevent secondary damage. Tighten loose panels and screws, clean fan blades, and ensure the unit sits level on a stable surface.
Preventive Maintenance to Avoid Future Problems
Regular maintenance prevents most dehumidifier problems and extends unit life. How long do dehumidifiers typically last? With proper care, most units last 5-10 years. Neglected units often fail within 3-5 years.
Monthly Maintenance
Clean or check the air filter every month during heavy use. A clean filter is the single most important maintenance task. Vacuum the exterior vents and intake grilles to maintain proper airflow. Empty and clean the water bucket to prevent mold growth and mineral buildup.
Seasonal Maintenance
Deep clean the coils annually using a coil brush and vacuum. For heavy buildup, use a commercial coil cleaner following the product instructions. Inspect electrical cords and connections for damage. Test the unit before peak humidity season to catch any issues early.
Before storing your unit for the off-season, clean it thoroughly and allow to dry completely. Store in a dry location to prevent mold growth. Cover the unit to protect from dust accumulation.
Extending Dehumidifier Lifespan
Run your dehumidifier on the appropriate setting for your conditions. Continuous high-power operation causes more wear than cycling on and off. Use a timer or smart plug to cycle the unit if needed for very damp conditions.
Don’t overload the unit beyond its rated capacity. A too-small dehumidifier working continuously will fail sooner than a properly sized unit cycling intermittently. For more information on choosing the right unit, check out our dehumidifier buying guides and reviews.
When to Call a Professional
Some dehumidifier problems require professional expertise or specialized tools. Refrigerant leaks need EPA-certified technicians with proper recovery equipment. Compressor replacements are often cost-prohibitive on consumer-grade units, making replacement the better option.
Control board failures require electronic diagnostic skills and replacement parts specific to your model. If your unit is still under warranty, always use authorized service to avoid voiding coverage. For units over 5 years old with major component failures, replacement is often more economical than repair.
Frequently Asked Questions
What is a common problem with a dehumidifier?
The most common dehumidifier problems include not collecting water, freezing up, leaking, and failing to turn on. Most issues stem from dirty coils, clogged filters, improper humidity settings, or lack of maintenance. Regular cleaning and proper setup prevent over 80% of dehumidifier problems.
How long do dehumidifiers typically last?
With proper maintenance, most dehumidifiers last 5-10 years. Units in harsh environments like basements or dusty garages may have shorter lifespans. Regular filter cleaning, coil maintenance, and proper storage during off-seasons significantly extend unit life. Neglected units often fail within 3-5 years.
How do I reset a dehumidifier?
To reset a dehumidifier, unplug it from the power outlet and wait 5-10 minutes. Remove and reseat the water bucket properly. Check for any error codes on the display. Plug the unit back in and power it on. This full power cycle clears most electronic glitches and resets safety mechanisms triggered by power outages.
Why is my dehumidifier not collecting water but running?
If your dehumidifier runs but doesn’t collect water, check the humidity setting first. The target humidity may already be reached. Dirty coils are the second most common cause, preventing proper condensation. Other causes include a failed compressor, low refrigerant, clogged air filter, or faulty humidity sensor. Clean coils and filters first, then check for component failures.
Would a dehumidifier help with COPD?
Yes, dehumidifiers can help COPD patients by maintaining optimal indoor humidity levels between 30-50%. Lower humidity reduces mold growth and dust mites, which are common respiratory irritants. However, consult your healthcare provider before making environmental changes. Dehumidifiers are complementary to medical treatment, not a substitute for prescribed COPD therapies.
Conclusion
Dehumidifiers troubleshooting doesn’t require advanced technical skills for most common problems. Start with the basics: check power, verify settings, clean filters and coils, and ensure proper airflow. Over 80% of issues resolve with these simple steps.
Regular maintenance prevents most problems and extends your unit’s lifespan significantly. Clean filters monthly, deep clean coils annually, and address unusual sounds or behaviors promptly. When problems persist after basic troubleshooting, professional repair or replacement may be necessary.
Remember that safety comes first. Always unplug the unit before performing any inspection or cleaning. For electrical issues, refrigerant problems, or complex component failures, professional service is the wise choice. With this dehumidifiers troubleshooting guide, you’re equipped to handle most common issues and keep your home’s humidity at comfortable, healthy levels.
Leave a Reply