
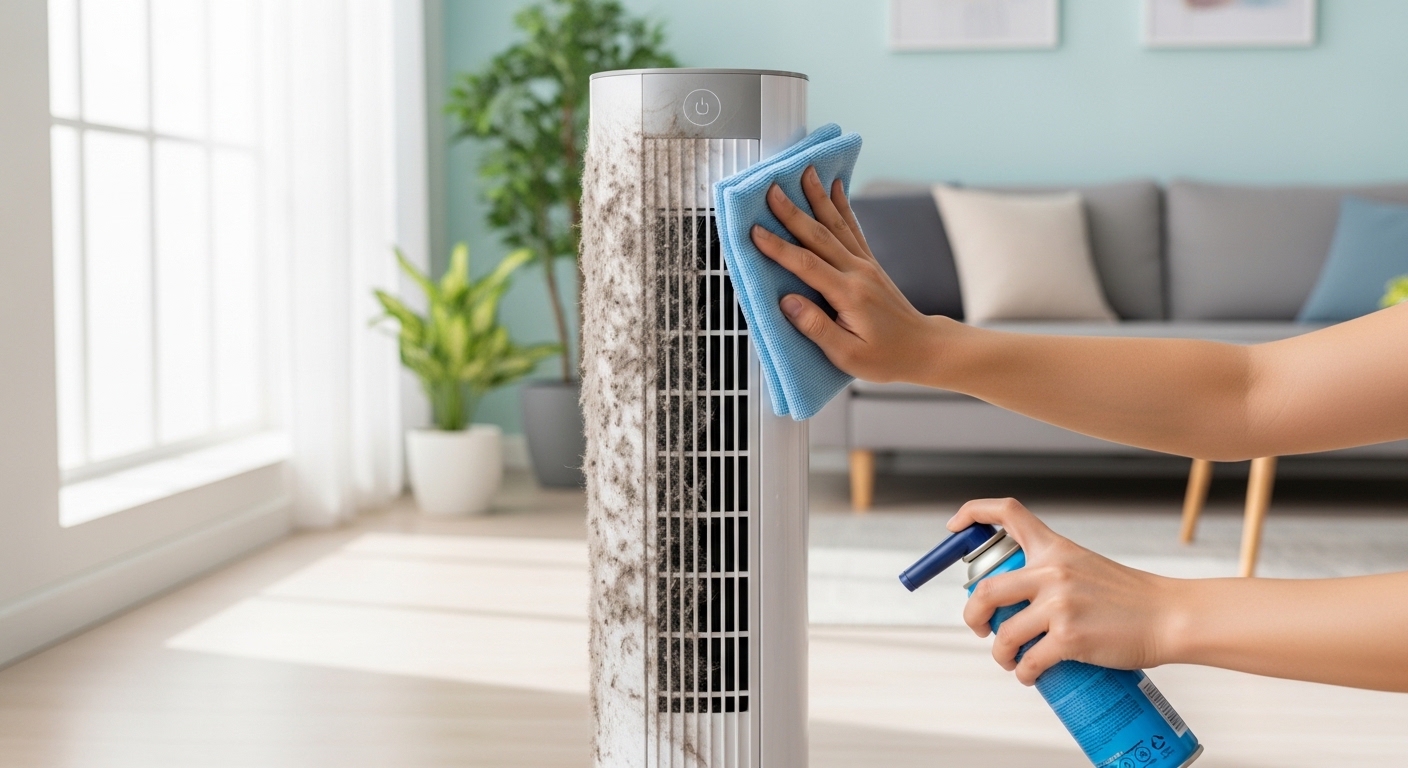
Tower fans sit in corners and push air around all day, which means they collect dust, pet hair, and allergens without you noticing. After testing various cleaning methods on our own units over the years, I can tell you that a dirty tower fan does not cool as effectively and can actually spread particles back into your room. This guide on how to clean tower fan units covers everything from a 5-minute surface clean to a thorough deep clean that restores like-new performance.
Whether you have a Lasko, Honeywell, DREO, or any other brand, the process is similar. I will walk you through both methods so you can choose based on how much time you have and how dirty your fan has gotten. Many readers also ask about cleaning tower fans without taking them apart, which I cover in the quick clean method below.
Tools and Materials You Will Need
Before you start, gather these items. Most homes already have everything required for a basic clean tower fan session. Having everything ready makes the job go smoother and faster.
For a quick clean, you will need a vacuum with a brush attachment, a microfiber cloth, and compressed air (the kind sold for electronics). A hairdryer on cool setting works as an alternative to compressed air if you do not have any on hand. These tools handle the exterior surfaces and vents without any disassembly.
For a deep clean, add dish soap, a bucket or basin for soaking parts, a small bottle brush or spoolie brush (the kind used for eyebrows works perfectly for fan slats), a screwdriver (usually Phillips head), and a few clean towels for drying. Having a flashlight nearby helps you see inside the fan column where dust collects in hard-to-reach places.
Quick Clean Method (No Disassembly Needed)
If you are short on time or your fan is not heavily soiled, this quick clean method takes about 5 to 10 minutes and requires no tools. This is the approach I use most often between deeper cleaning sessions to keep dust from building up.
Start by unplugging the fan. This is non-negotiable for safety, and I cannot stress it enough. Place the fan outside or in a well-ventilated area where dust will not settle back on furniture. Working outdoors or over a hard floor makes cleanup easier.
Run your vacuum brush attachment along the exterior grille slats. Work from top to bottom and use slow, overlapping strokes. The brush loosens dust while the vacuum sucks it away. For stubborn spots, I use short bursts of compressed air aimed between the slats to dislodge trapped particles.
Wipe down the entire exterior with a damp microfiber cloth. The cloth should be just moist, not wet. A dry cloth can push dust around, but a slightly damp one traps it effectively without leaving streaks.
For the base and control panel, use a cotton swab dipped in a tiny amount of dish soap solution. Get into the crevices around the buttons and indicator lights where dust bunnies love to hide. This step makes your fan look almost new from the outside.
Deep Clean Method (Full Disassembly)
When dust has built up inside the column or your pet has left fur embedded in the grille, you need a more thorough approach. Plan about 30 to 45 minutes for this deep clean method, and you will be rewarded with a fan that performs like it did when you first bought it.
Unplug the fan and move it to your workspace. I recommend doing this on a covered table since you will be taking parts off, and some dust will inevitably fall out during the process. Put down a drop cloth or old towel to catch debris.
Remove the rear grille. On most tower fans, this is held by a few screws at the back or clips that slide out. I learned the hard way that Lasko fans have small tabs at the bottom that break easily if you pry the casing the wrong way. Press gently on the tabs rather than forcing them, and the grille should slide off smoothly.
Once the rear grille is off, you will see the rear fan blade assembly. Use your bottle brush or spoolie to scrub between the blades. A spoolie brush is perfect for getting into the narrow spaces between slats without bending the blades or damaging the motor housing.
Spray compressed air into the motor housing area to blow out accumulated dust. This is where dust loves to hide and causes that burning smell some people notice when they first turn a fan on after a long rest. Hold the fan at an angle so the dust blows outward, not deeper inside.
Remove the front grille or the entire outer casing if your model allows. Some fans have a single-piece outer shell that slides off after removing a few screws at the base. Check your manual or look for visible clips around the bottom edge. Not all tower fans can be fully disassembled, so work with what your model allows.
Soak the removable grilles in warm water with a few drops of dish soap for 15 minutes. This loosens grease and stuck-on dust that vacuuming alone cannot handle. After soaking, scrub gently with your brush and rinse thoroughly to remove all soap residue.
Wipe down all interior components with a barely damp cloth. Do not let water drip into the motor or electrical housing. I keep a dry towel handy and never spray liquid directly onto any part of the fan. A little caution here prevents big problems later.
Allow all parts to air dry completely. This is critical. Any moisture left in the fan can cause damage when you plug it back in or lead to mold growth inside the column. A fan left assembled while damp will develop a musty smell within days that is hard to get rid of.
Putting Your Fan Back Together
Once everything is dry, reverse the disassembly steps to reassemble your tower fan. Reattach the rear grille first, making sure it clicks or screws into place securely. Slide the outer casing back on, checking that all clips engage properly without forcing anything.
Before plugging in, give the fan a quick test run. Listen for any unusual sounds and watch the oscillation if your fan has that feature. A properly assembled fan should run smoothly without rattling or wobbling. If something sounds wrong, unplug and check your work before using it again.
Maintenance Tips to Keep Your Fan Clean Longer
After going through the deep clean process, I want to keep my fan in good shape for as long as possible. Here is what works for reducing dust buildup between cleanings based on years of trial and error.
Clean the exterior grille weekly with a vacuum brush attachment. This takes two minutes and prevents dust from migrating deep inside where it is harder to remove. I set a reminder on my phone every Sunday to do this quick maintenance task, and it has made a huge difference.
Run your vacuum cleaner near the fan area regularly. Dust on the floor gets pulled into the fan intake and recirculates through your room. Keeping the surrounding floor clean reduces the amount of dust your fan pulls in and spreads around.
For pet owners, consider cleaning your tower fan every 3 to 4 weeks instead of every 6 to 8 weeks. Pet hair clumps together differently than dust and can accumulate quickly in the motor area, affecting performance and potentially shortening the fan’s lifespan.
Some users swear by the pillowcase method for a no-tools refresh. Slip a damp pillowcase over the grille while the fan runs on low for a few minutes. The pillowcase catches dust as air passes through. I tried this and was surprised by how much dust came out, though it is not a substitute for actual cleaning.
Troubleshooting After Cleaning
Sometimes after putting everything back together, the fan does not perform as expected. Here are the most common issues I have encountered and how to fix them.
If the fan is noisy, check that all screws are tightened evenly. An unevenly attached grille can cause vibration and rattling that was not there before. Also verify that no cables or wires inside are touching the blade assembly during rotation.
Reduced airflow usually means a grille or interior component was not replaced correctly. Double-check that the rear grille is fully seated and that no protective film or sticker was accidentally left on during reassembly. Even a partially blocked vent can significantly reduce airflow.
A burning smell when you first turn the fan on is often just dust burning off the motor, which is normal after a thorough cleaning. If it persists for more than a few minutes or smells like actual burning plastic, unplug immediately and check for a wire pinched in the blade path.
Wobbling during oscillation typically indicates an uneven surface or loose base screws. Place the fan on a level surface and tighten any adjustable feet or base connections. If the wobble persists, check that the fan is sitting flat and not on an uneven floor.
Frequently Asked Questions
What is the best way to clean a tower fan?
The best way is to start with a quick clean using a vacuum brush attachment and microfiber cloth for regular maintenance. For a thorough clean, disassemble the fan to access the interior blades and grille, soak removable parts in soapy water, use compressed air for the motor area, and ensure everything is completely dry before reassembly.
How do you clean the dust out of a Lasko tower fan?
Lasko tower fans have a removable rear grille held by screws or clips. Remove the grille, use a spoolie brush to clean between the blades, spray compressed air into the motor housing, and clean the grille separately. Be gentle with the bottom tabs during disassembly as they can break easily if forced.
How to clean a standing tower fan without opening it?
Use the quick clean method: unplug the fan, vacuum the exterior grille with a brush attachment, wipe down with a damp microfiber cloth, use compressed air in the vents, and clean the base and control panel with a cotton swab. This removes surface dust without any disassembly.
How often should you clean your tower fan?
Clean the exterior grille weekly with a quick vacuum. Perform a deep clean every 6 to 8 weeks under normal conditions. If you have pets or live in a dusty environment, clean every 3 to 4 weeks. Always dry components completely before reassembly to prevent mold and motor damage.
Final Thoughts
Learning how to clean tower fan units properly is one of those maintenance tasks that pays off in better air quality and a longer-lasting appliance. The quick clean method takes just a few minutes and catches dust before it builds up, while the deep clean once every couple of months keeps your fan running quietly and efficiently.
Set a recurring reminder to maintain your tower fan on a schedule that matches your home environment. Pets, open windows, and dusty rooms all mean more frequent cleaning is needed. Once you establish the habit, keeping your tower fan clean becomes second nature, and your fan will thank you with years of reliable service.
Leave a Reply