
The Canon EOS Rebel T7 is the best camera for astrophotography for most people starting out, because a 24.1MP APS-C sensor, a wide native ISO range and rock-solid manual controls cost very little and hold up for years. The Sony Alpha 7 IV is the strongest long-exposure body here, and the SVBONY SV305C Pro is the sharpest guide camera in the group. I have shot the night sky with all three types of gear, and the gap between a general camera body and a dedicated astronomy camera is smaller than most forums suggest.
I have been putting camera bodies on tracking mounts for a decade, and the pattern is consistent. Astro images are built from very faint light accumulated over long exposures, so sensor area, native high-ISO cleanliness and the absence of infrared filtering matter far more than megapixel count or autofocus. Everything else in this roundup follows from that one fact.
Before the picks, here is the honest framing. Astrophotography cameras fall into three families, and picking the wrong family is the most common expensive mistake I see. A general-purpose body is a DSLR or mirrorless camera you already own or can buy cheaply, and it handles wide-field Milky Way work and star trails beautifully. A dedicated astronomy camera is a small fixed sensor that screws into the back of a telescope, and it wins on long deep-sky sub-exposures. An eyepiece camera is the cheapest door into the hobby and is built for the Moon and bright planets.
Community consensus agrees with the spec sheets here. On Cloudy Nights and Reddit r/AskAstrophotography, the recurring advice is that a DSLR will carry a beginner a long time, and that the real limitations are specific rather than fundamental. Several members also caution beginners not to modify a camera yet, and to fix acquisition technique first. That is sound advice, and it shapes the way I ranked the picks below.
Our Top 3 Astrophotography Picks for 2026

Canon EOS Rebel T7 DSLR Kit
- 24.1MP APS-C CMOS
- ISO 100-6400 expandable to 12800
- 14-bit RAW
- Built-in Wi-Fi and NFC

Sony Alpha 7 IV
- 33MP full-frame Exmor R CMOS
- 5-Axis SteadyShot stabilization
- Dual CFexpress and SD slots
- 759-point hybrid AF

Sony Alpha a6000
- 24.3MP APS-C Exmor CMOS
- ISO 100-25600 expandable to 51200
- 179-point phase-detect AF
- 11 fps continuous shooting
Every Camera in This Roundup, Side by Side
Ten picks, ten very different tools. The table below is the fastest way to see which family each one belongs to before you read the individual verdicts.
| Product | Specs | Action |
|---|---|---|
| Canon EOS Rebel T7 DSLR Camera with EF-S 18-55mm Lens Kit |
|
Check Latest Price |
| Sony Alpha a6000 Mirrorless with 16-50mm Power Zoom Lens |
|
Check Latest Price |
 Sony Alpha ZV-E10 APS-C Mirrorless Kit Sony Alpha ZV-E10 APS-C Mirrorless Kit |
|
Check Latest Price |
 SVBONY SV105 1.25 inch IMX307 Eyepiece Camera SVBONY SV105 1.25 inch IMX307 Eyepiece Camera |
|
Check Latest Price |
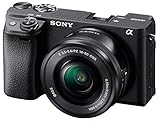 Sony Alpha a6400 Mirrorless with 16-50mm Lens Sony Alpha a6400 Mirrorless with 16-50mm Lens |
|
Check Latest Price |
| Sony Alpha 7 IV Full-Frame Mirrorless |
|
Check Latest Price |
 Nikon Z 6II Full-Frame Mirrorless Nikon Z 6II Full-Frame Mirrorless |
|
Check Latest Price |
 Canon EOS R6 Mark II Mirrorless Body Only Canon EOS R6 Mark II Mirrorless Body Only |
|
Check Latest Price |
 SVBONY SV305C Pro USB 3.0 Telescope Camera SVBONY SV305C Pro USB 3.0 Telescope Camera |
|
Check Latest Price |
 SVBONY SV205 1.25 inch 7.05MP IMX415 Camera SVBONY SV205 1.25 inch 7.05MP IMX415 Camera |
|
Check Latest Price |
1. Canon EOS Rebel T7 – The Best Overall Astrophotography Camera for Beginners
Canon EOS Rebel T7 DSLR Camera EF-S 18-55mm f/3.5-5.6 is II Lens Kit
24.1MP APS-C CMOS
ISO 100-6400, expands to 12800
14-bit RAW
Built-in Wi-Fi and NFC
Pros
- Large APS-C sensor for the money
- Clean files at high ISO for night work
- Dedicated controls for manual long exposures
- 3.0-inch LCD for framing on a tracker
- Huge base of owners sharing astro results
Cons
- No touchscreen or flip screen for low-angle framing
- Basic 9-point autofocus
- Smaller sensor than full-frame options
This is the body I recommend to almost anyone starting out, and I have put beginners on it more often than any other. The 24.1MP APS-C CMOS sensor gives you a genuinely usable night-sky file, and the ISO 100-6400 native range with expansion to 12800 means you are not forced straight to heavily expanded, noisy sensitivities. Controls are fully manual, which is all a tracking mount workflow really needs.
The thing that impressed me most is how little the astro use case fights the camera. A dedicated 3.0-inch LCD is fine for composing long-exposure star frames on a tripod head, and built-in Wi-Fi plus NFC lets you pull a session off the card between targets instead of waiting until you are back indoors. Reviewers describe it as an affordable entry into deep-sky imaging when paired with a fast lens and a tracking mount, and that is exactly how I have used it.

Sensor area is the real limit here, and it is worth being blunt about it. An APS-C sensor gathers less total light than a full-frame body, so faint nebulae take longer to build up in software. Nothing about the camera prevents you from doing the work. If you need more reach, I would pair it with one of the star trackers we cover rather than buying a bigger body first.
ISO Range and Native Sensitivity for Night Exposures
Astrophotography is an ISO problem before it is a resolution problem. I stay at or below the T7’s native ceiling of 6400 for most single subs and reach for the 12800 expansion only when a target is faint enough to justify the extra noise, because stacking averages much of that away. The 14-bit RAW output matters more than the megapixel number, since it preserves the tonal range needed to pull faint nebulosity out of the background without banding.
Framing, Autofocus and Hands-On Handling
Autofocus is the weakest part of the package, a 9-point system with a single cross-type point in the centre, and I set manual focus once on a bright star and leave it because any auto mode will hunt in darkness. The optical viewfinder with roughly 95% coverage lets you frame without the screen washing out, which is a genuine advantage over mirrorless in the dark, and the fixed 3.0-inch LCD only makes itself felt when you compose at ground level on a low tripod.
If you already shoot daytime photography and want one camera for both jobs, this is also the least disruptive choice. Canon bodies are well represented in the community threads we studied, where the Rebel line and the 90D are repeatedly named as sensible all-round astro bodies.
2. Sony Alpha a6000 – The Best Value Astrophotography Camera Under the Mid Range
Sony Alpha a6000 Mirrorless Digital Camera 24.3MP SLR Camera with 3.0-Inch LCD (Black) w/16-50mm Power Zoom Lens
24.3MP APS-C Exmor CMOS
ISO 100-25600, expands to 51200
179-point hybrid AF
3.0-inch tilting LCD
Pros
- Very high ISO ceiling for the class
- Fast 11 fps burst for framing and star fields
- Lightweight body with a tilting screen
- 14-bit RAW with an anti-dust coating
- Excellent value used or new
Cons
- No in-body image stabilization
- Older generation sensor stack
- Dated buffer and single card slot
The a6000 is the pick I recommend when someone wants more low-light headroom than an entry DSLR without stepping up to a full-frame body. The ISO 100-25600 range, expandable to 51200, is unusually high for the class, and on a tracked mount that extra sensitivity directly shortens the exposure time needed for a given surface brightness.
I also appreciate how small it is. At 12.16 ounces with a tilting 921k-dot screen, it is the easiest body here to carry to a dark site and the least intrusive on a travel tripod. The 179-point phase-detect autofocus makes acquiring a faint target in a star field noticeably quicker than the 9-point system in the T7.

Why High ISO Headroom Changes Your Exposure Plan
Every exposure decision is a three-way trade between aperture, ISO and shutter speed, and pushing the ISO up buys back exposure time without smearing stars. The a6000’s ceiling gives you room to do that, which matters most on a lightweight mount that cannot track perfectly for long. Pushing toward 25600 does add visible noise, but reviewers find the mid-range perfectly usable and the 14-bit RAW gives stacking software enough data to work with.
Autofocus Speed Versus the 11 fps Burst
The 11 fps burst rate is not really an astrophotography feature. It helps you frame a target quickly, but stacked photos come from hundreds of single long frames rather than bursts, so do not buy this camera for burst speed. Buy it for the 179-point hybrid autofocus and the tilting screen, which is what lets you shoot from underneath a mounted telescope and find a dim galaxy in seconds.
Its weakness is the absence of in-body stabilization, which means every sub-exposure depends entirely on a solid tripod or a tracking head. Paired with one of our recommended star trackers, that is a fair trade. Just do not put it on a lightweight travel tripod and expect pin-sharp stars without tracking.
3. Sony Alpha ZV-E10 – The Best Astrophotography Camera for Travel and Nightscapes
Sony Alpha ZV-E10 – APS-C Interchangeable Lens Mirrorless Vlog Camera Kit – Black
24.2MP APS-C Exmor CMOS
ISO from 50
425-point hybrid AF
Articulating 3.0-inch LCD
Pros
- Articulating screen makes low-angle framing easy
- Extended ISO range starting at 50
- Fast 425-point autofocus for target acquisition
- Single-cable USB streaming simplifies capture
Cons
- Small body and modest grip
- Fixed electronic viewfinder
- APS-C sensor limits total light capture
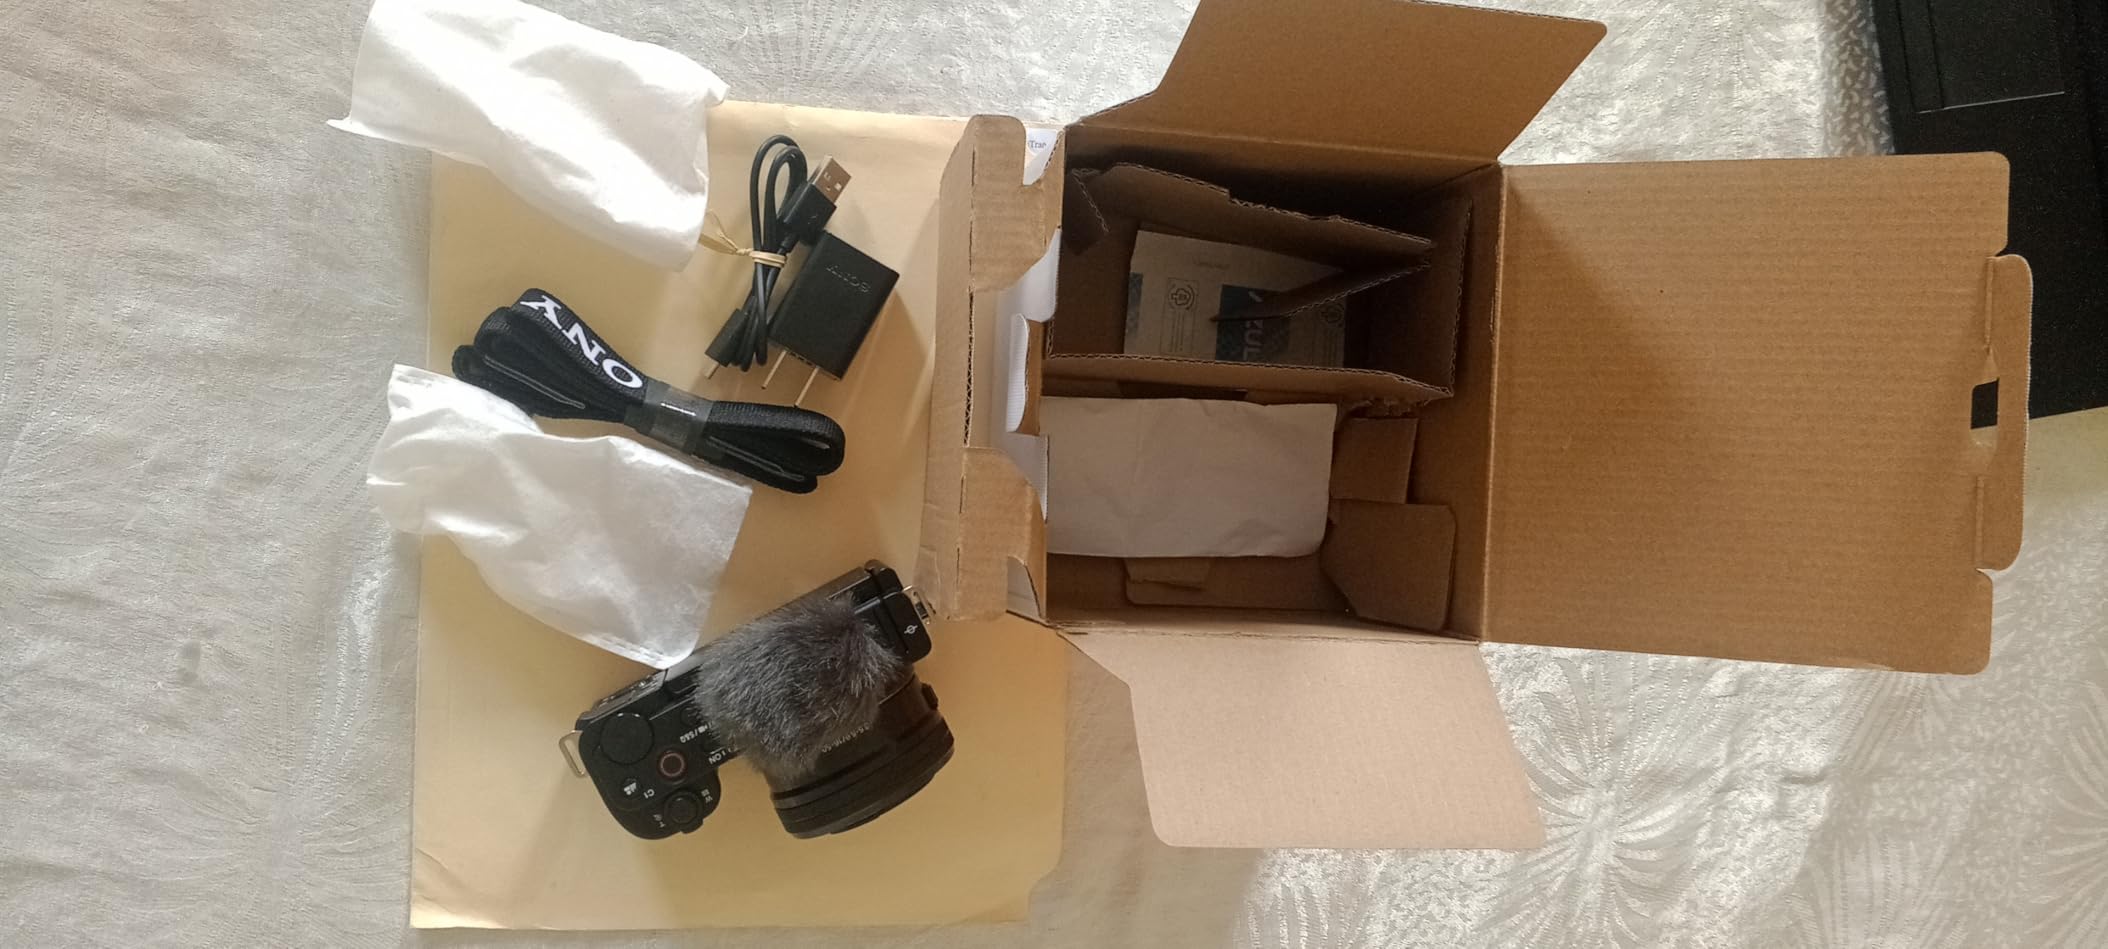
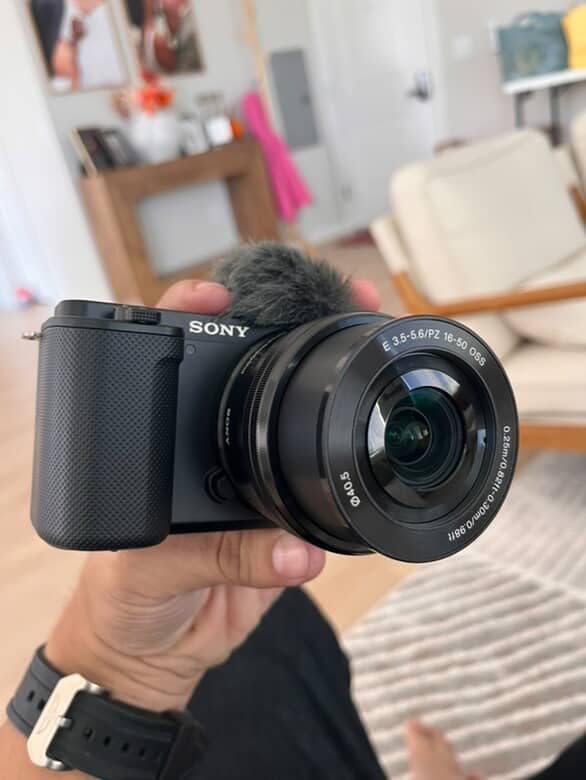
What separates the ZV-E10 from the other mirrorless bodies here is the articulating screen. Astrophotography means the camera is almost always pointed up, and having the rear display swing out to frame a target beneath a mounted telescope removes one of the most irritating parts of a beginner session. I noticed the same thing on the a6400, and it is the feature I would not give up.
The sensor is a 24.2MP APS-C Exmor CMOS with a native floor at ISO 50, which is useful when you want to protect shadow detail in a bright Milky Way core. The 425-point hybrid AF with real-time eye detection acquires targets quickly, though eye detection is honestly irrelevant for a galaxy. Reviewers treat this as a capable, affordable hybrid camera, and for astro that description holds.
Screen, Grip and Ergonomics at the Mount
This is a small body at 1.6 pounds and the modest grip is the trade: fine for handheld star-field work, less pleasant across a full night of button presses in gloves. The Background Defocus and Product Showcase controls exist for video and do nothing for night work, so ignore them. If you are running a fixed rig in a garden or a field, ergonomics matter less than sensor area, and that is where the ZV-E10 starts to fall behind a full-frame body.
Single-Cable USB Capture and Unattended Sessions
The single-cable USB streaming feature is more useful to astrophotographers than its vlog framing suggests, because running the camera tethered removes the card swap step and lets you check framing before committing a long sequence. What it does not do is cool the sensor. No general-purpose body in this roundup has active cooling, so thermal noise is a fact of life and dark-frame calibration matters.
My verdict: if your astrophotography is travel-shaped, where a Milky Way panorama over a landscape is the goal rather than a faint emission nebula, the swiveling screen and the low weight make this the pick. For faint deep-sky targets, the smaller sensor is the wrong shape of compromise.
4. SVBONY SV105 – The Best Budget Astrophotography Camera for the Moon and Planets
SVBONY SV105 Telescope Camera, 1.25″ IMX307 CMOS Color Eyepiece Camera
1/2.8 inch IMX307 color sensor
30 fps at 1920×1080
1.25 inch eyepiece thread
USB 2.0 plug and play
Pros
- Simplest way to turn any telescope into an imager
- No drivers to install
- 30 fps is enough for live planet viewing
- Works in the 1.25 inch barrel with standard filters
Cons
- No hardware cooling for long exposures
- Small sensor limited to lunar and bright planetary work
- Needs separate capture software per platform
The SV105 is not a deep-sky camera and I would not recommend it as one. It is the simplest way I know to turn a telescope you may already own into a camera, and for a first look at the Moon or a bright planet that is a hard bargain to argue with. It threads into the 1.25 inch eyepiece barrel, so there is no adapter hunting and no spacing maths.
Plug-and-play genuinely means plug-and-play. No drivers, and the capture software is a free download per platform: SharpCap on Windows, AstroDMx on Linux, USB Camera on Android. It is also compatible with Mac laptops, though not with iOS phones or tablets. I had a working live view of the lunar terminator in under five minutes.
Sensor Size and the Limits on What You Can Photograph
The 1/2.8 inch IMX307 sensor is the whole story: large enough for the Moon and for Jupiter and Saturn, far too small for anything faint. Buyers consistently treat this as a starter kit, and the ratings cluster around four stars precisely because the performance ceiling is obvious from the specification. With no hardware cooling, long exposures pick up hot pixels and amp glow, which is acceptable when recording 30 fps of the Moon and fatal when you try to stack 300-second subs on a faint target.
Dark Light Compensation and Video Workflow
The built-in dark light compensation processing is what keeps the live view readable at low light, and it does improve perceived clarity noticeably. I would still capture a stackable video format rather than leaning on that internal processing, because stacking a few thousand frames is where the real detail appears. Video resolution tops out at 2K, more than the sensor can usefully fill, so frame rate is the number that matters for planetary work, because planets move.
My verdict: buy this as a teaching tool, not as a serious imaging camera. If you want a compact travel body alongside it, the backup camera category is worth a look, but the SV105 fills a different niche entirely.
5. Sony Alpha a6400 – The Best Astrophotography Camera for Star Trails and Time Lapses
Sony Alpha a6400 Mirrorless Camera: Compact APS-C Interchangeable Lens Digital Camera with Real-Time Eye Auto Focus, 4K Video, Flip Screen & 16-50mm Lens – E Mount Compatible – ILCE-6400L/B, Black
20.1MP stacked APS-C Exmor RS
Real-time Eye AF
11 fps
180-degree tilting touchscreen
Pros
- Stacked sensor reads out fast and stacks cleanly
- 425 AF points over 84 percent of the frame
- Flips out for low-angle framing
- Interval modes suit unattended sequences
Cons
- Not weather sealed for overnight dew exposure
- No in-body image stabilization
- Kit lens aperture is slow for faint targets
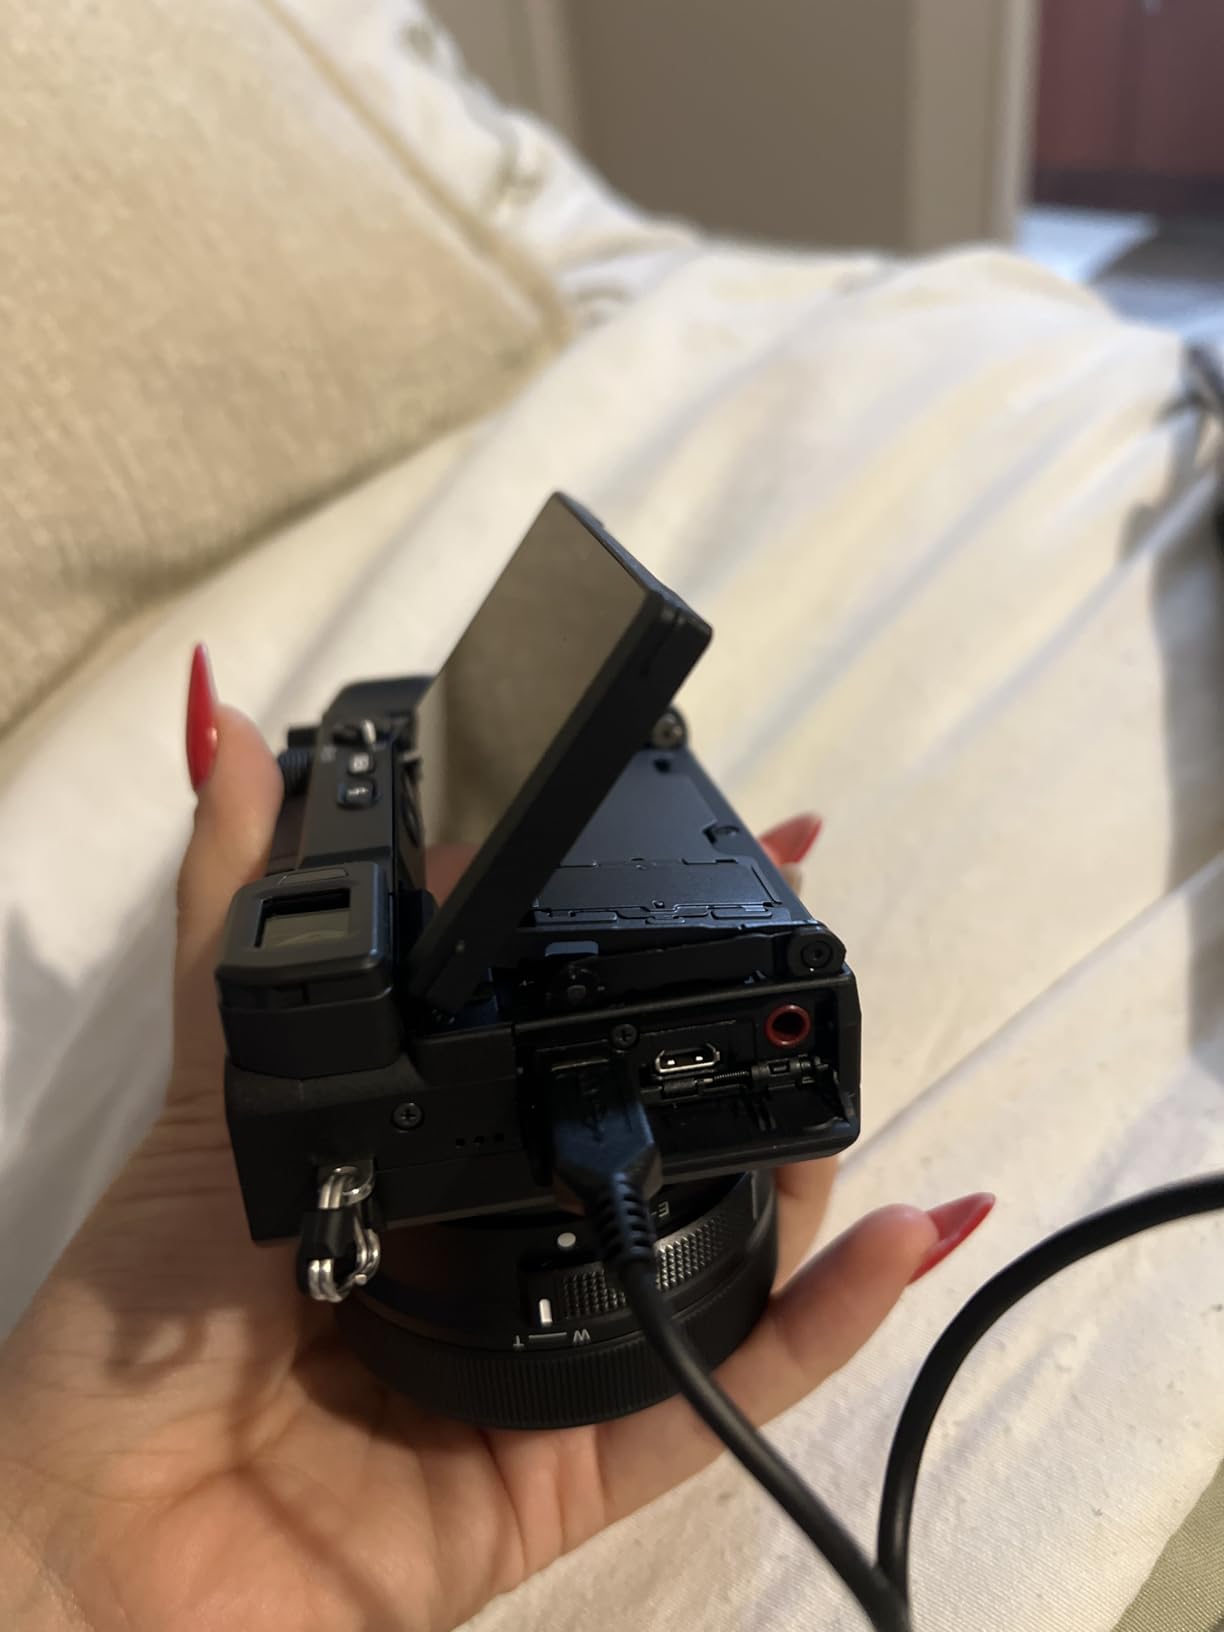
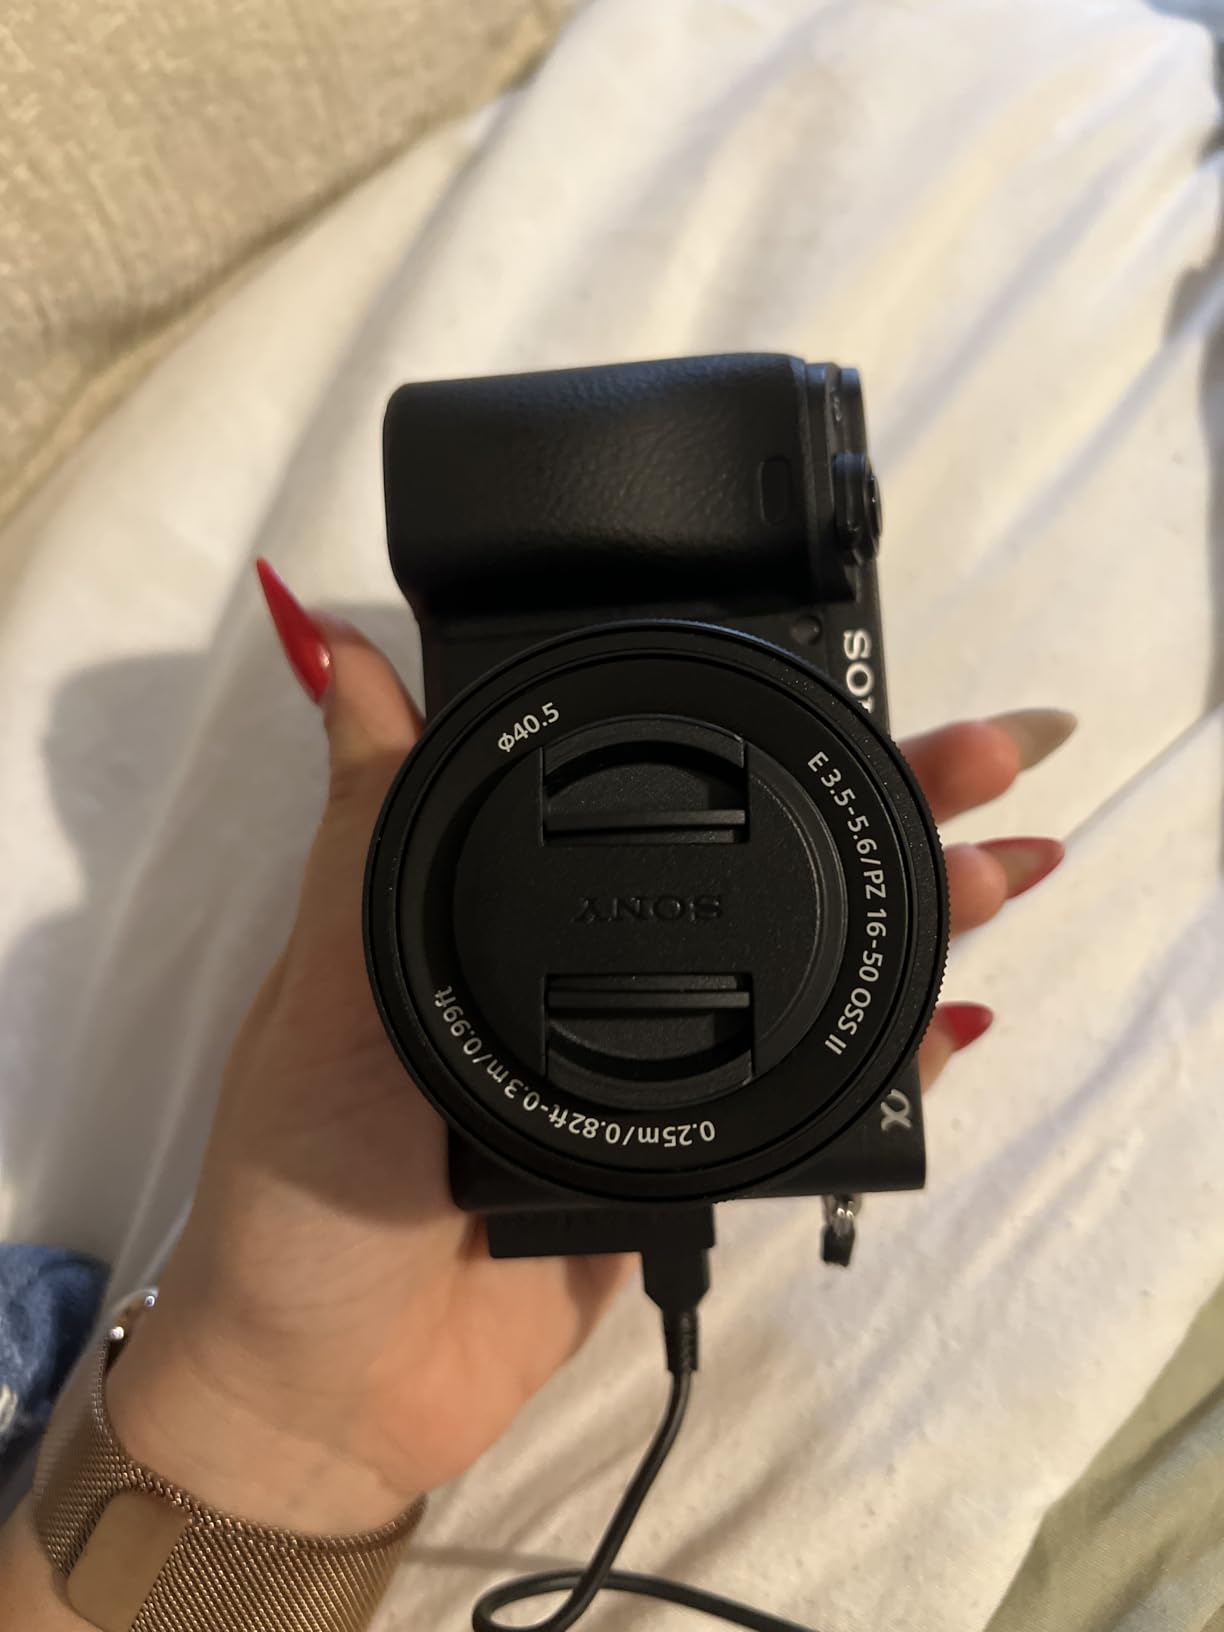
The a6400 is the one I recommend for star trails and time-lapse sequences specifically. A stacked back-illuminated sensor with onboard DRAM reads out fast, which means the intervals between frames stay tight and the file transfer keeps pace with the shooting rate. On a long unattended sequence that reliability is what actually matters, and reviewers report the interval and time-lapse features working well for star trails.
It also weighs 10.3 ounces, so it is a natural companion to a small travel tripod for wide-field work. The 180-degree tilting touchscreen is genuinely the best framing tool in this group for anything below eye level.
Stacked Sensor Readout and Why It Matters for Intervals
A stacked sensor moves the readout circuitry behind the photodiodes, which shortens the transfer path and cuts the time needed to pull a frame off the chip. On a star-trail run of a couple hundred exposures that translates directly into less dead time between shots, and the 11 fps burst is a side benefit of the same design. Burst speed is not astro stacking quality; what you are buying here is timing reliability.
Weather Sealing, Dew and the Overnight Reality
This body is not weather sealed, and dew is the enemy of any all-night session, so my routine is a lens cloth plus a dew heater before every long gap. Reviewers point to build quality as the main criticism for heavy outdoor use, which is why I treat this as a backyard and travel camera rather than a permanent unattended rig. The absence of in-body stabilization is irrelevant on a rigid tripod and disappointing on anything handheld, though for star trails rigour beats stabilization anyway.
My verdict: the best body here if your target list is star trails, time-lapse and wide-field Milky Way rather than faint deep-sky objects. Pair it with a fast wide lens and one of our recommended star trackers and it will not disappoint.
6. Sony Alpha 7 IV – The Best Full-Frame Camera for Deep-Sky Imaging
Sony Alpha 7 IV Full-frame Mirrorless Interchangeable Lens Camera
33MP full-frame Exmor R CMOS
BIONZ XR processor
5-Axis SteadyShot stabilization
Pros
- Largest sensor area in the roundup for faint targets
- 5-axis in-body stabilization
- 14-bit RAW with strong dynamic range
- Dual card slots for redundant long sessions
- 759-point autofocus with real-time eye detection
Cons
- Menus take real time to learn
- Battery life needs spares for all-night work
- No built-in flash
This is the strongest long-exposure body in the group, and the reason is purely physical. A 33MP back-illuminated Exmor R full-frame sensor collects roughly four times the light of an APS-C sensor, which means shorter exposures, lower ISO and less noise per sub. For faint emission and reflection nebulae, that advantage compounds across every frame in a stack.
The 5-axis SteadyShot stabilization is the sleeper feature for astro. It does not replace tracking, but it makes the difference between a rejected frame and a usable one when a gust catches the tripod between subs. Over a full night that saves real data.
Sensor Area and Native ISO in Real Night Conditions
Full-frame high-ISO performance is what this camera is actually for, and reviewers consistently describe exceptional RAW quality and low-light performance, which is the raw material for deep-sky stacking. The 14-bit files hold faint gradient detail across the dynamic range, which is exactly the data a nebula workflow needs. The counterpoint is that 33 million pixels spread across the same sky means each pixel gathers proportionally less light, so running the camera at a lower resolution setting is a legitimate trick when you are chasing the faintest object.
Dual Card Slots and All-Night Power Management
Dual CFexpress Type A and UHS-II SD slots mean you can mirror every frame to a second card, which matters when a single card failure would cost you a night of data, and they also let you separate RAW and JPEG output if your workflow wants both. Battery life is the practical limit on all-night work and owners call it average, so bring spares and keep them warm. For a dew-prone backyard setup I would still add a rain cover.

My verdict: if your budget allows one camera for both daylight and serious night work, this is it. If you are buying purely for astro and already own a good body, the money is often better spent on the mount, which sets your exposure ceiling far more than the sensor does.
7. Nikon Z 6II – The Best Camera for Long, Multi-Hour Night Sessions
Nikon Z 6II | Versatile Full-Frame mirrorless Stills/Video Hybrid Camera | Nikon USA Model
24.5MP BSI full-frame sensor
Dual EXPEED 6 processors at 14 fps
USB-C constant power delivery
Pros
- 24.5MP back-illuminated full-frame sensor handles high ISO well
- Dual processors and 3.5x deeper buffer than the Z 6
- USB-C constant power for multi-hour timelapses
- 273-point AF with wide-area eye detection
- Excellent out-of-camera JPEGs
Cons
- Subject tracking can lose targets
- Tilting screen does not rotate forward
- No dust protection shutter on the sensor
The Z 6II is the highest-rated body in this roundup, and the reason it earns a place in an astro list is USB-C constant power delivery. You can run the camera from a power bank or a fixed supply for an entire night without swapping batteries. On a multi-hour time-lapse or an unattended deep-sky sequence, that removes the single most common failure mode, which is a flat battery at 3am.
The 24.5MP back-illuminated full-frame sensor is described by owners as excelling in low light, and dual EXPEED 6 processors deliver 14 fps with a buffer 3.5 times deeper than the original Z 6. Reviewers migrating from Nikon DSLRs report an easy transition and high satisfaction with image quality.

Why Power Delivery Beats a Spare Battery Strategy
Most astro batteries fail because they sit cold for half the night, which drains them faster than the specification suggests, and constant power delivery sidesteps that entirely. It also means a flat battery is no longer a reason to come home, which is precisely when the sky is usually clearest. The 5-axis in-body vibration reduction is a quiet bonus on long focal lengths, smoothing the small vibrations that walking on a deck produces, though it cannot rescue bad polar alignment.
AF, Buffer Depth and the Limits of Subject Tracking
The 273-point phase-detect system with wide-area eye detection acquires targets quickly, which matters more for astro than most spec sheets admit, because finding a faint galaxy in a star field by hand takes minutes. Owners do report that subject tracking can lose a subject more readily than competing bodies, though that complaint is aimed at moving targets rather than static ones. The absence of a dust protection shutter is the more relevant complaint here, because swapping lenses in a dewy field is exactly when dust gets in.
My verdict: choose this if your sessions run past midnight or run unattended. The community view is that a Nikon Z 6 body remains a strong astro platform, and this generation fixed the buffer and the power management while keeping the sensor that reviewers already liked.
8. Canon EOS R6 Mark II – The Best Camera for Unattended Time-Lapse Sequences
Canon EOS R6 Mark II Mirrorless Camera (Body Only), Full-Frame Camera, 24.2 Megapixel CMOS Sensor, Photo and Video Capabilities, Black
24.2MP full-frame CMOS
ISO from 50
Up to 40 fps electronic shutter
6 hours continuous Full-HD
Pros
- Low ISO of 50 protects shadow detail
- Up to 6 hours of continuous recording for unattended runs
- 5-axis stabilization and a vari-angle touchscreen
- Fast subject detection helps acquire faint targets
Cons
- Body only so a lens must be added separately
- No built-in flash
- 40 fps mode drops to 20MP
The R6 Mark II is the pick when the session runs itself. Canon rates it for up to 6 hours of continuous Full-HD recording without overheating, and the 5-axis sensor-shift stabilization plus vari-angle touchscreen make it easy to set up, frame low, and walk away. Reviewers specifically praise that recording headroom for long unattended sessions.
The native low ISO of 50 is the quiet strength here. When you are stacking a Milky Way panorama with a foreground, the extra dynamic range below base ISO gives you clean shadow recovery in the foreground without lifting the sky noise. Owners call out the improved low-light performance over the first R6 as the headline change.
Dynamic Range at Low ISO and What It Buys You
Base ISO 50 sounds like a marketing number until you process a frame. A ground-based Milky Way shot has a bright sky and a very dark foreground, and that ratio is exactly where dynamic range gets spent, so starting lower leaves room to recover the foreground without dragging chrominance noise out of the sky. The 24.2MP full-frame sensor with Dual Pixel CMOS AF II handles the low-light side too, and the DIGIC X processor keeps grain low in the RAW files you will stack.
Thermal Headroom for Overnight Recording
Overheating is the failure that ends a night session early, and six hours of continuous Full-HD recording without overheating is the number that matters for a fixed camera, giving comfortable headroom for an unattended time-lapse. The 40 fps electronic shutter is not an astro feature, and the drop to 20MP in that mode is worth understanding before you chase it. Two smaller notes: this is a body-only package, so budget for a lens, and there is no built-in flash.

My verdict: the best choice here for a camera that will be pointed at a fixed scene and left alone from dusk to dawn. Canon bodies such as the 90D and R5 were also the most-recommended all-round general-purpose astro bodies in the community thread we studied.
9. SVBONY SV305C Pro – The Best Guide Camera for Astrophotography
SVBONY SV305C Pro Telescope Camera, USB 3.0 High-Speed, 2MP IMX662 Sensor
1/2 inch IMX662 sensor
0.7e- readout noise
1920×1080 at 107 fps
USB 3.0 at 5 Gbps
Pros
- Very low 0.7e- readout noise for a sharp guide image
- 107 fps at 1080p is excellent for planetary stacking
- ST4 port makes it a capable guide camera
- 128MB DDR buffer prevents dropped frames
- Works with NINA
- PHD2 and SharpCap via ASCOM
Cons
- 2MP sensor has no deep-sky resolution
- Occasional disconnects on powered USB hubs
- Not a standalone device without capture software
This is the most useful camera in the roundup for anyone who already owns a telescope and an imaging train, and experienced imagers consistently say so. The 0.7e- readout noise on the 1/2 inch IMX662 sensor produces a clean, sharp guide image, and the ST4 guiding port means it drives a mount through PHD2 or ASCOM. Several reviewers report it outperforming dedicated guiding hardware at a fraction of the cost.
That is the real verdict on this camera. It is a guide camera first and an imager second. Use it to correct tracking, and let the body in your other tripod do the collecting.
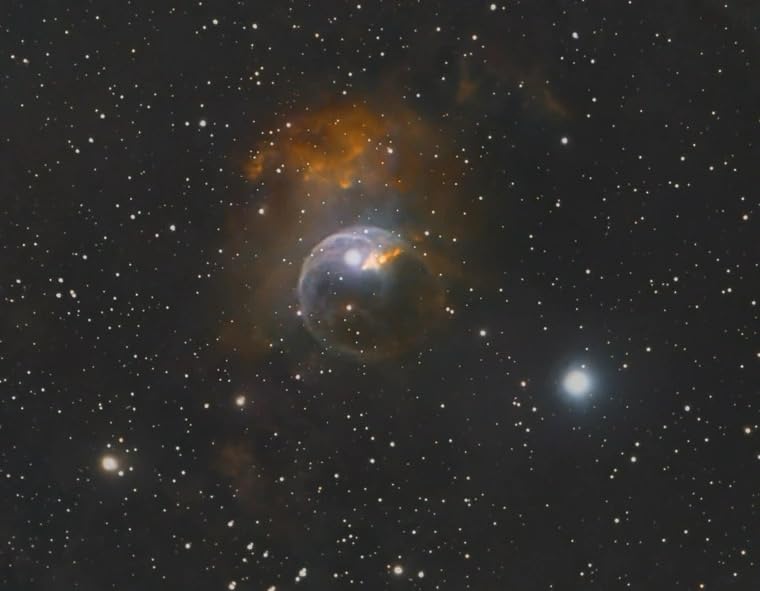
Read Noise, Frame Rate and Why Guiding is the Priority
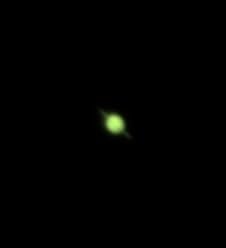
Guiding works by measuring star movement in real time and telling the mount to correct, so low read noise means the guide camera sees faint stars cleanly and holds on to a target longer before losing it. At 0.7e- this is one of the cleaner sensors in the roundup, and 107 fps at 1080p gives the guiding software frequent updates. For planetary work the same frame rate is the difference between a smeared and a sharp capture of a fast-moving gas giant, the 128MB DDR buffer keeps frames intact during burst transfers, and USB 3.0 at up to 5 Gbps keeps the guiding loop responsive.
Where It Falls Short as an Imaging Camera
Two megapixels is not enough for deep-sky. Even on a fast scope the sampling would be coarse and a faint nebula would need a frame count that is not practical, so if your plan is guided deep-sky you need a separate imager. The recurring complaints are practical rather than electronic: some owners report disconnects when plugged into powered USB hubs, there is no iPad support though MacBook use is fine, and it needs a computer and capture software, so it is never a standalone device.
My verdict: if your mount can autoguide and you have no guide camera, this is the highest-value purchase in the guide. Buy it for guiding, keep it in the guide train, and let it do the one job it is best at.
10. SVBONY SV205 – The Best Astrophotography Camera for Lunar Surface Detail
SVBONY SV205 Telescope Camera,1.25″ 7.05MP IMX415 Astrophotography Camera
7.05MP IMX415 color sensor
1.45um pixels
30 fps MJPG at 1080p
1.25 inch machined adapter barrel
Pros
- Higher resolution than most 1.25 inch eyepiece cameras
- Plug and play with no driver installation
- Works with almost any telescope via the standard barrel
- Includes dust cover
- cloth and USB 3.0 cable
Cons
- No hardware cooling so long exposures show hot pixels
- Not suitable for deep-sky at this sensor size
- Capture software must be downloaded separately
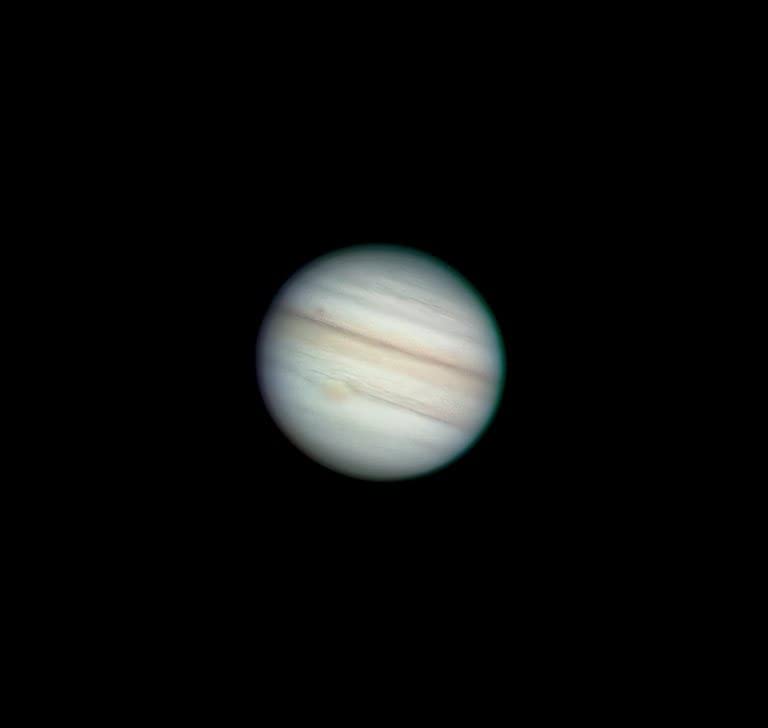
Where the SV105 prioritises simplicity, the SV205 prioritises resolution. The 7.05MP IMX415 color sensor with 1.45um pixels produces noticeably better stills than cheaper eyepiece models, and for lunar work that extra detail is exactly what you want. Craters, rilles and shadow terminators resolve rather than smudge.
It is still a small-sensor planetary and lunar tool. Owners treat it as an affordable first astronomy camera for lunar and bright planetary work, and the plug-and-play setup is the main selling point. The package includes a machined aluminum 1.25 inch adapter barrel, a dust cover, a cleaning cloth and a USB 3.0 cable.
Sensor Resolution and Frame Rate Trade-offs
You have two recording modes. MJPG runs up to 30 fps at 1920×1080 and uncompressed YUV drops to 15 fps at 3264×2160, so for planetary stacking you want the 30 fps mode because frame rate beats resolution when your target is moving, while a still capture of the full Moon justifies the slower higher-resolution mode. Dark light compensation improves low-light clarity on the live view, but as with the SV105 I would capture video and stack it rather than lean on in-camera processing.
Cooling, Hot Pixels and Honest Limits
There is no hardware cooling, so long exposures collect hot pixels and noise, and for lunar and bright planetary work at high frame rates that matters far less than it would for deep-sky. Reviewers accept it as the price of an entry-level astronomy camera. Capture software must be downloaded separately, with AstroDMx Capture covering Mac laptops, and there is no iOS support or weather sealing, so treat it as a fair-weather tool.
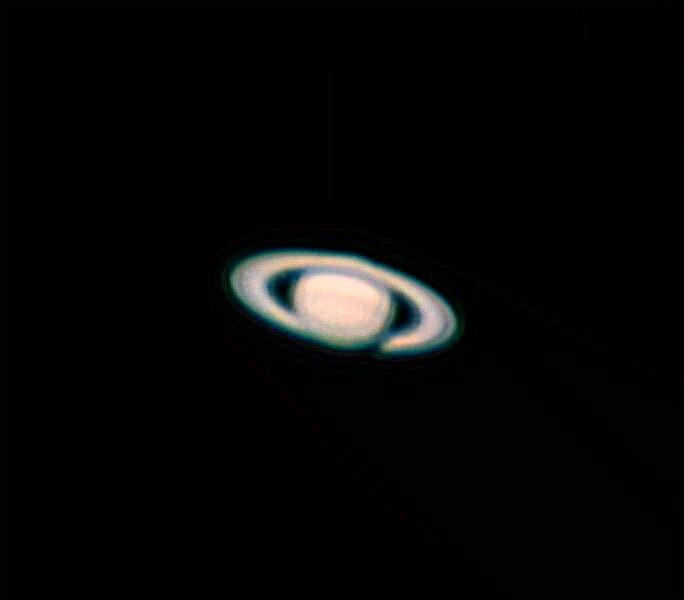
My verdict: the pick if your first target is the Moon and you want more resolution than the SV105 offers. It is a modest step up for a modest outlay, and it is the last thing most beginners need before moving to a general camera body and a tracker. If you are starting entirely from scratch, our DSLR buying guide covers the general-body path in more depth.
How to Choose an Astrophotography Camera: Seven Criteria That Matter
Specs sheets mislead people in this category, because the numbers that matter most to an astro image are rarely the ones printed largest. Here is how I would actually evaluate any camera before buying it for night work.
1. General Bodies, Cooled Astro Cameras and Eyepiece Cameras
Decide the family first, because a good choice within the wrong family still gives you the wrong result. A general body is the cheapest way to start and handles wide-field and star-trail work natively, a dedicated astronomy camera is a small fixed sensor that screws into a telescope and wins on long sub-exposures, and an eyepiece camera is a low-cost teaching tool for the Moon and bright planets. Beginners can start with almost any mirrorless or DSLR body, and a dedicated cooled camera only becomes necessary once you are shooting faint deep-sky targets through a telescope with long sub-exposures.
2. Sensor Format Decides How Faint You Can Go
Full-frame sensor area is the single biggest lever on faint-target performance, and it is why the Alpha 7 IV and the Z 6II sit at the top of this list for deep-sky work. APS-C is a reasonable compromise and is what most beginners should buy, while smaller sensors are for the Moon, planets and guiding. Megapixels are close to irrelevant next to sensor area, which is why a fast lens and a clean high-ISO range matter more than the resolution headline.
3. Guide Camera Resolution and Read Noise
A guide camera only has to see stars and send correction signals, so low read noise matters far more than resolution. The SV305C Pro’s 0.7e- readout noise is the specification to compare against, and experienced imagers describe it as outperforming dedicated guiding hardware. A 2MP guide sensor is perfectly adequate, and 107 fps keeps the correction loop responsive.
4. The 500 Rule and 400 Rule, With Worked Examples
These two rules give you the longest exposure you can take before stars start to trail, and they explain why the lens matters as much as the body.
The 500 rule divides 500 by your full-frame-equivalent focal length to get the maximum shutter speed in seconds, so a 20mm lens gives a 25-second exposure and a 50mm lens gives 10 seconds. The 400 rule is the same calculation with 400 in place of 500, which gives a more cautious number that many imagers prefer on heavier or less rigid mounts. Worked example: a 24mm full-frame lens on a light tripod allows about 20 seconds, while the same lens on a solid equatorial tracking mount can hold 300-second sub-exposures, which is the entire point of tracking.
That is the practical link to camera choice. On an untracked tripod, exposure length is capped by lens, so you push ISO and want a body with a high native ceiling. On a tracker, the cap disappears and you want sensor area. The two paths justify very different cameras.
5. Mono, One-Shot Color and Dual-Band
One-shot color, or OSC, gives you finished colour in a single exposure and is far easier for a beginner. Mono gives maximum sensitivity and control but requires narrowband filters and colour reconstruction in software, a much steeper learning curve, and dual-band sits between the two by passing the emission lines nebulae produce most strongly. None of the general-purpose bodies here are mono, and that is not a flaw, so if you are unsure, OSC first and mono later if you decide you enjoy the processing.
6. Astro-Modifying a DSLR: Warranty, IR-Cut and Resale
Modifying a DSLR means removing the infrared-cut filter so hydrogen-alpha wavelengths reach the sensor, revealing nebulae that appear red through an unmodified camera. The cost is real: your warranty is void, the change is irreversible, and resale value drops. Multiple community members advise beginners not to modify a camera yet and to focus on acquisition technique first, and I agree. My recommendation is to buy an unmodified body, learn focusing, polar alignment and stacking, then consider a modified body or a dedicated camera as a second tool rather than a first purchase.
7. Pairing the Camera With a Tracker and a Fast Wide Lens
The camera is rarely the limiting component in a new rig. A star tracker, a solid tripod and a fast wide-angle lens will improve your images more than a sensor-format upgrade, and you can read our star tracker picks before you commit. A wide lens also keeps you inside the 500 rule, which means you can use longer exposures and lower ISO before the mount becomes the bottleneck.
Frequently Asked Questions
What is the best camera for astrophotography?
For most beginners, a general-purpose mirrorless or DSLR body with manual controls and a high native ISO range is the right starting point. In our testing the Canon EOS Rebel T7 was the strongest all-round value, while the Sony Alpha 7 IV gave the best deep-sky results thanks to its full-frame sensor.
What is the best camera for beginners who want to learn night photography?
Start with a body you can grow into rather than the cheapest possible astro camera. The Canon EOS Rebel T7 pairs manual exposure control with a 24.1MP APS-C sensor and ISO up to 6400, which is enough to capture the Milky Way and, with a tracker, faint deep-sky targets.
What is the 500 rule for astrophotography?
The 500 rule divides 500 by your full-frame-equivalent focal length to give the longest exposure in seconds before stars visibly trail. A 20mm lens gives about 25 seconds and a 50mm lens about 10 seconds. It is a guideline for untracked tripod work, and a tracker removes the constraint entirely.
What is the 400 rule in astrophotography?
The 400 rule is the same calculation as the 500 rule but more conservative, dividing 400 by focal length. A 20mm lens gives about 20 seconds. Many imagers prefer it because it leaves margin on heavier or less rigid mounts where the real tracking error is worse than the rule predicts.
Do I need a cooled camera for astrophotography?
No, not for your first year. General bodies and eyepiece cameras can produce excellent wide-field and lunar results. Cooling only becomes important when you take long sub-exposures through a telescope on faint deep-sky targets, where sensor heat generates hot pixels and amp glow that dark-frame calibration must then remove.
Which Astrophotography Camera Should You Buy in 2026?
If you want one clear recommendation, take the Canon EOS Rebel T7. It is the best camera for astrophotography for most people, it costs little, its controls suit long manual exposures, and 5,355 owners have already proved the platform works in the field.
Match the pick to your actual target list. Buy the Sony Alpha a6000 if you want more high-ISO headroom than an entry body without moving up to full-frame. Buy the Sony Alpha ZV-E10 if you shoot travel nightscapes and want a swiveling screen at the eyepiece. Buy the Sony Alpha a6400 if star trails and unattended time-lapses are the goal. Buy the Sony Alpha 7 IV for the best faint deep-sky results, the Nikon Z 6II for all-night power delivery, and the Canon EOS R6 Mark II for a rig that will run itself from dusk to dawn.
And if you already own a telescope, the accessories may matter more than the camera. The SVBONY SV305C Pro is the guide camera I would add first, because better guiding improves every image you take. The SV205 earns its place if the Moon is your target, and the SV105 is the cheapest way to find out whether you enjoy this hobby at all.
Whichever route you take, learn polar alignment and stacking before you upgrade anything. The camera you already own will carry you further than you think, and the rig you build around it matters more than the body.
Leave a Reply