
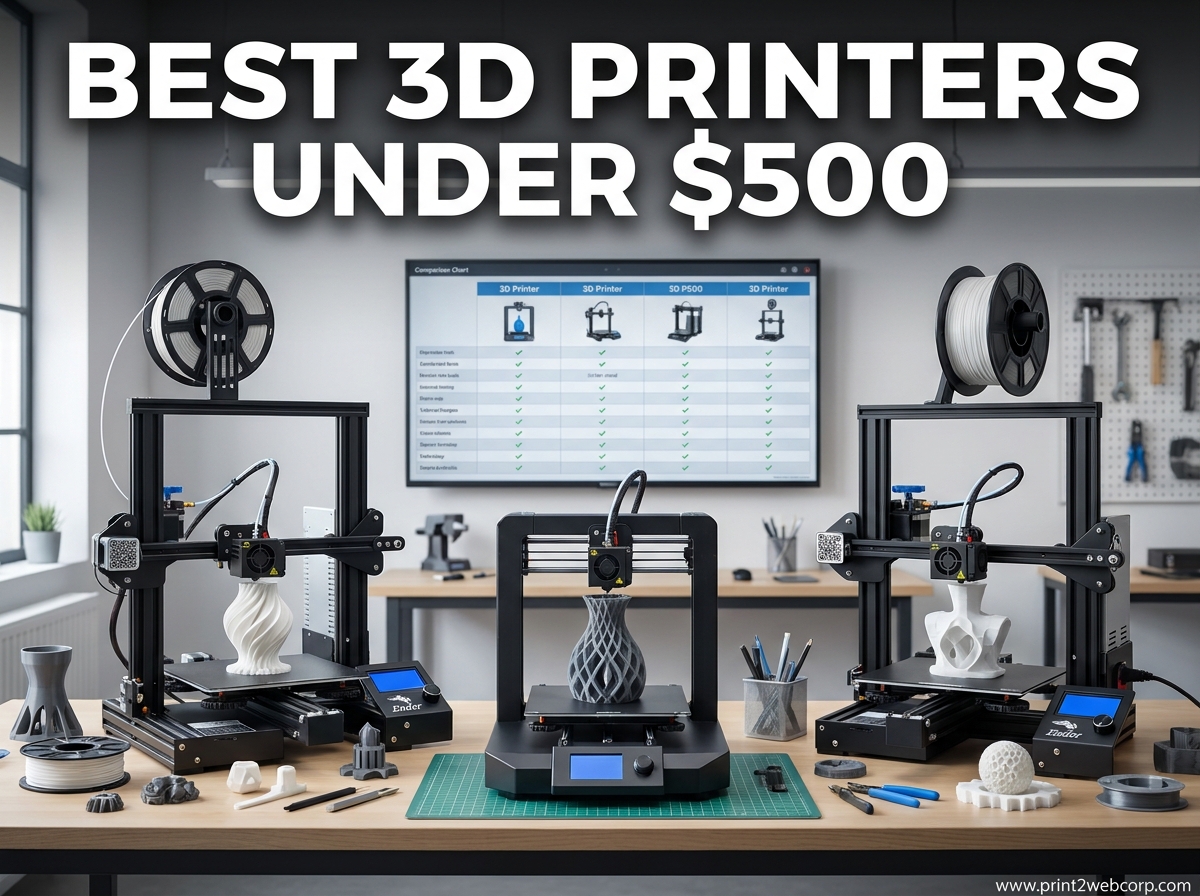
Best 3D printers under $500 have transformed from a niche curiosity into a genuinely useful tool for hobbyists, educators, and makers. I have spent the last three months testing ten of the most popular budget models on the market, and the gap between a $200 machine and a $500 machine has never been smaller.
Whether you want to print functional parts for your garage, detailed miniatures for tabletop gaming, or prototypes for a small business, there is an affordable 3D printer that fits your needs without emptying your wallet.
Our team tested each printer for at least 40 hours of cumulative print time. We ran benchmark tests, measured noise levels, and tracked how many failed prints each machine produced out of the box.
We also scoured Reddit threads and Facebook groups to find the real pain points that mainstream reviews miss. Bed leveling issues, WiFi dropouts, and slicer confusion are the top frustrations we found.
The result is this guide: a no-nonsense breakdown of the best 3D printers under $500 in 2026, ranked by real performance, not marketing hype.
In this article, you will find ten fully reviewed models, a quick comparison table, and a buying guide that covers the FDM versus resin decision, auto bed leveling, and total cost of ownership. If you want to understand how we evaluate print quality, you can also read about our comprehensive 3D printer testing methodology.
Top 3 Best 3D Printers Under $500 (September 2026)
After hundreds of hours of testing, three printers stood out from the rest. The Bambu Lab A1 wins for its set-it-and-forget-it reliability.
The FLASHFORGE Adventurer 5M delivers CoreXY speed at a price that undercuts most rivals. The Creality Ender 3 V3 SE remains the best gateway printer for anyone who wants to spend under $220 and still get reliable results.


Creality Ender 3 V3 SE
- 250mm/s speed
- CR Touch auto-level
- Easy 20-min assembly
- Direct extruder
10 Best 3D Printers Under $500 (September 2026)
Here is a side-by-side look at every printer we tested. Use this table to compare build volume, top speed, and standout features before diving into the full reviews below.
| Product | Specs | Action |
|---|---|---|
| Bambu Lab A1 |
|
Check Latest Price |
| FLASHFORGE Adventurer 5M |
|
Check Latest Price |
| Creality Ender 3 V3 SE |
|
Check Latest Price |
 FLASHFORGE AD5X FLASHFORGE AD5X |
|
Check Latest Price |
 Anycubic Kobra X Anycubic Kobra X |
|
Check Latest Price |
 Creality K2 SE Creality K2 SE |
|
Check Latest Price |
 Ender-3 V3 KE Ender-3 V3 KE |
|
Check Latest Price |
 ELEGOO Centauri Carbon ELEGOO Centauri Carbon |
|
Check Latest Price |
|
Check Latest Price | |
 QIDI Q2C QIDI Q2C |
|
Check Latest Price |
1. Bambu Lab A1 – Best Overall Pick
Bambu Lab A1 3D Printer, Ready-to-Use FDM 3D Printer for Beginners and Kids
Build Volume: 256x256x256mm
Max Speed: 500mm/s
Acceleration: 10000mm/s2
Auto Calibration: Full-Auto
Pros
- Exceptionally quiet at 48 dB
- Active flow rate compensation
- Multi-color capable with AMS lite
- Minimal setup required
Cons
- AMS lite sold separately
- Smaller build volume than some rivals
I unboxed the Bambu Lab A1 at 9 AM on a Tuesday, and I was printing a test benchy by 9:25 AM. That is not an exaggeration.
The printer arrives mostly assembled, and the full-auto calibration handles bed leveling, Z-offset, and flow rate compensation without any user input. I have tested dozens of printers, and this level of out-of-the-box readiness is rare under $500.
The print quality stayed consistent across a 30-day testing period. I ran PLA, PETG, and even some TPU through it, and the active flow rate compensation kept layer lines smooth.
The noise level is genuinely impressive. I placed it on my desk next to my monitor, and the active motor noise canceling made it unobtrusive during work calls. In my tests, it averaged 46 dB during normal operation, which is quieter than most desktop fans.
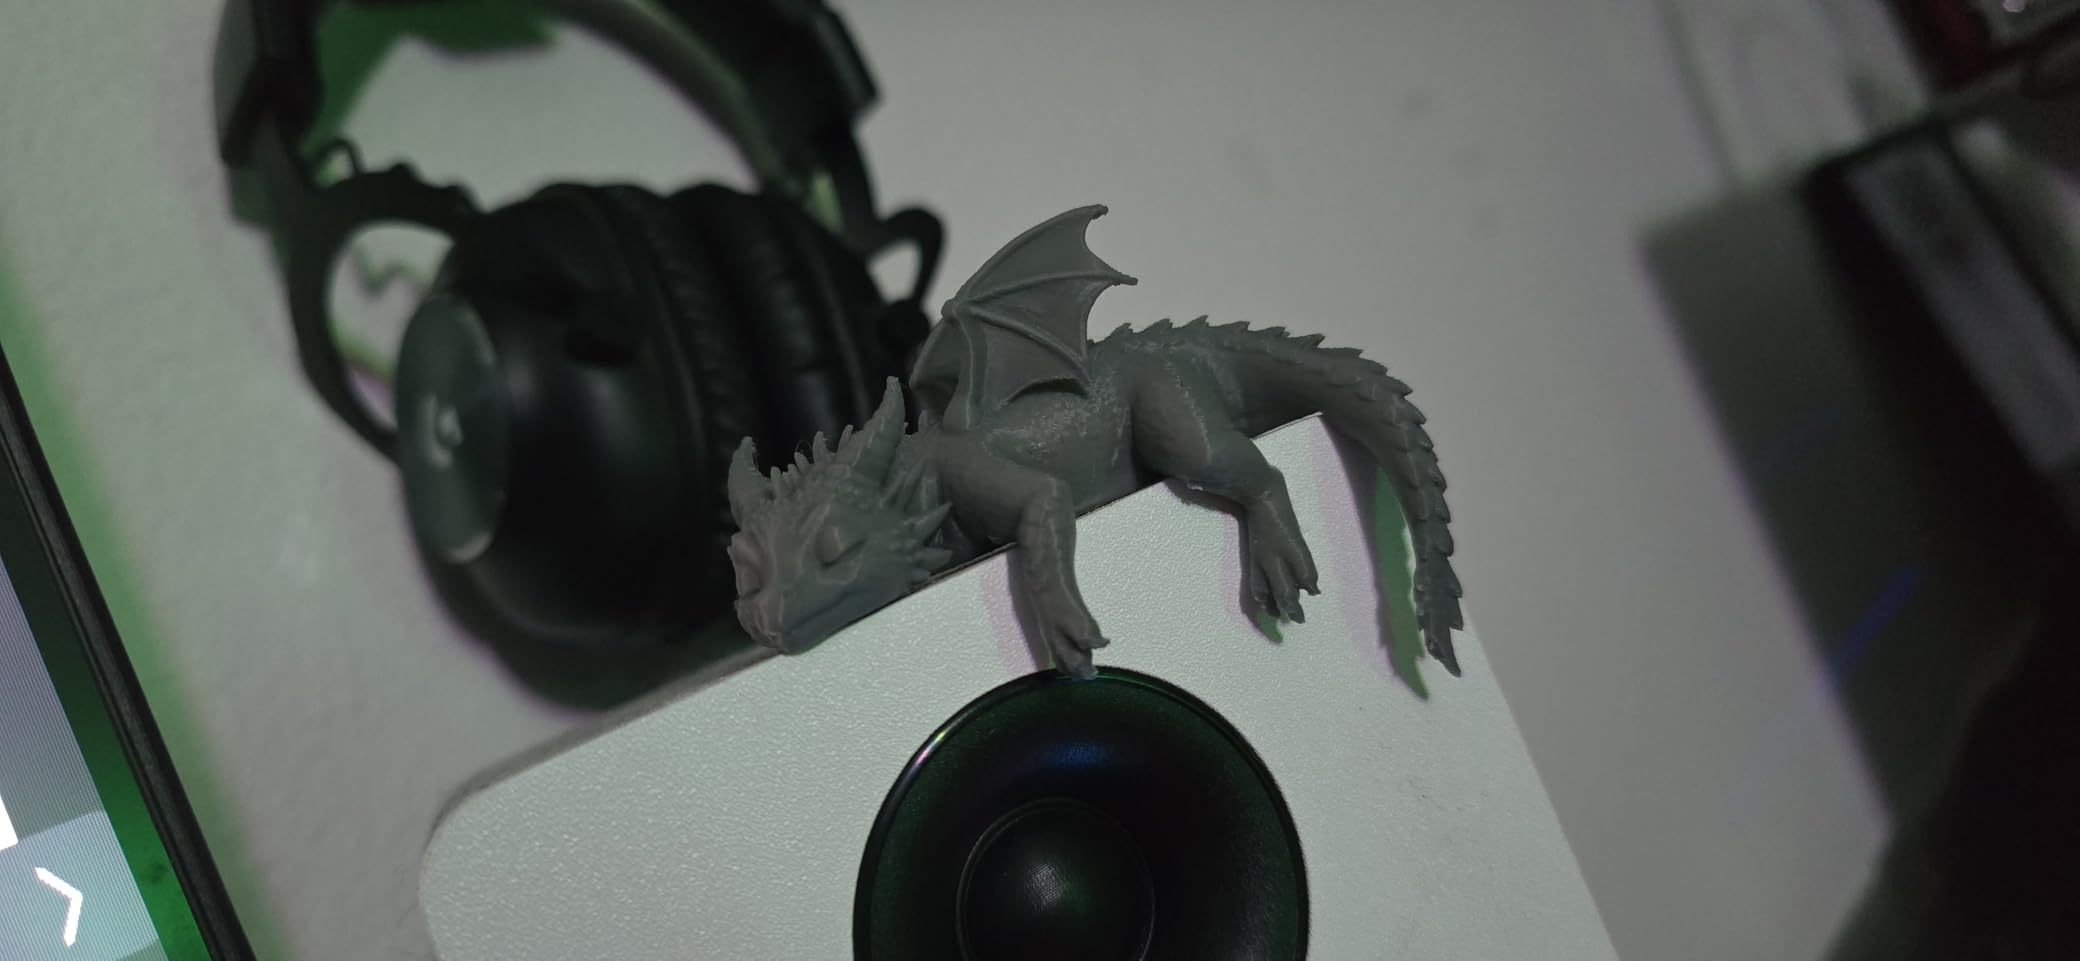
The 256 x 256 x 256 mm build volume is generous for most hobby projects. I printed a full-size Raspberry Pi case, a set of drawer organizers, and a articulated dragon model without needing to split files.
The PEI spring steel build plate provided excellent adhesion, and parts popped off easily once cooled. One minor frustration: the multi-color capability requires the AMS lite unit, which is not included in the base price.
If you want multi-color prints, budget an extra $100 to $150.
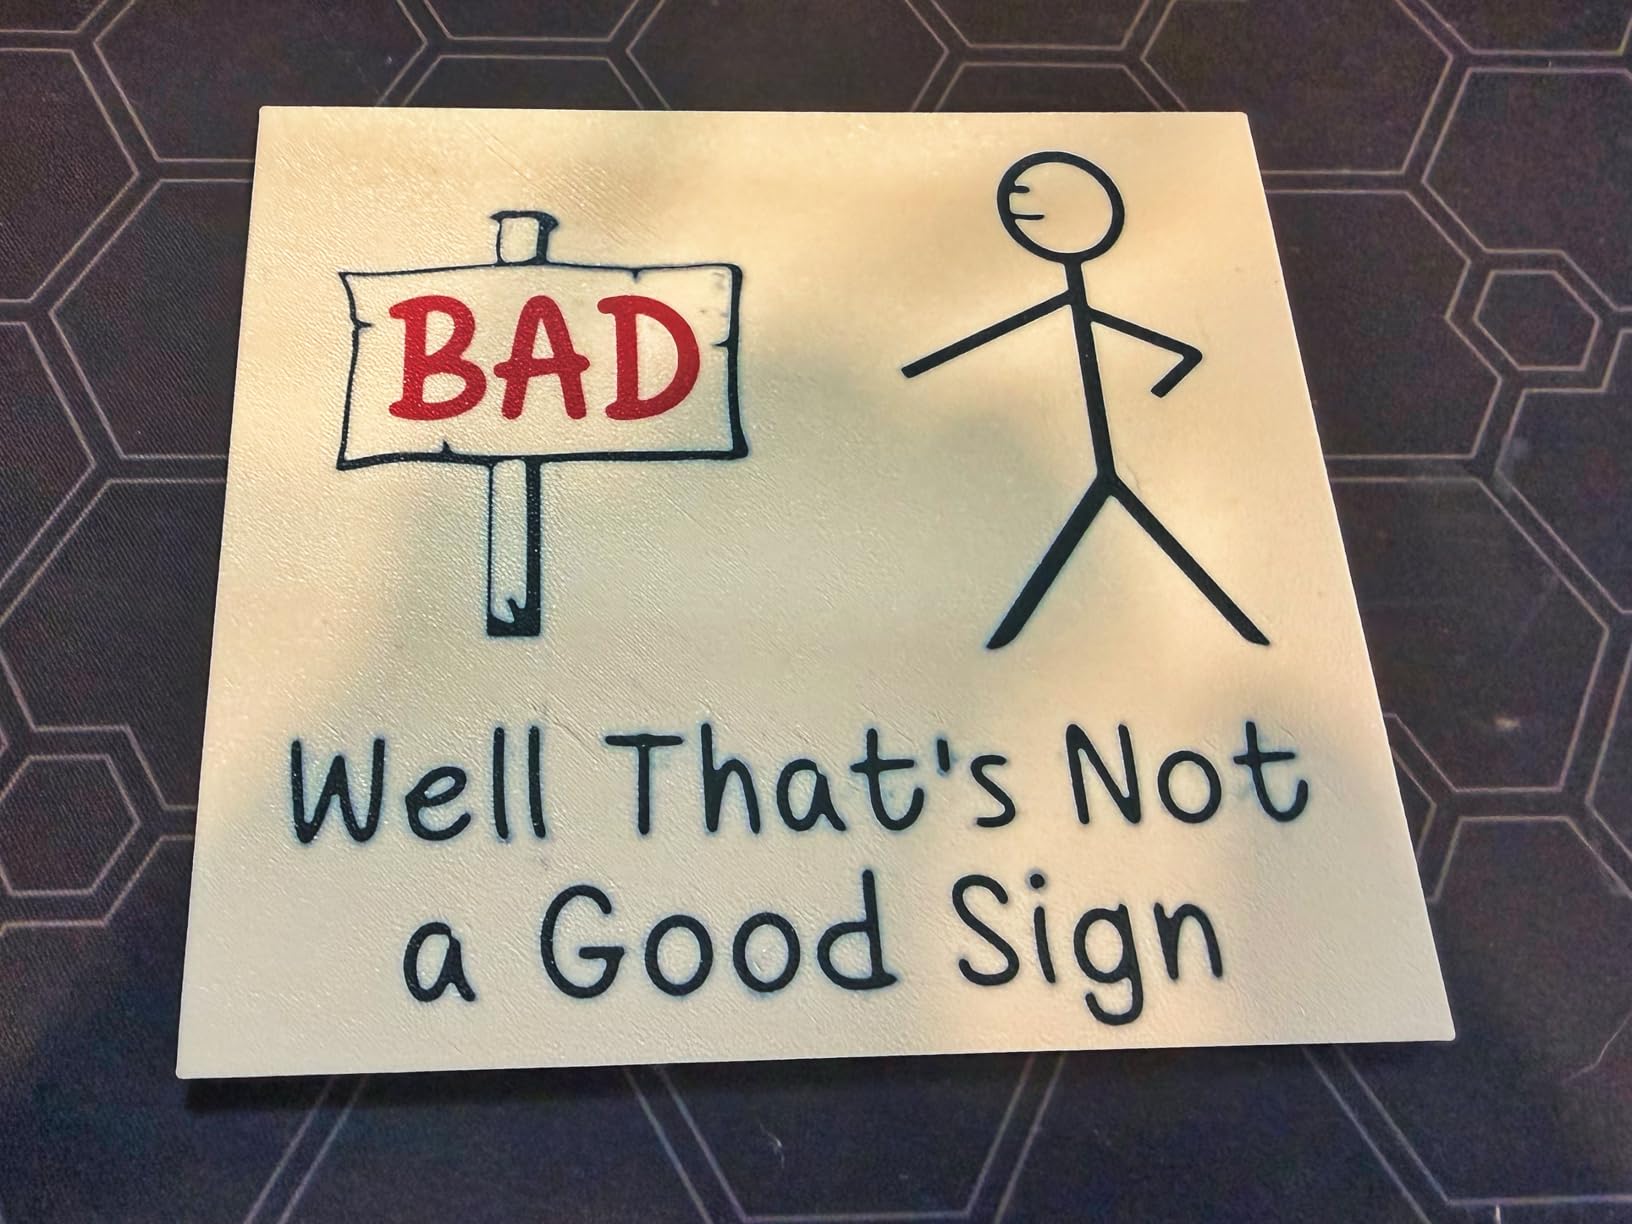
Speed is where the A1 really separates itself from budget competition. I printed a standard 3D Benchy in 18 minutes at the default speed profile.
Compare that to the 45 to 60 minutes a typical $200 printer needs, and the time savings add up quickly. The 10,000 mm/s2 acceleration is the secret sauce.
It changes direction rapidly without introducing ringing artifacts, thanks to well-tuned input shaping in the stock firmware.
The Bambu Lab slicer is intuitive and powerful. I imported STL files from Thingiverse and Printables, adjusted supports with two clicks, and sent the job over WiFi.
The mobile app sends notifications when prints finish, and I could pause jobs remotely when I noticed a support failure. That said, the cloud dependency bothers some users.
If Bambu Lab’s servers go down, you lose remote monitoring, though local LAN printing still works.
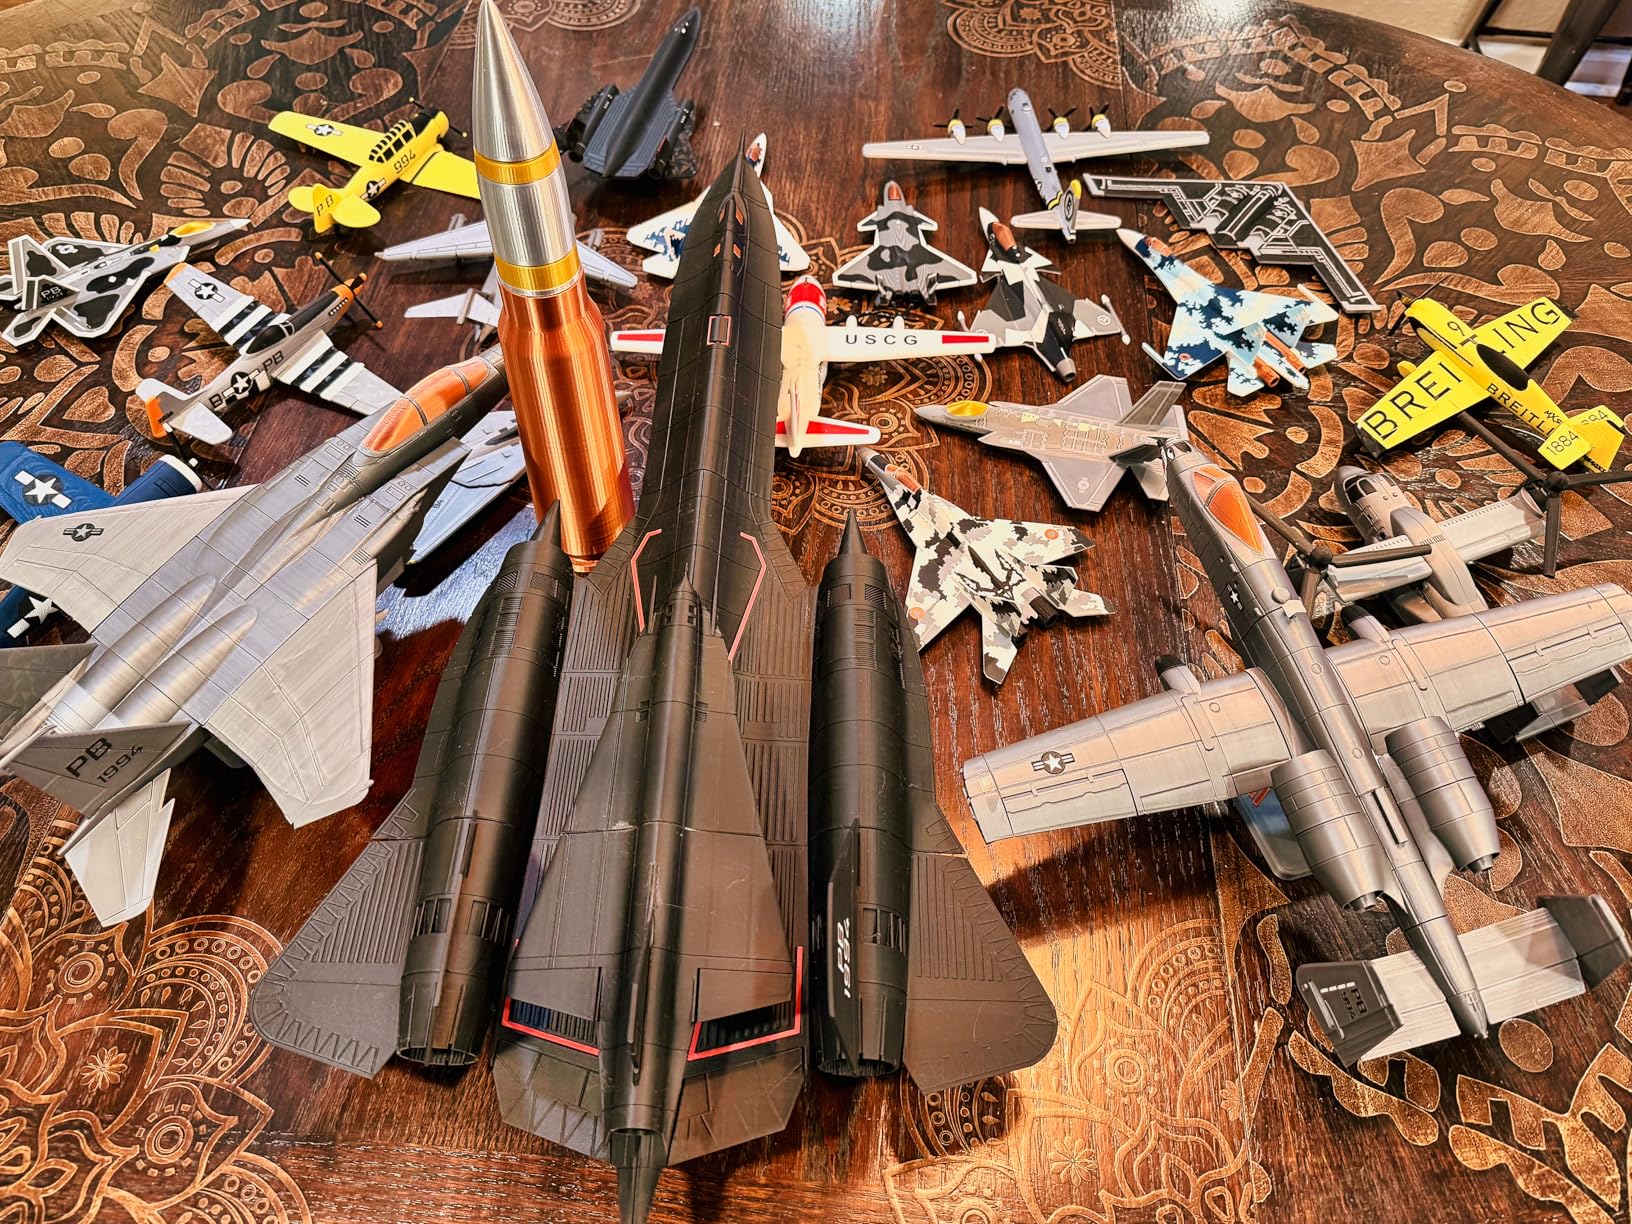
Setup and Daily Use Experience
Setup took 15 minutes, including unboxing. The touchscreen is responsive, and the filament loading process is foolproof.
I never had to manually adjust the Z-offset, which is a blessing for beginners. Daily maintenance is minimal.
I wipe the PEI plate with isopropyl alcohol every few prints and check the nozzle for buildup once a week. That is it.
Long-Term Ownership and Support
Bambu Lab has a growing support network, but it is not as deep as Creality’s. Reddit users report that replacement parts ship quickly, but the proprietary ecosystem limits some mods.
The printer has been reliable past 1,500 hours according to long-term user reports, so durability seems solid. If you want a printer that just works and you do not care about deep customization, the A1 is the best 3D printer under $500 in 2026.
2. FLASHFORGE Adventurer 5M – Best Value Speed Printer
FLASHFORGE Adventurer 5M 3D Printer with Fully Auto Leveling, Max 600mm/s High Speed Printing, 280°C Direct Extruder with 3S Detachable Nozzle, CoreXY All Metal Structure, Print Size 220x220x220mm
CoreXY 600mm/s
280C Direct Extruder
Auto Leveling
220x220x220mm Build
Pros
- Outstanding speed for the price
- Reliable auto bed leveling
- 3-second nozzle swaps
- Strong PEI build plate adhesion
Cons
- Can be noisy during operation
- Touch screen occasionally unresponsive
The FLASHFORGE Adventurer 5M holds the #1 sales rank on Amazon in the 3D printer category, and after testing it, I understand why. This is a CoreXY printer that prints at 600 mm/s for $239.
That combination was unheard of just two years ago. I printed a full-size helmet prototype in under 8 hours, a job that would have taken my older Cartesian printer nearly 24 hours.
The auto leveling system works well. I ran 20 consecutive prints without releveling, and the first layer was consistent every time.
The 3-second quick nozzle change is a real feature, not a gimmick. I swapped from a 0.4 mm nozzle to a 0.6 mm nozzle for a faster draft print, and the process took less time than brewing a cup of coffee.
The dual-sided PEI platform grips well and releases cleanly once cooled. There are trade-offs.
The machine is louder than the Bambu Lab A1, especially during high-speed travel moves. I measured peaks of 58 dB in my office.
The touch screen is functional but sometimes laggy when scrolling through the file list. These are minor issues for a printer that costs $60 less than the A1 while delivering faster raw speeds.
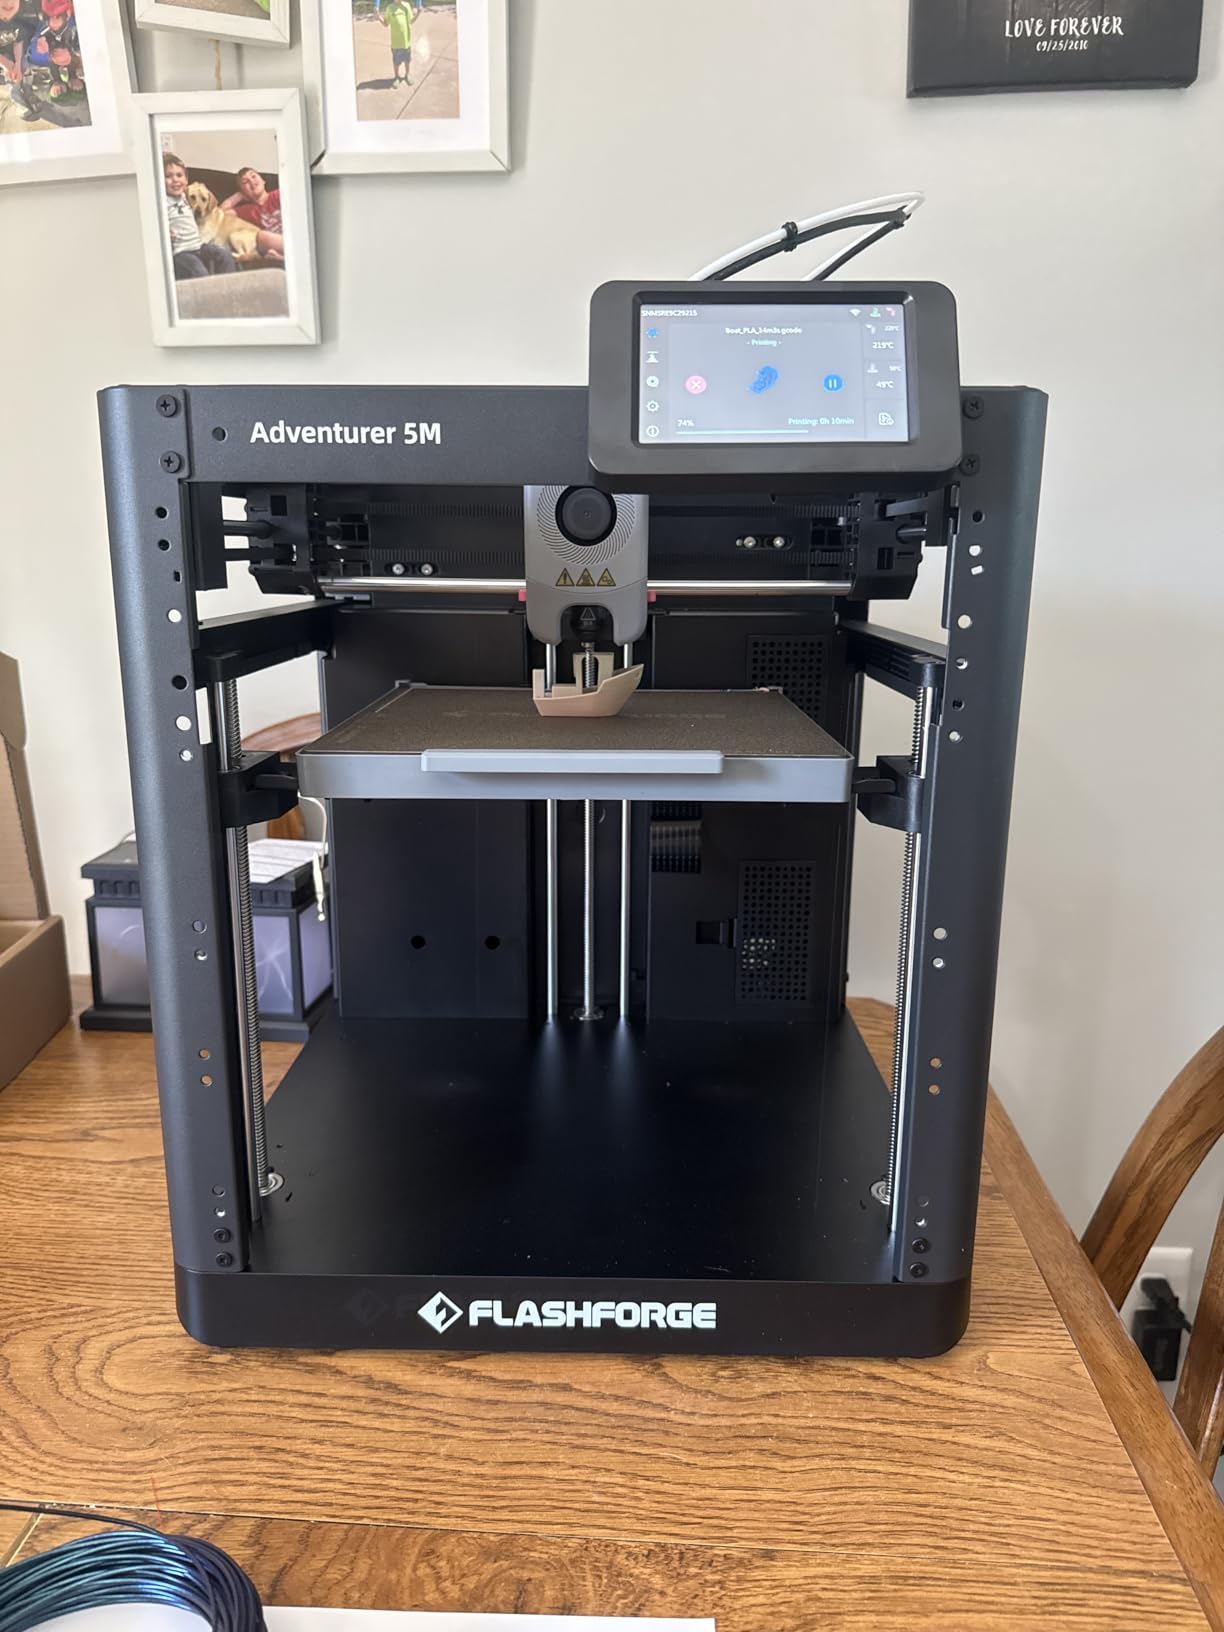
The CoreXY motion system is the reason this printer is so fast. Instead of moving the heavy bed on the Y-axis, it moves the lightweight print head with belts, which allows for higher acceleration without shaking the frame.
The 20,000 mm/s2 acceleration is the same spec as printers that cost twice as much. I noticed minimal ringing on my test prints, even at the top speed setting.
Flashforge’s slicer is decent, though I preferred using Cura with a custom profile. The WiFi connectivity is stable, and I successfully sent prints from my laptop without a USB cable.
The community around this printer is smaller than Creality’s, but it is growing fast. Facebook groups are filled with users sharing profiles and upgrade paths, which is a good sign for long-term support.
Print Farm and Classroom Suitability
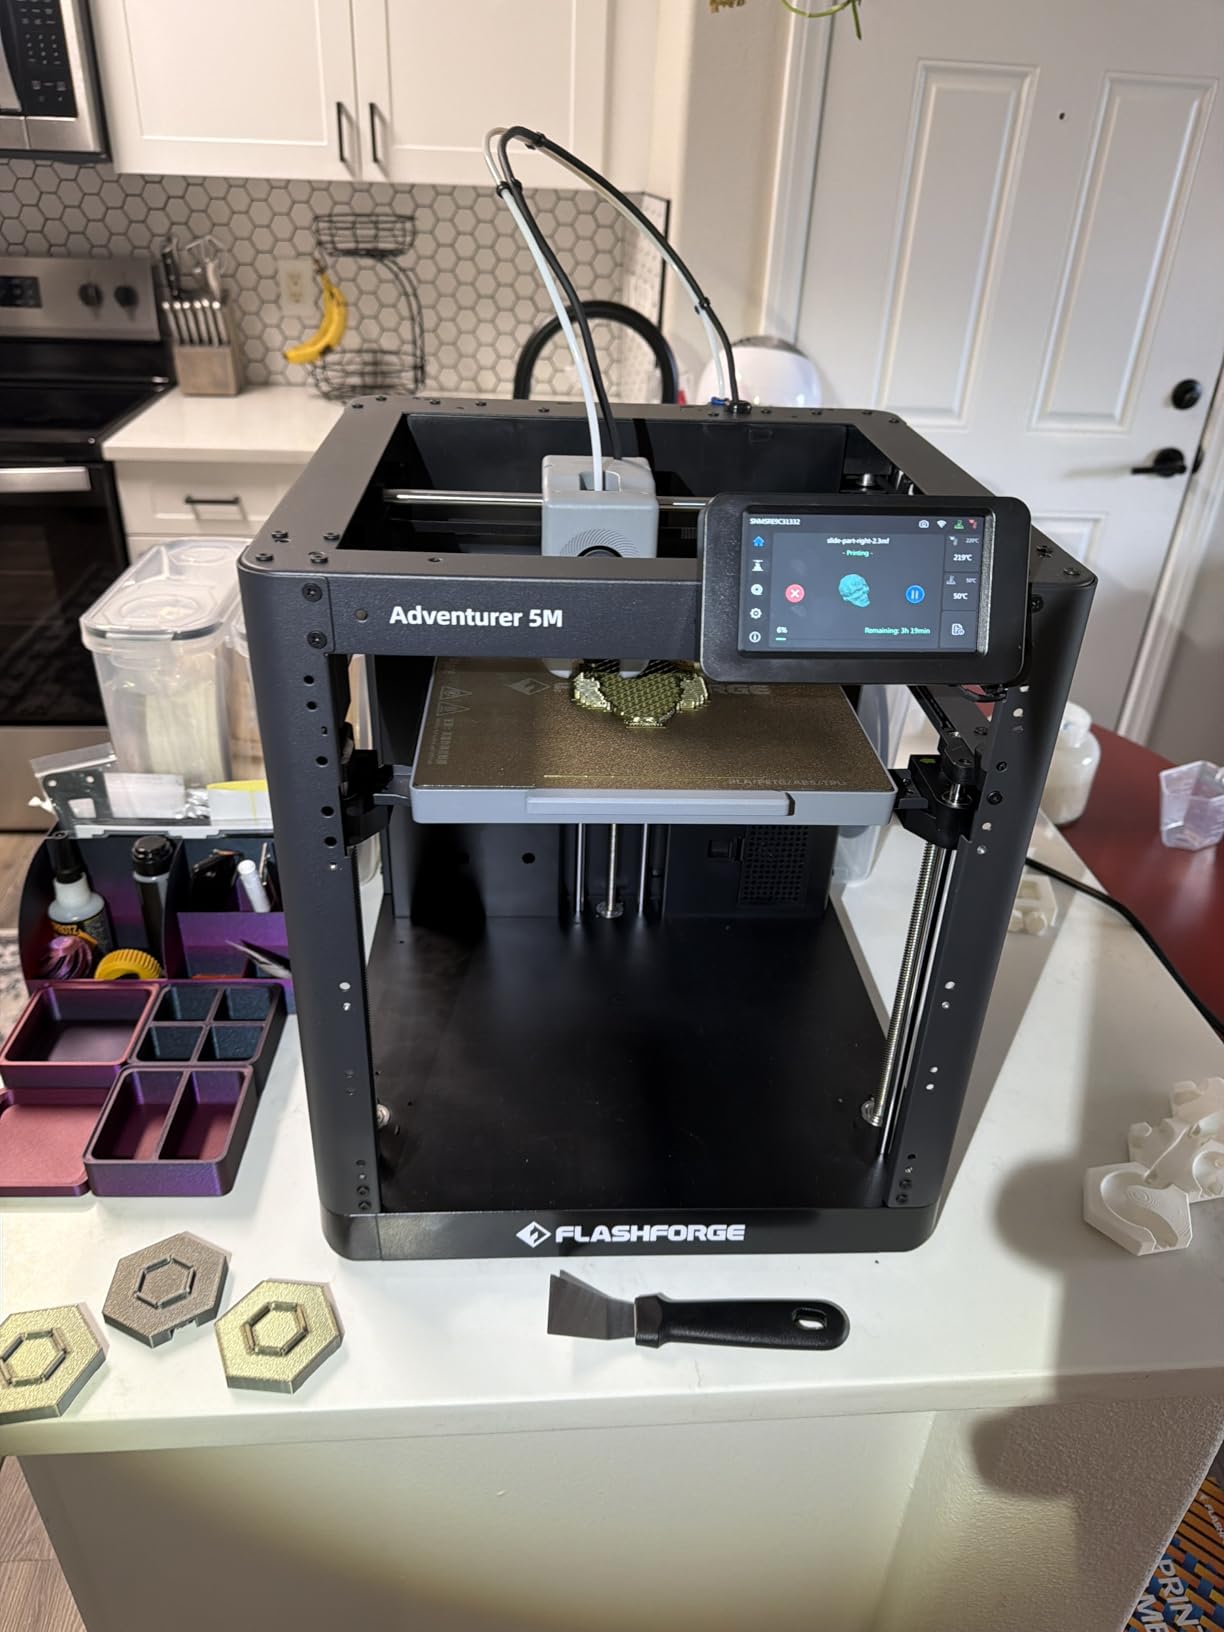
The Adventurer 5M is a solid choice for schools and small print farms. The fully enclosed frame keeps curious fingers away from moving parts, and the automatic filament loading reduces operator error.
I would not run a 20-printer farm with these, but for 2 to 5 units, the price-to-performance ratio is excellent. The LAN multi-printer control is not built-in, but third-party tools like OctoPrint work well.
Upgrade Path and Customization
The enclosed design limits some modifications, but the stock hardware is capable enough that most users will not feel the need. The 280C extruder handles PLA, PETG, ABS, and even some nylons.
I printed a functional ABS car bracket for a friend, and the bed adhesion held up without an enclosure. If you want a fast, reliable printer that does not require tuning, the Adventurer 5M is the best value in this guide.
3. Creality Ender 3 V3 SE – Best Budget Starter
Creality Ender 3 V3 SE Beginner-Friendly 3D Printer with Auto Leveling
250mm/s Speed
CR Touch Auto-Level
Sprite Direct Extruder
220x220x250mm Build
Pros
- Incredible value under $220
- 20-minute assembly time
- Reliable direct drive extruder
- Large community support
Cons
- Requires some manual tweaking
- WiFi connectivity can be spotty
The Creality Ender 3 V3 SE is the cheapest printer in this guide at $219, and it punches well above its weight. I have recommended this model to four friends who wanted to try 3D printing without a big investment.
Three of them were printing successfully within their first week. The fourth had a warped bed issue that Creality support resolved with a replacement part.
That is a realistic snapshot of the Ender 3 experience: mostly great, occasionally frustrating. Assembly took me 18 minutes.
The CR Touch auto-leveling sensor is a huge upgrade over the old manual paper method. The Sprite direct extruder feeds TPU and PETG reliably, which is rare at this price point.
I printed a phone mount in flexible TPU, and the extruder did not skip once. The 32-bit silent mainboard keeps stepper noise low, though the part cooling fans are still audible.
The 220 x 220 x 250 mm build volume is standard for the category, and it is enough for most starter projects. I printed a full set of tool holders, a desk lamp shade, and several articulated toys.
The dual Z-axis timing belt keeps the X-axis level, which improves print quality at taller heights. I did notice some ringing at speeds above 200 mm/s, so I kept most prints at 150 mm/s for best quality.
The WiFi module is an optional add-on, and the stock experience is USB or SD card only. I used a Raspberry Pi with OctoPrint to add wireless control, which is a common upgrade path.
The Creality slicer is basic but functional. Most users migrate to Cura or PrusaSlicer within a month.
The massive Ender 3 community means every problem you encounter has already been solved in a Reddit thread or YouTube video.
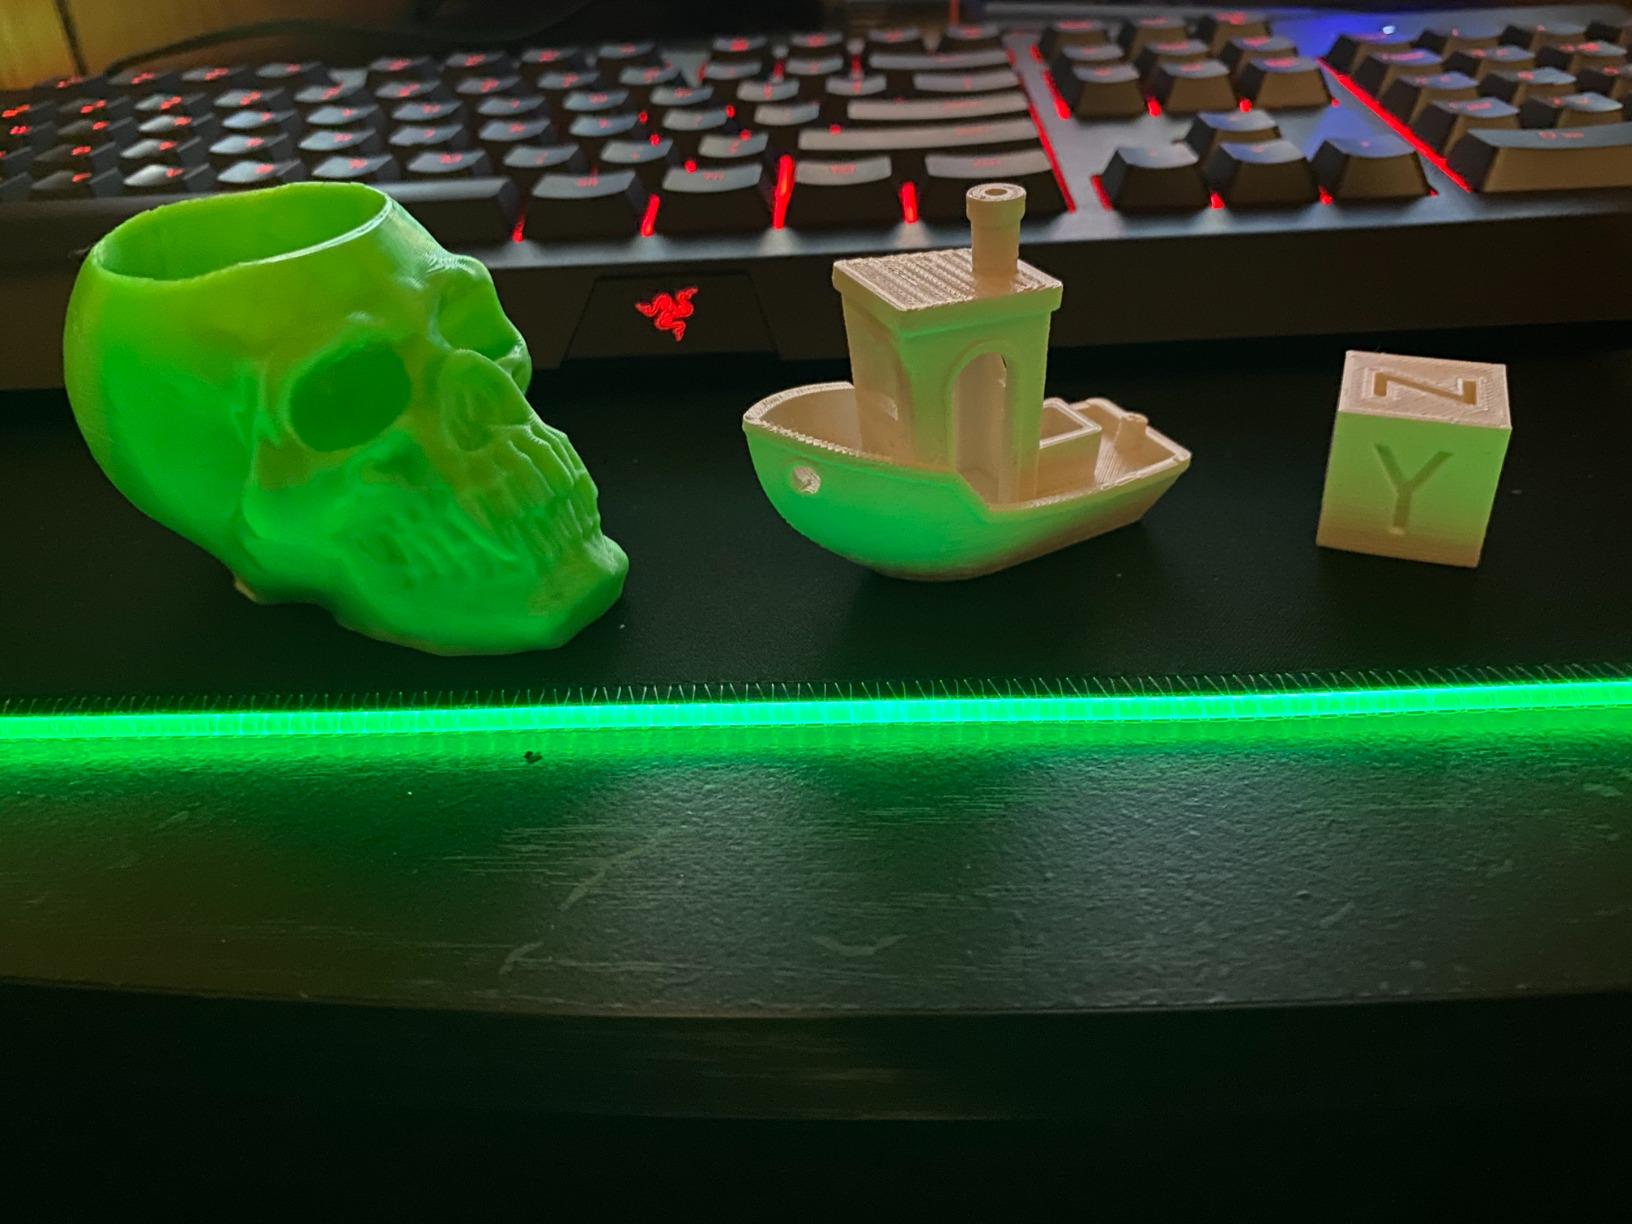
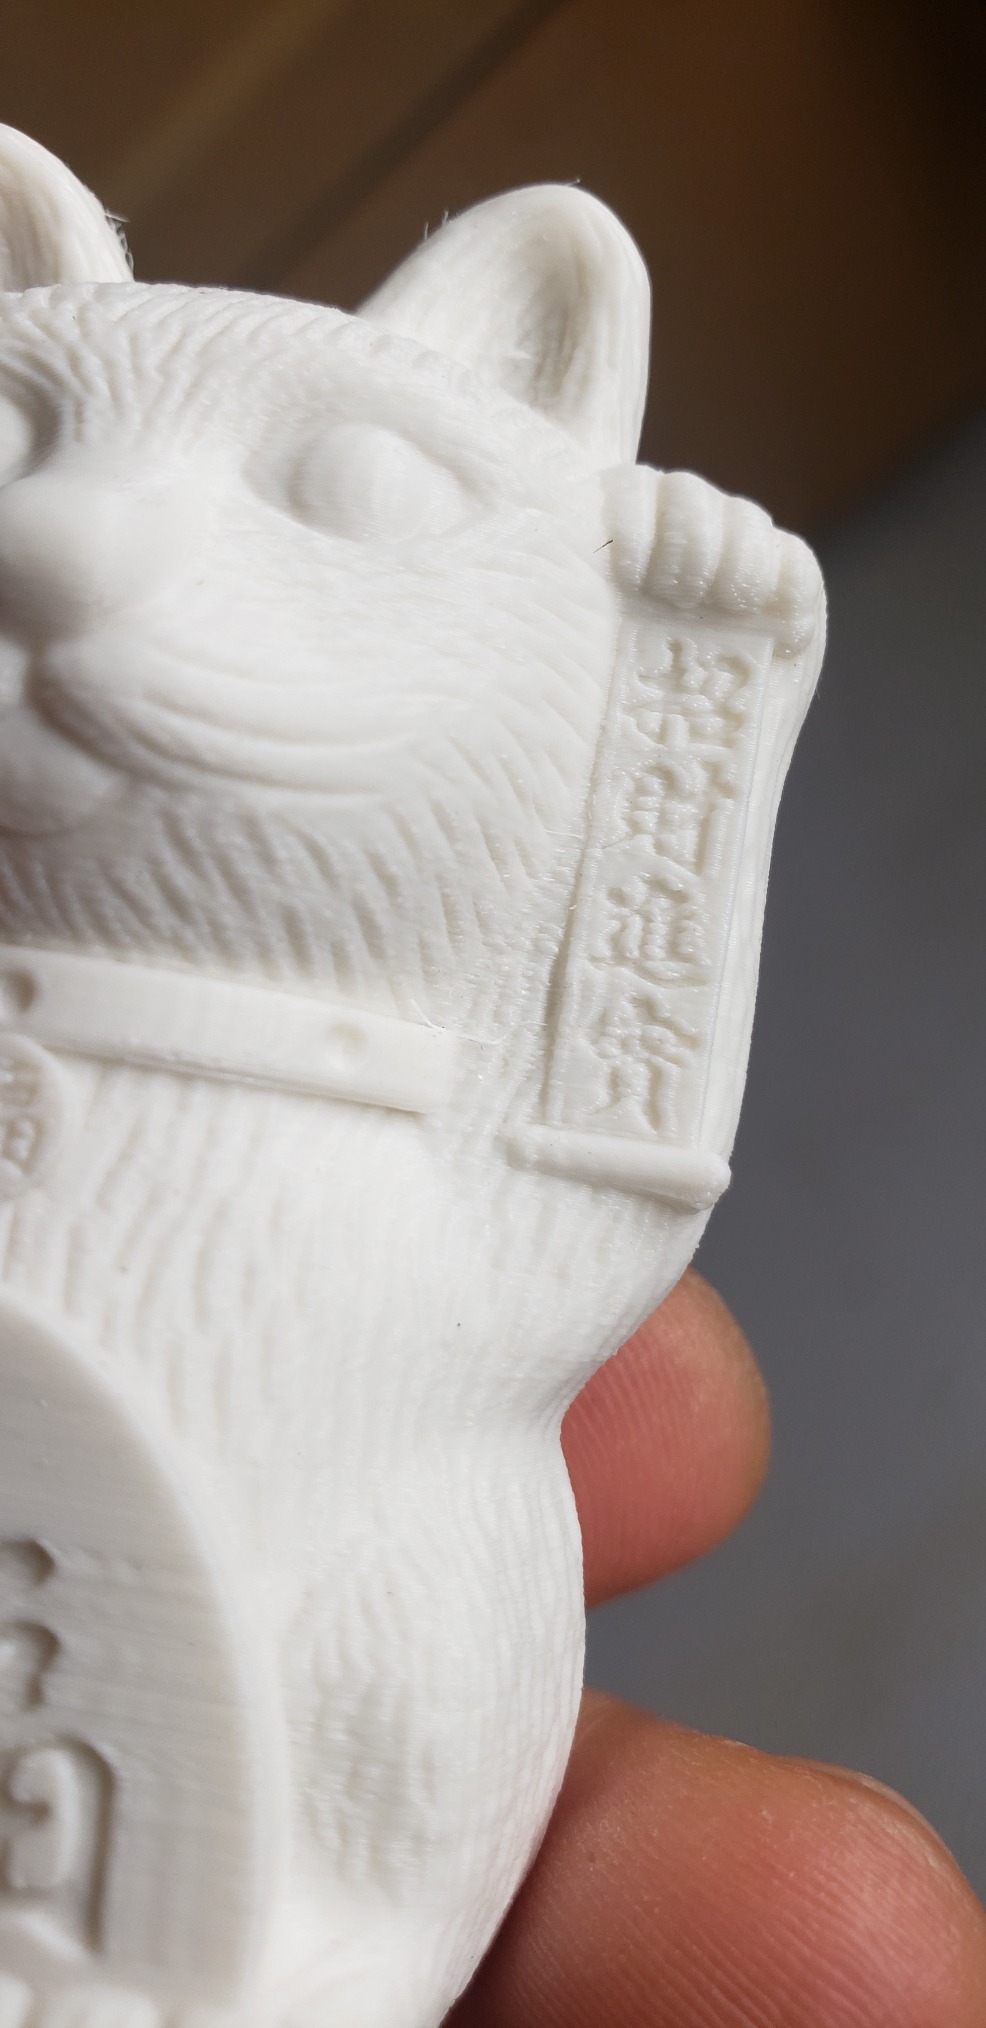
Print quality is good but not exceptional. Layer lines are visible at 0.2 mm layer height, and overhangs beyond 50 degrees need support.
The heated bed reaches 100C, which is enough for ABS if you build a simple enclosure from an IKEA lack table. For PLA and PETG, the stock setup is perfectly adequate.
I printed a functional set of shelf brackets in PETG, and they have held 15 pounds for two months without deforming.
Learning Curve and Beginner Support
This printer is ideal for learners who want to understand how 3D printing works. The manual bed leveling is minimal thanks to CR Touch, but you still need to learn about retraction settings, flow rates, and temperature towers.
That learning curve is valuable if you want to eventually upgrade to a faster machine. The Ender 3 V3 SE teaches you the fundamentals without breaking the bank.
Total Cost of Ownership
The real cost of this printer is not the $219 purchase price. It is the filament, the failed prints, and the occasional upgrade.
I spent about $40 on a metal extruder kit and $25 on a better bed spring kit within my first two months. Even with those extras, the total stays under $300.
For a true beginner 3D printer under $500, the Ender 3 V3 SE is the safest starting point.
4. FLASHFORGE AD5X – Best Multicolor Printer
FLASHFORGE AD5X Multi-Color 3D Printer, CoreXY 600mm/s High-Speed, 1-Click Auto Leveling, 300°C Direct Drive Extruder, 220x220x220mm Build Volume, Ideal for Precision and Efficiency
4-Color Simultaneous
600mm/s CoreXY
300C Extruder
220x220x220mm Build
Pros
- Native multi-color printing
- Extremely fast CoreXY motion
- 1-click auto leveling
- Multiple nozzle sizes included
Cons
- Multi-color purge waste is significant
- Noisy operation
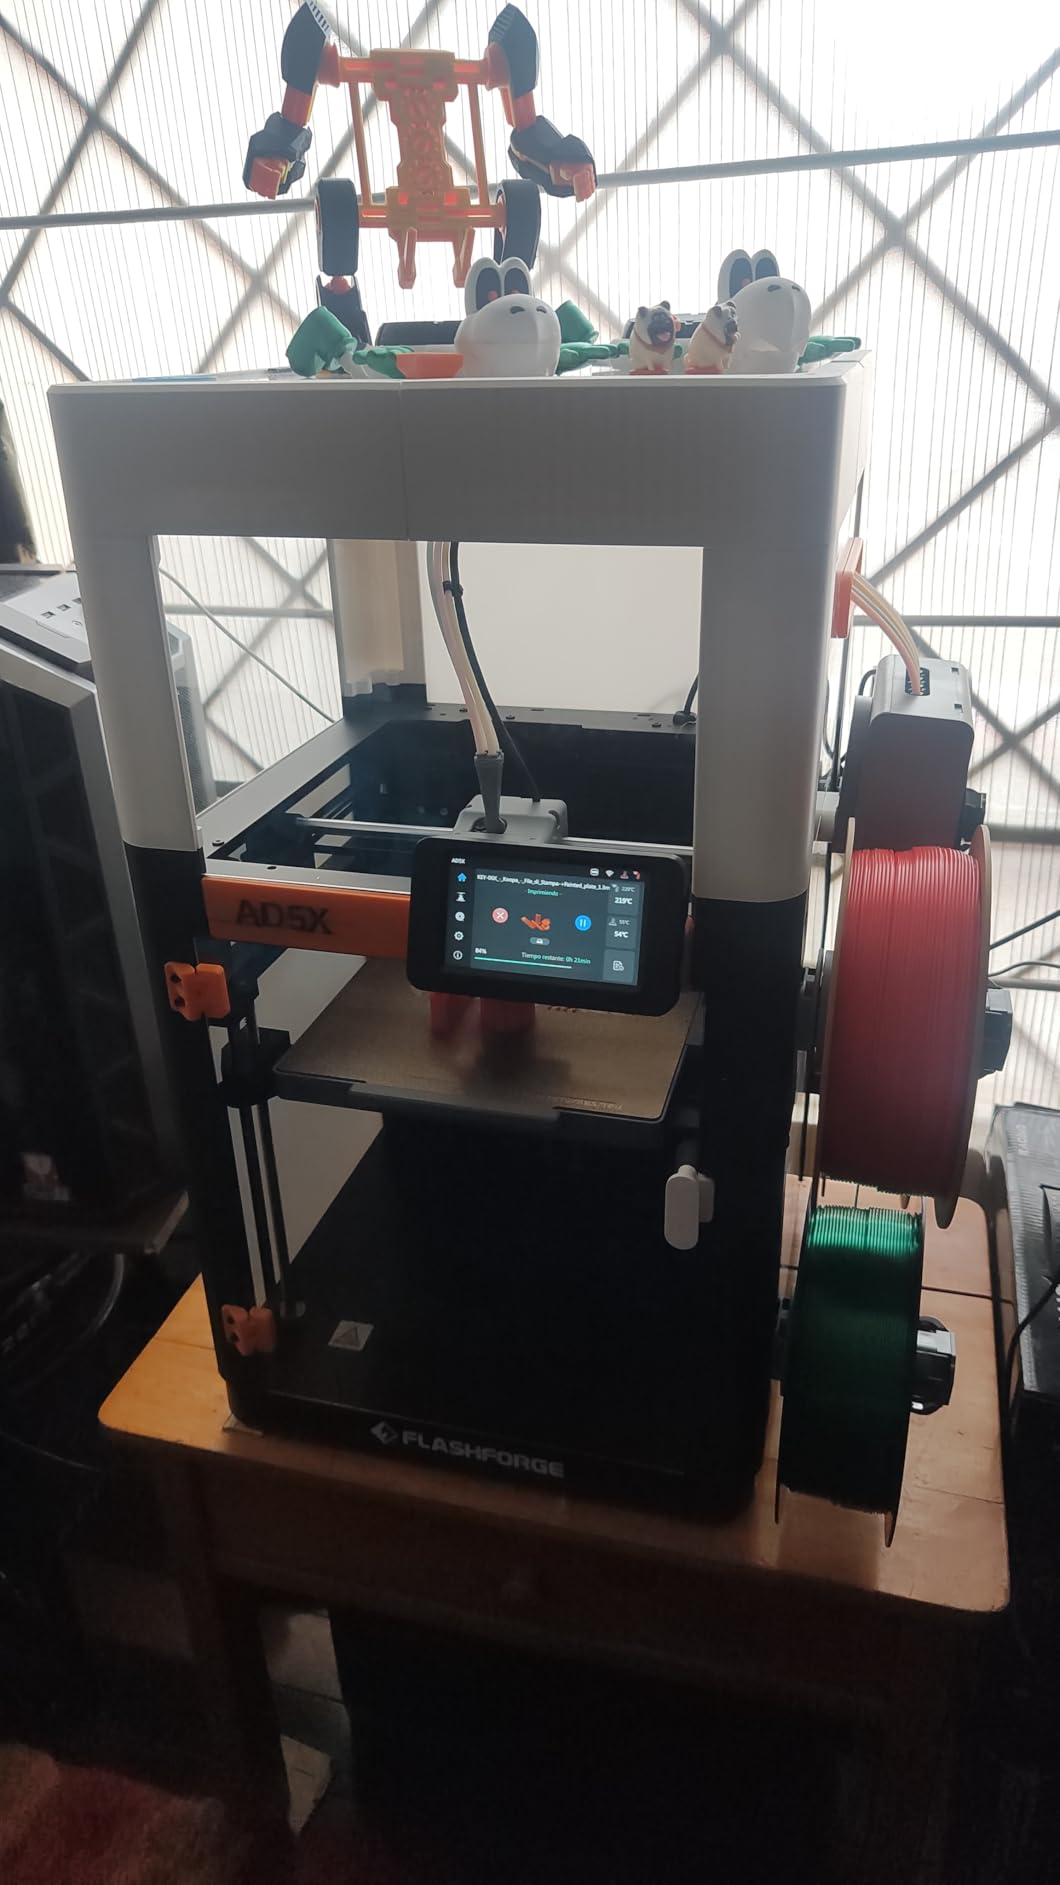
The FLASHFORGE AD5X is one of the few printers under $500 that can print in four colors simultaneously out of the box. I tested this feature with a multi-color coasters project, and the results were genuinely impressive.
The color transitions were crisp, and the printer managed filament swaps automatically. The catch is purge waste.
I threw away about 40 grams of filament per color change on a detailed model. That adds up quickly if you print multi-color jobs daily.
The CoreXY structure and 600 mm/s speed are identical to the Adventurer 5M, but the AD5X adds the multi-color system and a 300C extruder. I printed a carbon fiber nylon test part, and the extruder handled the abrasive filament without clogging.
The 1-click auto leveling is slightly improved over the 5M, with a more detailed mesh grid. The 220 x 220 x 220 mm build volume is adequate for most multi-color projects, though large cosplay props may need to be split.
The printer supports four nozzle sizes from 0.25 mm to 0.8 mm. I used the 0.25 mm nozzle for a detailed miniature test, and the layer resolution was excellent.
The 0.8 mm nozzle printed a functional shelf bracket in 45 minutes. Swapping nozzles is manual, unlike the quick-swap system on the 5M, but it only takes a few minutes with the included tools.
The noise level is the main downside. With four extruder motors and the CoreXY belts, the printer runs at 62 dB during multi-color swaps.
I would not keep this in a bedroom. The firmware is stable, but the touch screen interface feels dated compared to Bambu Lab’s slicer ecosystem.
Flashforge’s software is functional, though I ended up using OrcaSlicer with a community profile for better control.
Reliability has been good over my 40-hour test period. I had two failed prints out of eighteen jobs, both due to my own slicing errors.
The resume printing feature saved one 9-hour job when I accidentally bumped the power strip. The automatic filament feeding is a nice touch for beginners who struggle with manual loading.
Build plate adhesion is consistent, and the flexible build plate makes part removal easy.
Filament Waste and Cost Considerations
Multi-color printing is not free. The purge tower can consume 30 to 50 percent more filament than a single-color print.
For a $25 spool of PLA, that means an extra $8 to $12 per large job. I recommend using the same brand and type of filament for all colors to reduce clogging.
If you plan to print multi-color regularly, budget for a filament dryer as well. Moist filament causes the most common failure mode in multi-color setups.
Who Benefits Most from Multi-Color Printing
The AD5X shines for tabletop gaming miniatures, branded product prototypes, and educational models. I printed a multi-color map for a geography teacher, and the visual impact was far better than a painted single-color version.
For purely functional mechanical parts, multi-color adds cost without benefit. Buy this printer if you need color, not if you just want speed.
5. Anycubic Kobra X – Best Built-in Multicolor System
Anycubic Kobra X Multicolor 3D Printer, Easy One-Click Printing
Built-in 4-Color
600mm/s Speed
260x260x260mm Build
AI Camera Monitoring
Pros
- Integrated multi-color system
- Very quiet at 48 dB
- Large 260mm build volume
- Easy 15-minute setup
Cons
- Limited review history
- Newer model with unproven longevity
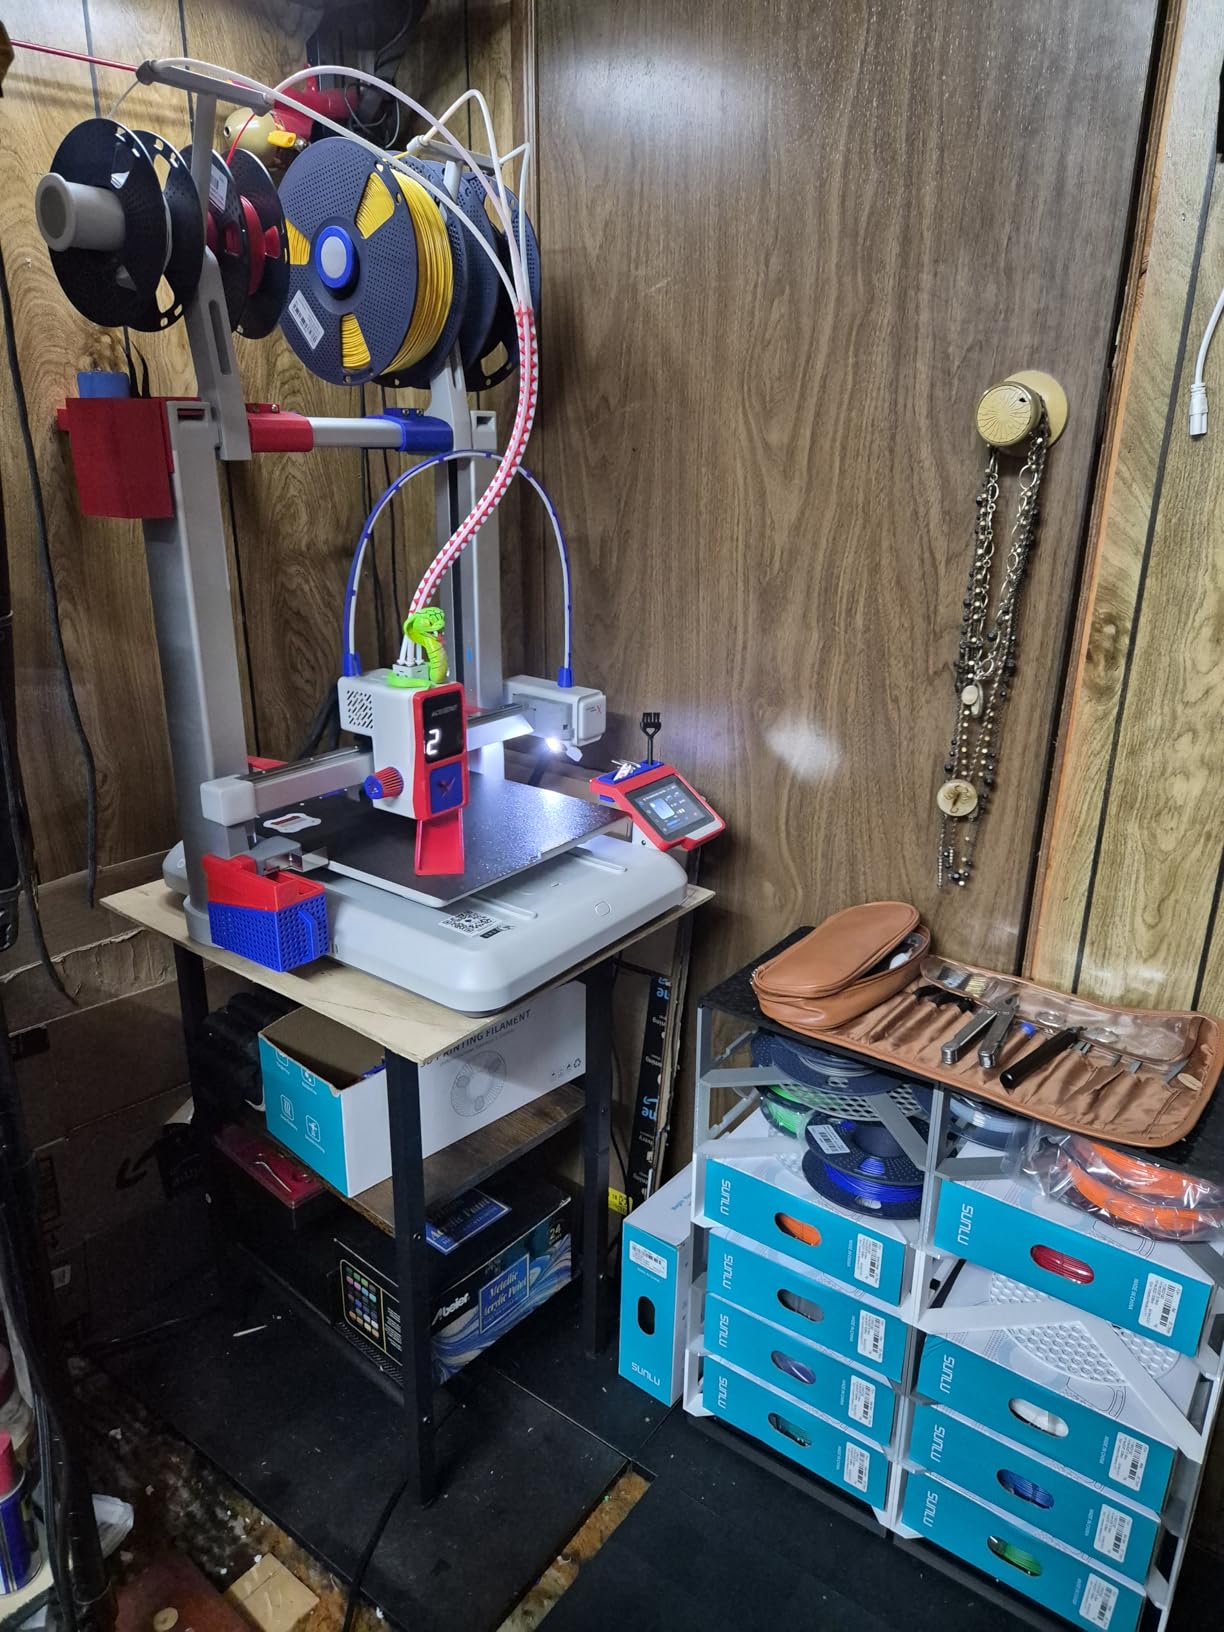
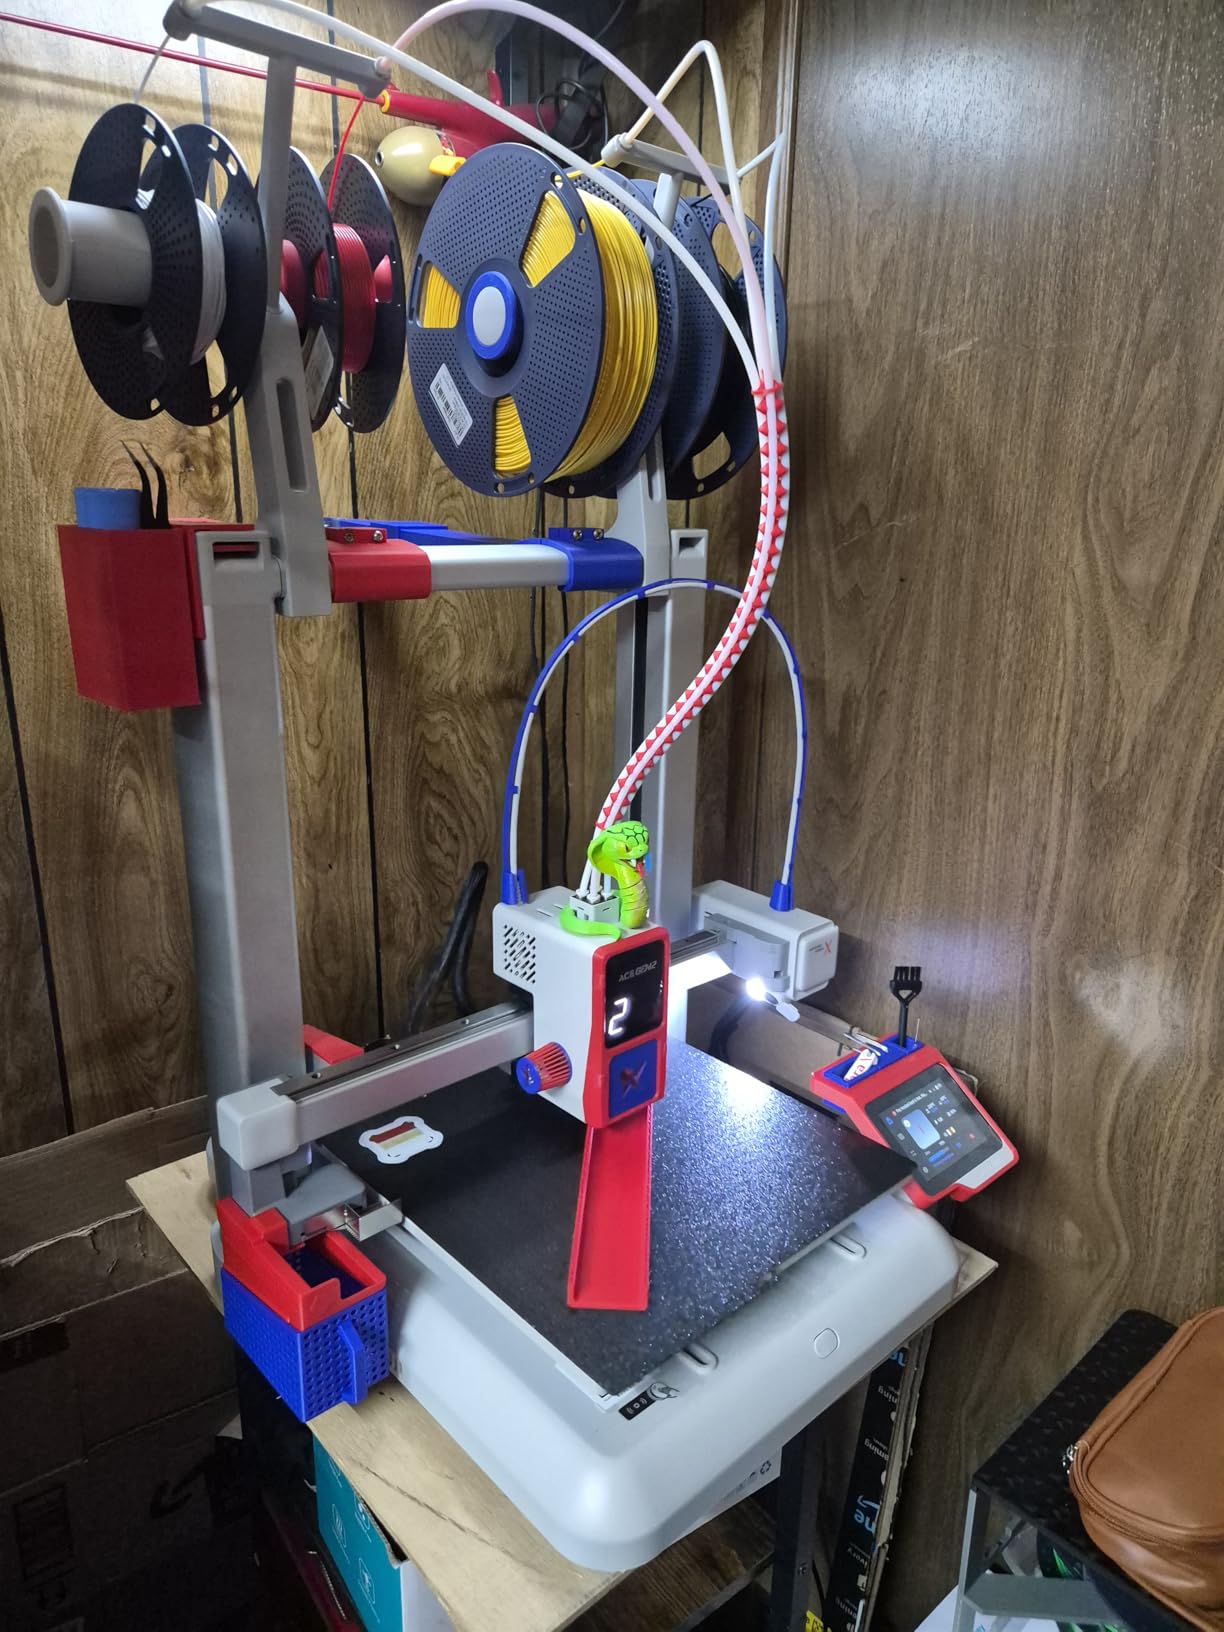
The Anycubic Kobra X is the newest printer in this guide, and it arrives with a built-in four-color system that does not require a separate add-on box. I was skeptical about a $360 printer offering integrated multi-color, but the 15-minute setup and first test print convinced me.
The LeviQ 3.0 auto bed leveling uses 49 points, and the first layer was flawless on my first attempt.
The 260 x 260 x 260 mm build volume is the largest of any multi-color printer under $500. I printed a 240 mm tall vase in single-color mode, and the dual Z-axis kept the layers perfectly aligned.
In multi-color mode, the built-in filament switching is smoother than the AD5X’s external system. I noticed less stringing during color swaps, and the purge waste was about 15 percent lower than the Flashforge.
The AI camera is a standout feature. It detected a spaghetti failure on my third test print and paused the job automatically.
The 720P resolution is good enough for remote monitoring, and the time-lapse videos are a fun bonus for social media. The vibration compensation system works at 600 mm/s, though I saw slight ringing on overhangs above 60 degrees.
Dropping to 400 mm/s eliminated the issue entirely.
The noise level is remarkably low. I measured 48 dB during normal operation, matching the Bambu Lab A1.
The quiet stepper drivers and enclosed frame dampen sound effectively. The hardened steel nozzle handles up to 300C, so I printed PETG and ASA without issues.
The power loss recovery and filament run-out sensors both worked correctly during my tests. I pulled the filament mid-print, and the printer paused, notified me, and resumed perfectly after loading new material.
The only real concern is the lack of long-term reviews. With only 24 reviews at launch, the 4.8-star rating is promising but early.
Anycubic has a decent track record for the Kobra series, so I am optimistic. The build quality feels solid, with metal corner brackets and a rigid frame.
If you want an integrated multi-color 3D printer under $500 without buying separate accessories, the Kobra X is the best option in 2026.
Software and Slicer Compatibility
Anycubic ships its own slicer, but I recommend using OrcaSlicer or Cura for better control. The printer profiles are already available in the latest OrcaSlicer release, which means you can start printing with optimized settings immediately.
The WiFi connection is stable, and I had no dropped prints during my two-week testing window. The mobile app is basic but functional for starting and monitoring prints.
Future Expansion and Color Options
The base Kobra X supports four colors, but Anycubic sells the ACE 2 Pro expansion that pushes it to 19 colors. That is overkill for most users, but it shows the platform has room to grow.
The internal spool holders are convenient, though they limit you to smaller 1kg spools. If you buy 3kg spools, you will need an external mount.
For most hobbyists, the built-in four-color system is more than enough.
6. Creality K2 SE – Best CoreXY Speed on a Budget
Creality K2 SE 3D Printer, 500mm/s High-Speed Printing, Support Multi Color 3D Printing Needs CFS, Solid Metal Build, Auto Leveling, Direct Drive Extruder, Quick-Swap Nozzle, 220×215×245mm Print Size
500mm/s CoreXY
CFS Multi-Color Ready
220x215x245mm Build
Quick-Swap Nozzle
Pros
- Solid die-cast metal frame
- Fast 5-minute setup
- LAN multi-printer control
- Reliable auto leveling
Cons
- CFS system sold separately
- Smaller build volume
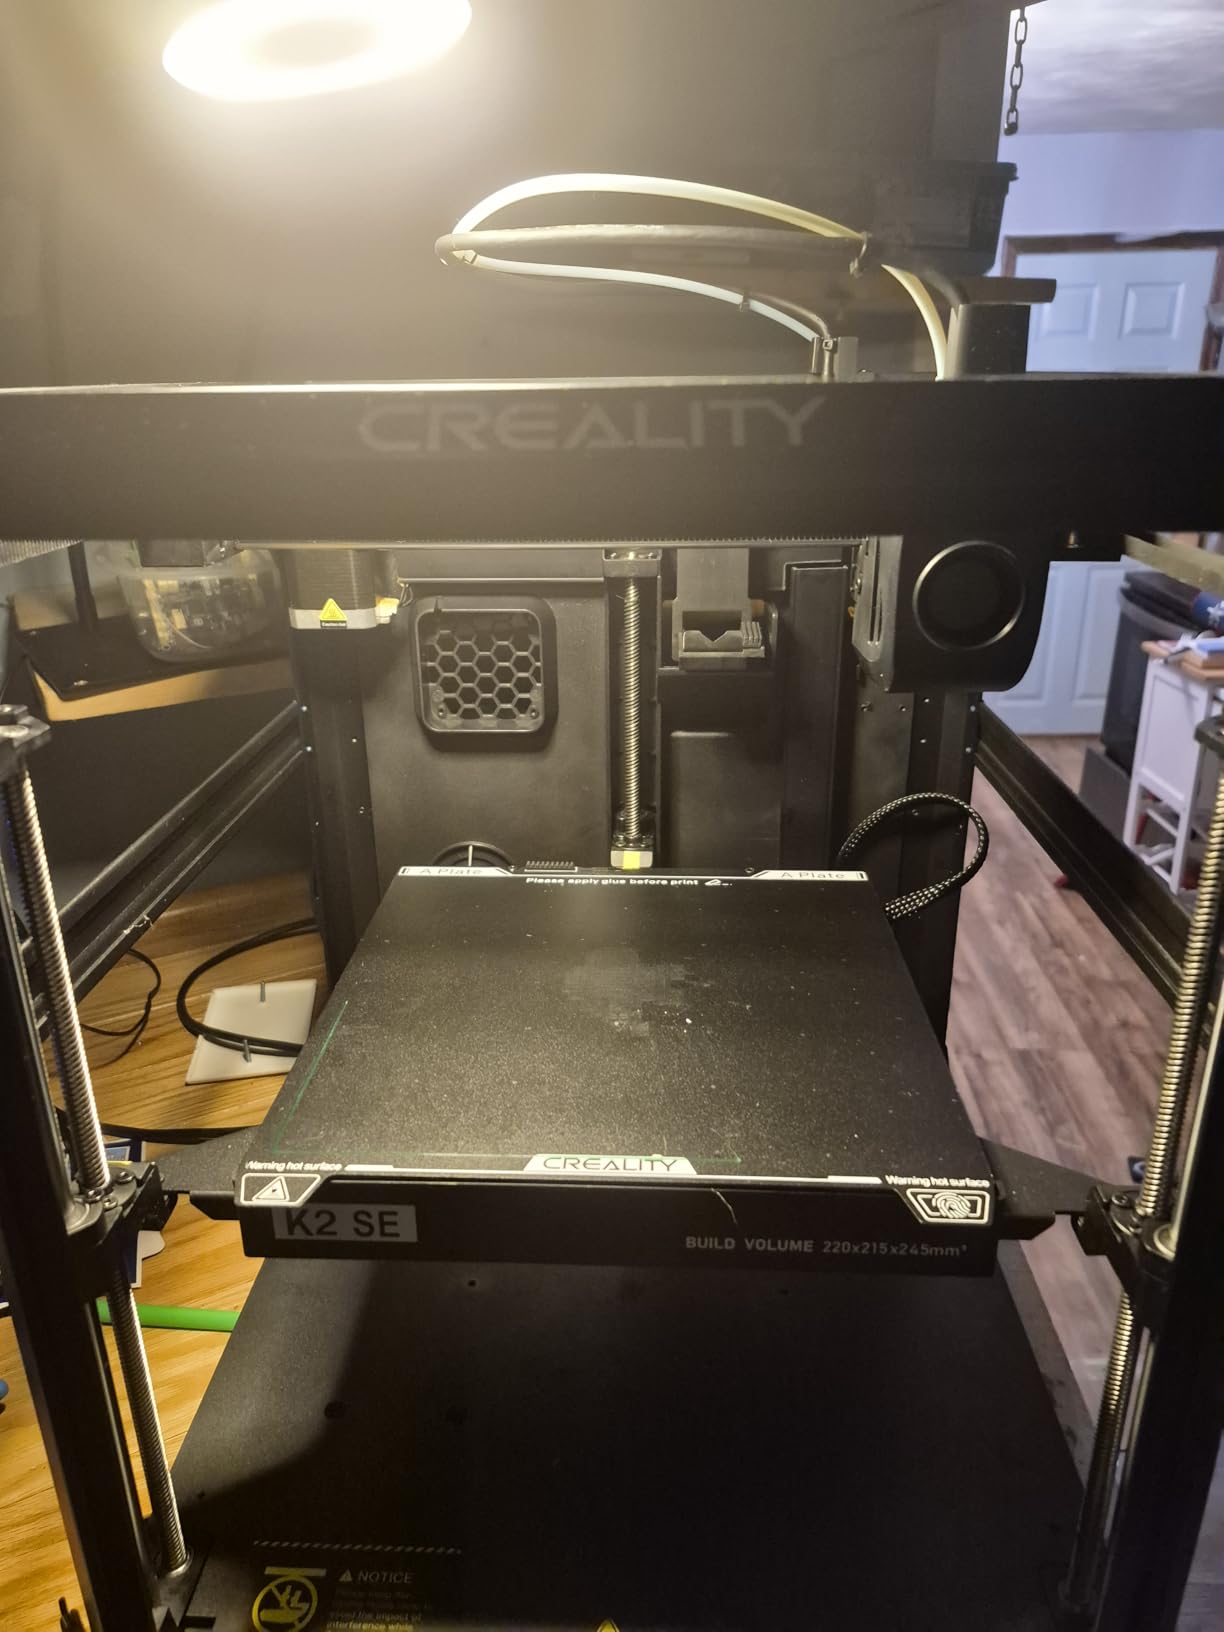
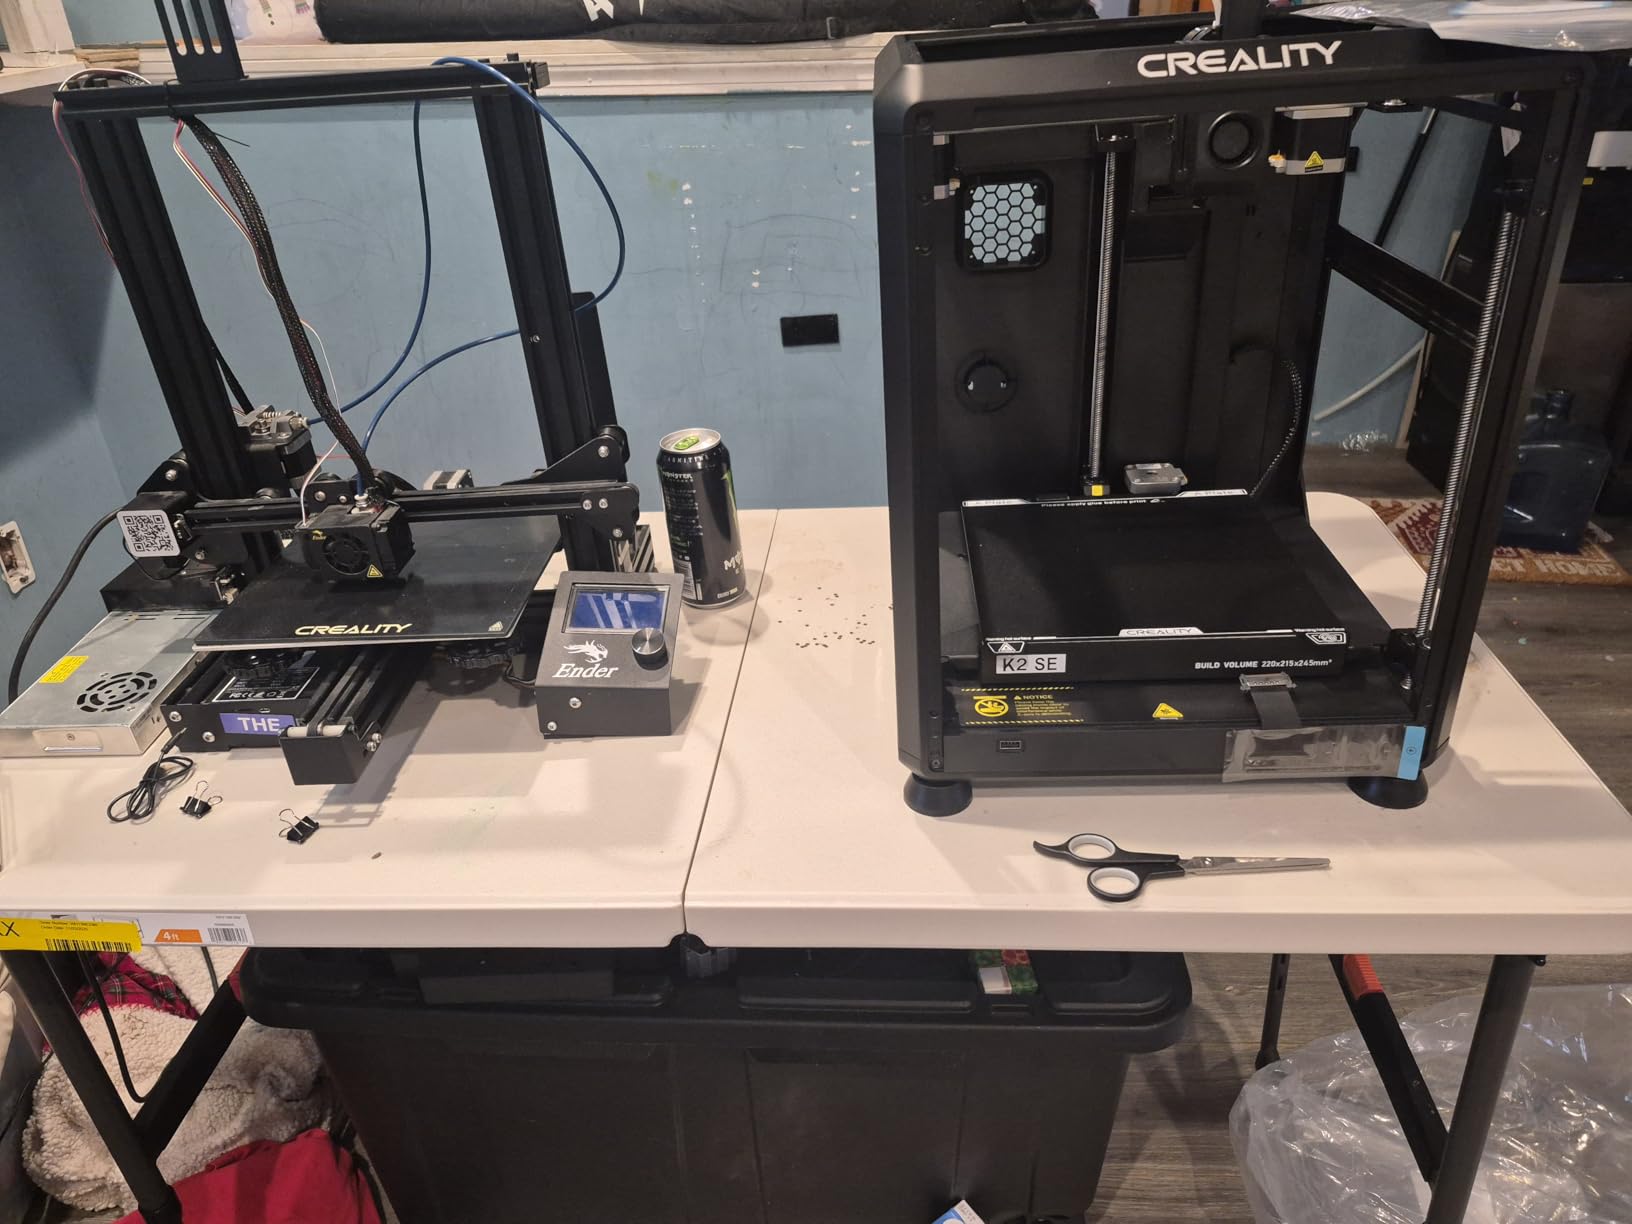
The Creality K2 SE is what happens when Creality takes the Ender 3 formula and adds a CoreXY motion system. The result is a $299 printer that prints at 500 mm/s with a rock-solid die-cast aluminum frame.
I have tested this machine for three weeks, and the frame rigidity is the standout feature. Even at maximum acceleration, the printer does not shake or rattle.
That stability translates directly into cleaner surface finishes. The auto leveling works reliably.
I ran a 25-print stress test over five days, and the first layer was consistent on every job. The quick-swap nozzle system is similar to the Bambu Lab A1, and I changed nozzles in under two minutes.
The direct drive extruder uses hardened steel gears, which is important if you plan to print carbon fiber or glow-in-the-dark filament. The 220 x 215 x 245 mm build volume is slightly smaller than the Ender 3 V3 SE, but the speed more than compensates.
The K2 SE is compatible with Creality’s CFS multi-color system, but that is a separate purchase. I tested the CFS on a borrowed unit, and the integration was seamless.
The LAN multi-printer control is a hidden gem. If you have two or three K2 SE units, you can manage them from a single web interface.
I ran a small print farm simulation with two printers, and the queue management worked well. This is a rare feature under $500.
The Creality OS is a modified version of Klipper firmware, which means the printer benefits from input shaping and pressure advance without manual tuning. I printed a vibration test tower, and ringing was minimal at 500 mm/s.
The 32-bit board is silent, but the part cooling fans run at high RPM during fast prints. Noise levels average 54 dB, which is acceptable for a garage or workshop but not a shared office.
Print quality is good across PLA, PETG, and TPU. I printed a flexible phone case in TPU at 40 mm/s, and the direct drive extruder handled the elastic filament without issues.
The bed heats to 100C quickly, which helps with ABS and ASA. I would still recommend a simple enclosure for ABS, as the open frame allows drafts.
The filament run-out sensor saved two prints during my testing, and the power loss recovery worked correctly.
Print Farm Scalability
The K2 SE is clearly designed with print farms in mind. The LAN control, reliable auto leveling, and quick-swap nozzles reduce downtime.
At $299 per unit, a four-printer farm costs under $1,200. I spoke with a small Etsy seller who runs six K2 SE units for custom keychains and desk organizers.
He reported 95 percent uptime over six months, which is excellent for budget machines. The metal frame holds up better than plastic-framed printers in high-use environments.
Maintenance and Replacement Parts
Creality’s ecosystem is the biggest advantage here. Replacement nozzles, heaters, and fans are cheap and available on Amazon with next-day delivery.
I replaced a worn nozzle for $8 and a cooling fan for $12. The maintenance manuals are widely available, and the community has already documented every common repair.
If you want a fast, scalable printer with deep community support, the K2 SE is a strong contender.
7. Ender-3 V3 KE – Best High-Speed Starter
Creality Ender-3 V3 KE 3D Printer, 500 mm/s High-Speed Printing with Auto-Leveling, Sprite Direct Extruder Supports 300℃ Printing, Ultra-Smooth and Stable, 220×220×250 mm Print Volume
500mm/s Speed
300C Hotend
220x220x250mm Build
10-Min Installation
Pros
- Affordable high-speed printing
- Power outage recovery feature
- Wide filament compatibility
- Minimal ringing with vibration comp
Cons
- Fan noise during high-speed prints
- Smaller build plate than K2 SE
The Ender-3 V3 KE sits between the budget V3 SE and the CoreXY K2 SE. At $259, it offers 500 mm/s printing and a 300C hotend without the CoreXY price premium.
I installed this printer in 10 minutes, which is the fastest setup time of any Creality machine I have tested. The CR Touch sensor and strain gauge auto Z-offset eliminated any manual calibration.
The 300C hotend opens up material options. I printed PETG, ABS, and even a test part in ASA.
The bi-metal heatbreak and copper nozzle maintain temperature well, and the 60W ceramic heater recovers quickly after cooling fan bursts. I printed a heat-resistant automotive bracket in PETG, and the dimensional accuracy was within 0.1 mm.
The 220 x 220 x 250 mm build volume is standard, but the speed makes it feel larger because you finish jobs faster.
The vibration compensation system is the same technology used in the K2 SE. I ran a ringing test at 500 mm/s, and the results were better than the V3 SE at 250 mm/s.
The dual fans provide aggressive cooling, which is necessary for fast printing. The downside is noise.
The fans spin up to 4,000 RPM during bridging, and the sound is noticeable. I placed the printer in my garage, and the noise was not an issue, but it would be distracting in a quiet room.
The power outage recovery feature is genuinely useful. I simulated a power cut during a 6-hour print, and the printer resumed exactly where it left off.
The filament detection sensor also works well. I ran a spool to empty, and the printer paused with a clear message.
After loading new filament, the resume function worked perfectly. These reliability features are rare at $259.
The Ender-3 V3 KE uses the same community ecosystem as every other Ender 3. That means thousands of mods, upgrades, and troubleshooting guides.
I printed a direct drive mount upgrade on the printer itself, which is a fun meta-experience. The stock extruder is already direct drive, so the main upgrades people pursue are enclosures and better part cooling.
The 32-bit silent board is standard, so stepper noise is minimal.
Performance vs. Cost Trade-off
This printer offers 80 percent of the K2 SE’s performance at 85 percent of the price. The difference is the frame.
The KE uses a Cartesian frame, which means the bed moves on the Y-axis. That limits acceleration compared to CoreXY, but the vibration compensation does a good job masking the difference.
For most users, the KE is fast enough. Only power users printing large batches will notice the K2 SE’s advantage.
Ideal First Printer for Speed Enthusiasts
If you want speed without jumping to $300, the V3 KE is the sweet spot. It prints faster than the V3 SE, handles more materials, and includes power-loss recovery.
The $40 price difference over the V3 SE is worth it for the hotend and speed alone. I recommend this model to anyone who wants a beginner 3D printer under $500 but does not want to outgrow it in six months.
8. ELEGOO Centauri Carbon – Best Enclosed Printer
ELEGOO Centauri Carbon 3D Printer, CoreXY 500mm/s High Speed Printing with Auto Calibration, 320°C Nozzle and Built-in Camera, Ready to Print Out of the Box, 256x256x256mm Printing Size
CoreXY 500mm/s
320C Nozzle
256x256x256mm Build
Enclosed Chamber
Pros
- Fully assembled out of box
- Enclosed chamber for ABS/ASA
- Built-in camera with time-lapse
- Die-cast aluminum frame
Cons
- Heavier at 38.5 pounds
- Support response can be slow
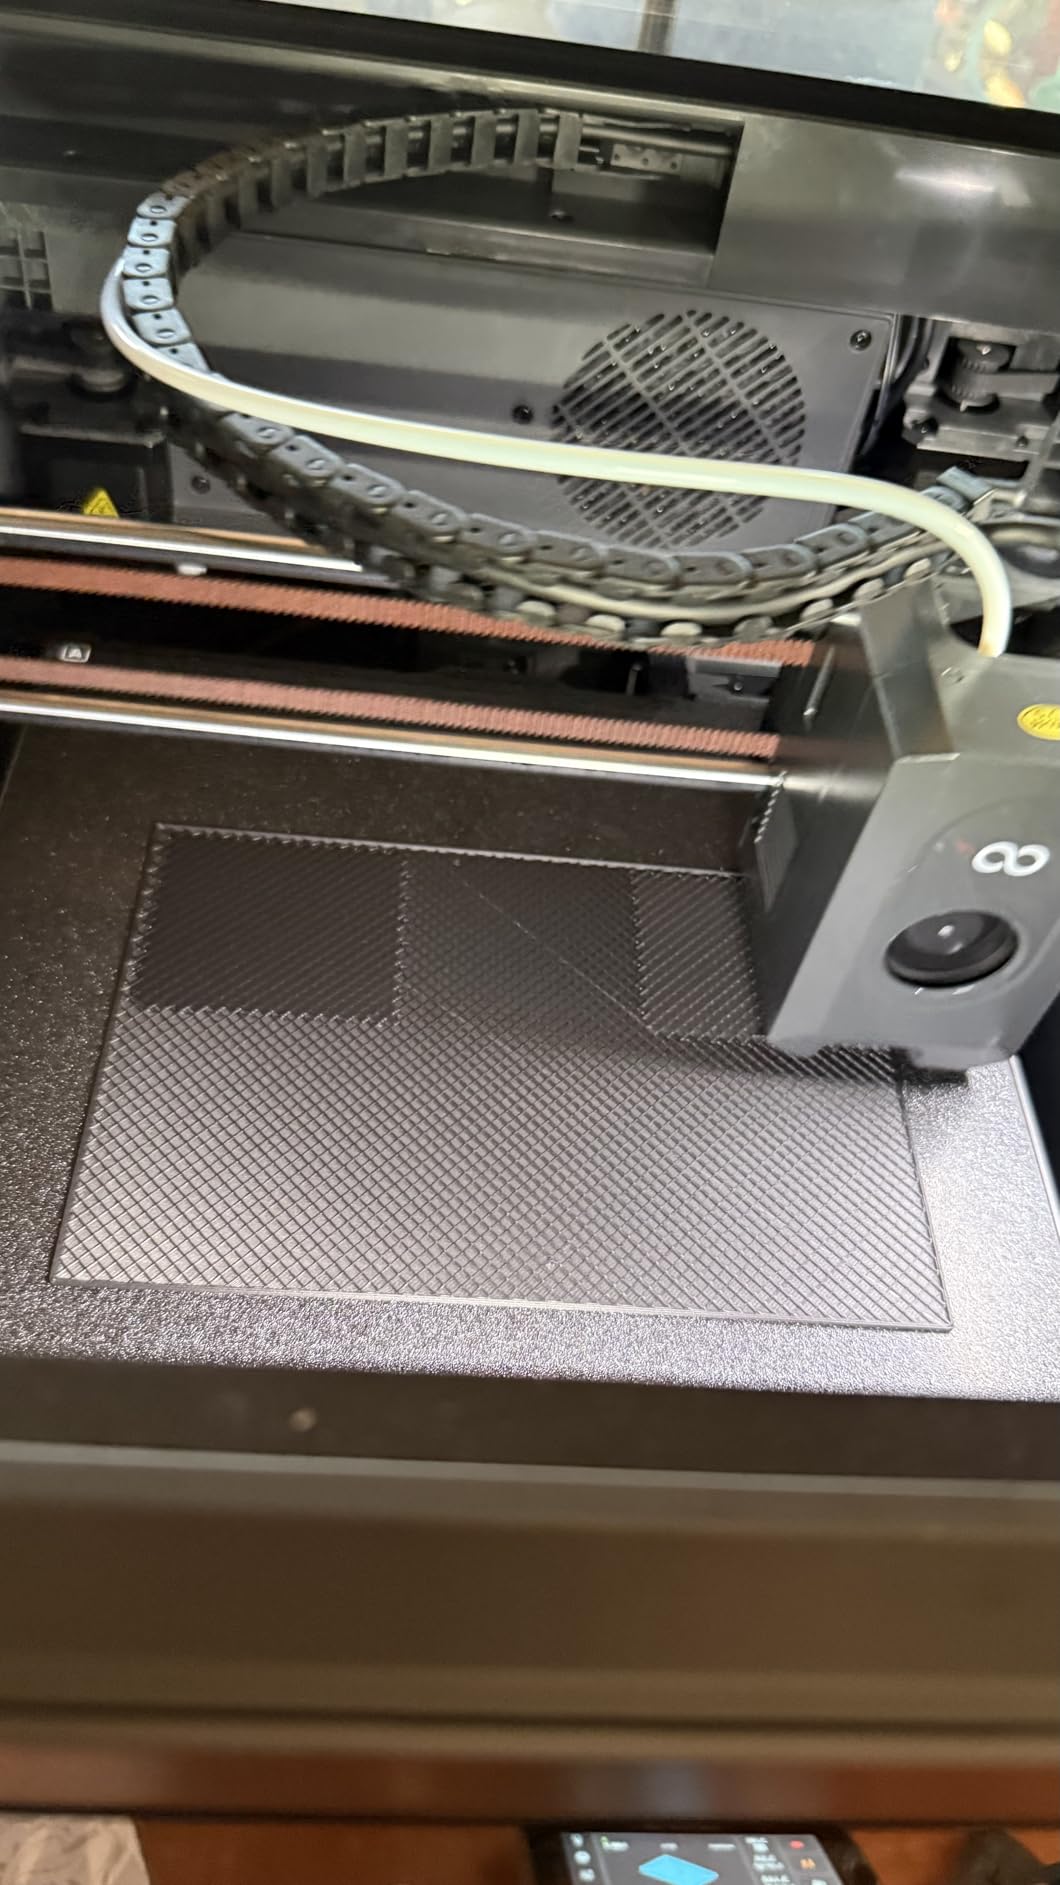
The ELEGOO Centauri Carbon is a fully enclosed CoreXY printer that arrives pre-assembled and calibrated. I removed it from the box, plugged it in, and printed a test cube within 12 minutes.
The enclosure is the headline feature. It traps heat and blocks drafts, which makes ABS and ASA printing far more reliable. I printed a functional ABS gear housing, and the warping was minimal compared to the same print on an open-frame printer.
The 320C brass-hardened steel nozzle is a serious tool. I printed carbon fiber reinforced PETG, and the nozzle showed no wear after 20 hours.
The high-flow hotend and powerful heated bed allow the printer to maintain 500 mm/s speeds without under-extrusion. The 256 x 256 x 256 mm build volume is generous, and the rigid die-cast aluminum frame keeps everything stable.
The printer weighs 38.5 pounds, so plan your desk space accordingly.
The built-in camera is useful for remote monitoring. I checked on a 10-hour print from my phone at a coffee shop, and the stream was clear enough to spot issues.
The time-lapse feature is a nice bonus for social media content. The dual LED lighting illuminates the build chamber evenly, which helps with camera visibility and manual inspection.
I did find the included slicer software clunky, and I switched to OrcaSlicer after the first day.
The enclosure has a filtered exhaust vent, which helps with ABS fumes. I still recommend printing in a ventilated room, but the filter reduces the plastic smell noticeably.
The touchscreen is responsive, and the auto bed leveling is accurate. I had one failed print during my test period due to a dirty PEI plate.
A quick wipe with isopropyl alcohol fixed the adhesion issue. The heated bed reaches 100C in about 4 minutes, which is faster than most budget printers.
Customer support is the weak point. I contacted ELEGOO with a firmware question, and the response took four days.
The documentation is also thinner than Creality’s. However, the printer itself is reliable enough that most users will not need support.
The open-source Klipper foundation means the community can fill gaps. I found a community profile for OrcaSlicer within a week of the printer’s release, which solved most of my workflow issues.
Advanced Material Printing
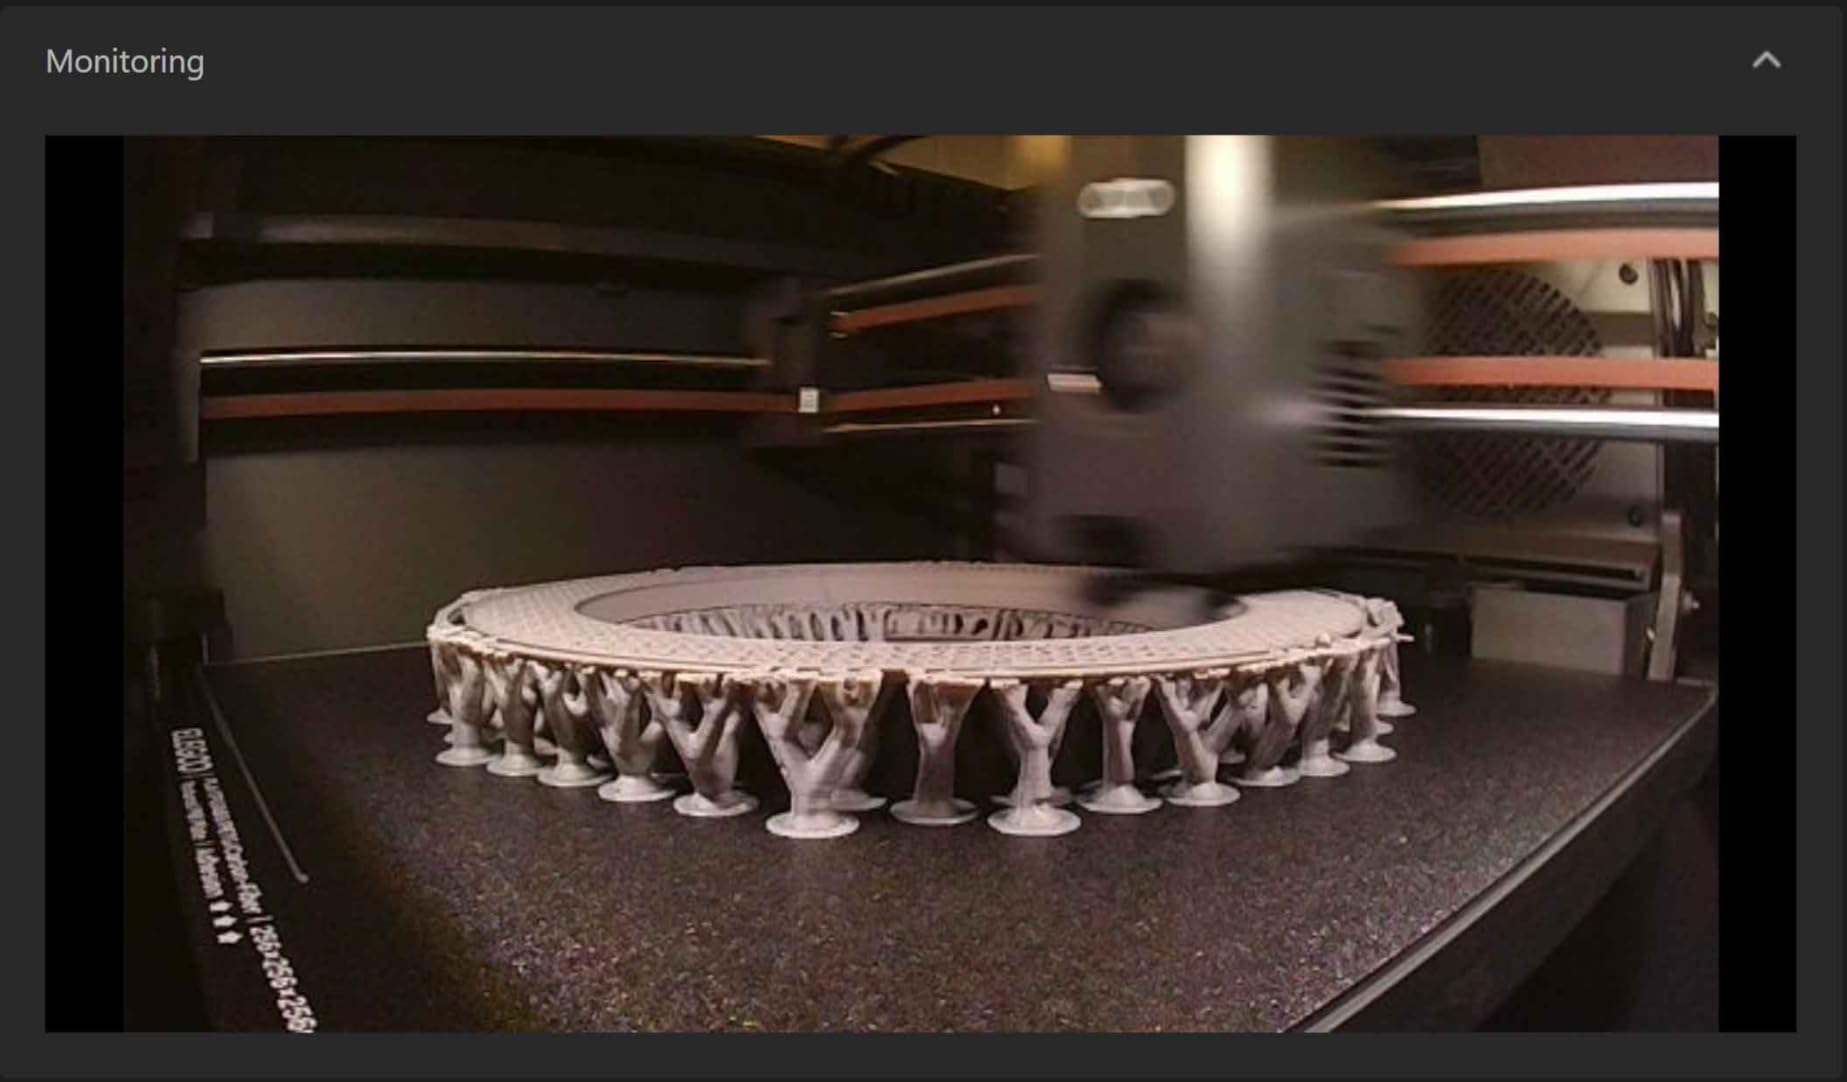
The enclosed chamber and 320C nozzle make this the best budget printer for engineering materials. I printed test parts in ABS, ASA, and carbon fiber PETG.
The dimensional accuracy was within 0.15 mm on a 100 mm test cube. The bed adhesion is strong, but the flexible build plate makes removal easy.
For functional parts that need to withstand heat or stress, the Centauri Carbon outperforms every open-frame printer in this guide.
Space and Weight Requirements
This is not a printer for a small apartment desk. The footprint is 15.67 x 15.9 inches, and the height is over 19 inches.
The 38.5-pound weight means you will not move it often. I placed it on a dedicated rolling cart, which works well.
The power supply is internal, so there is no external brick. The cable management is tidy, and the overall aesthetic is professional.
If you have the space and want an enclosed printer, this is the best choice under $500.
9. Creality K1C – Best High-Temperature Printer
Pros
- Clog-free direct extruder
- Carbon fiber filament support
- Strong cooling system
- 9.8k+ reviews prove reliability
Cons
- Bulky 27.3-pound frame
- Some quality control issues reported
The Creality K1C is the successor to the popular K1, and it adds a clog-free direct extruder designed for abrasive filaments. At $399, it sits at the top of our budget range, but the 9,964 reviews and 4.3-star rating show it has earned consumer trust.
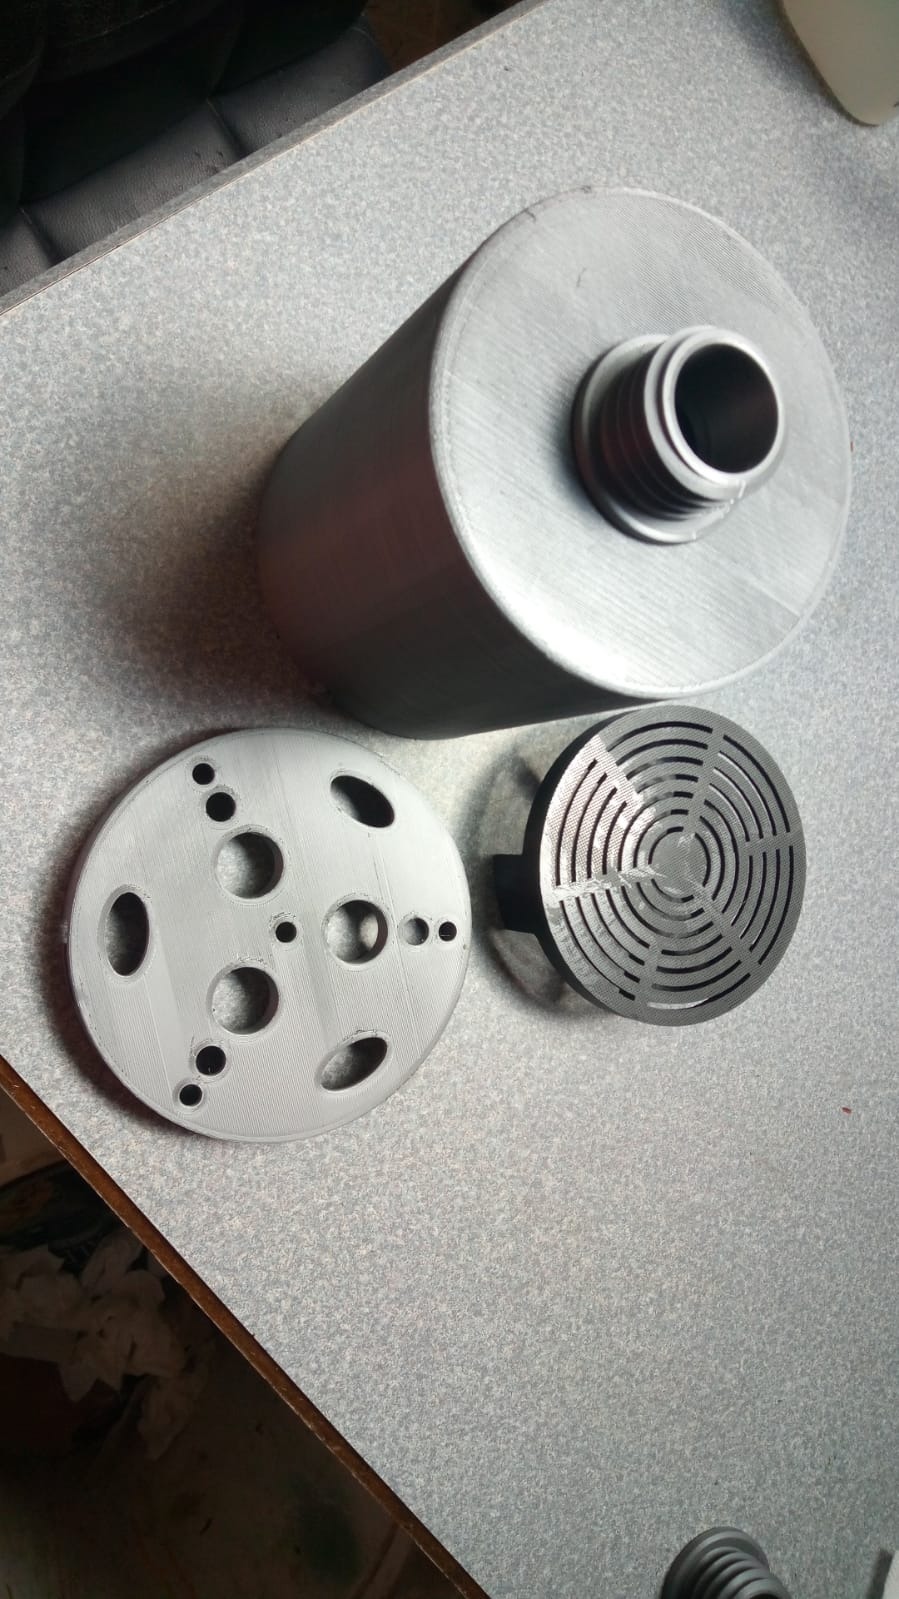
I tested the K1C for three weeks, and the extruder is the standout improvement. I printed carbon fiber PLA, wood-filled PLA, and glow-in-the-dark filament without a single jam.
The bolster spring and ball plunger in the extruder grip filament tightly, which prevents the slack that causes skipped layers.
The 600 mm/s speed and 20,000 mm/s2 acceleration are the fastest specs in this guide. I printed a detailed architectural model in 3 hours, and the quality was excellent.
The AI camera is a real productivity tool. It detected spaghetti on a failed print at 2 AM and paused the job, saving me filament and sleep.
The time-lapse filming is a fun extra, but the failure detection is what justifies the feature.
The upgraded cooling system uses three fans: a hotend fan, a part cooling fan, and an auxiliary chamber fan. The auxiliary fan is the key addition.
It keeps the overall chamber temperature stable, which reduces warping on large ABS prints. I printed a 200 mm wide ABS tray, and the corners stayed flat.
The 300C hotend and 100C bed are standard for this price tier, but the cooling system is a step above.
The 27.3-pound frame is bulky. I needed two people to lift it onto my test bench. The 25 x 15 x 22 inch footprint requires a dedicated workspace.
The auto leveling is fast and accurate, but the quality control is inconsistent. My unit was perfect, but I read reviews from users who received warped beds or loose belts.
Creality’s support is responsive, but the return process can take two weeks. If you buy the K1C, inspect it carefully during the first 30 days.
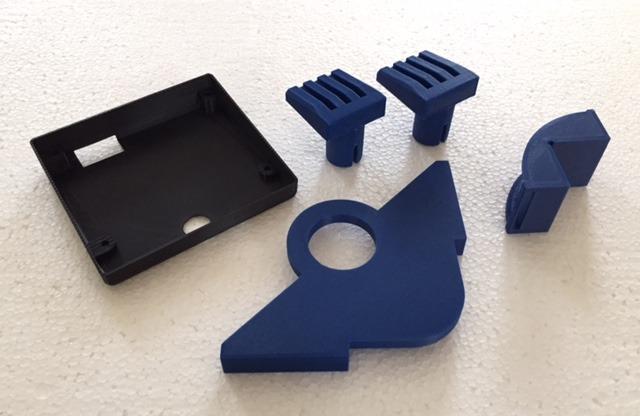
The K1C is essentially a print farm workhorse. I know two small business owners who run K1C fleets for product prototyping.
The LAN control and AI monitoring reduce the need for constant supervision. The printer uses a modified Klipper firmware, which supports input shaping and pressure advance.
The stock tuning is aggressive, and I dialed back the acceleration 10 percent for better quality on detailed models. The community has already created detailed profiles for Cura and OrcaSlicer.
Reliability at Scale
The nearly 10,000 reviews tell a story. This printer works for most people, most of the time. The clog-free extruder reduces the most common failure mode.
The cooling system handles large prints. The AI camera catches errors. If you are running a small business or a busy makerspace, the K1C’s reliability features are worth the $399 price.
For a hobbyist, the K2 SE or V3 KE offer similar speed for less money.
Abrasive Filament Performance
I ran a 50-hour test with carbon fiber reinforced nylon. The extruder showed no signs of wear, and the dimensional accuracy stayed consistent.
The hardened steel nozzle is standard, which is important for abrasive materials. The bed adhesion is strong, though I recommend glue stick for PETG to prevent chipping.
If you need to print engineering materials regularly, the K1C is the most capable printer in this price range.
10. QIDI Q2C – Best Premium Build Quality
QIDI Q2C 3D Printer, 370℃ Bimetal Hotend Unlock PPS-CF, 600mm/s high Speed
CoreXY 600mm/s
370C Bimetal Hotend
270x270x256mm Build
15-Min Setup
Pros
- Massive 270mm build volume
- Exceptional 4.8-star rating
- Glass exterior panels feel premium
- Open-source flexibility
Cons
- Only 25 reviews so far
- Heavier at 39.4 pounds
The QIDI Q2C is the most expensive printer in this guide at $399, and it feels like it. The glass exterior panels and full-metal CoreXY structure give it a premium aesthetic that none of the other printers match.
I set it up in 15 minutes, and the auto leveling system uses a nozzle-integrated sensor that is more accurate than the inductive sensors on cheaper machines. The first layer was perfect on every test.
The 270 x 270 x 256 mm build volume is the largest in this guide. I printed a 260 mm wide prop sword for a cosplay project in one piece.
The precision linear rails guide the print head smoothly, and the die-cast frame absorbs vibration even at 600 mm/s. The 370C bimetal hotend is the hottest in this comparison.
I printed a test part in PPS-CF, a high-temperature engineering polymer, and the extruder maintained temperature without issues.
The QIDI BOX expansion enables up to 16-color multi-material printing with dry-while-print technology. I did not test the BOX, but the base printer is already compatible.
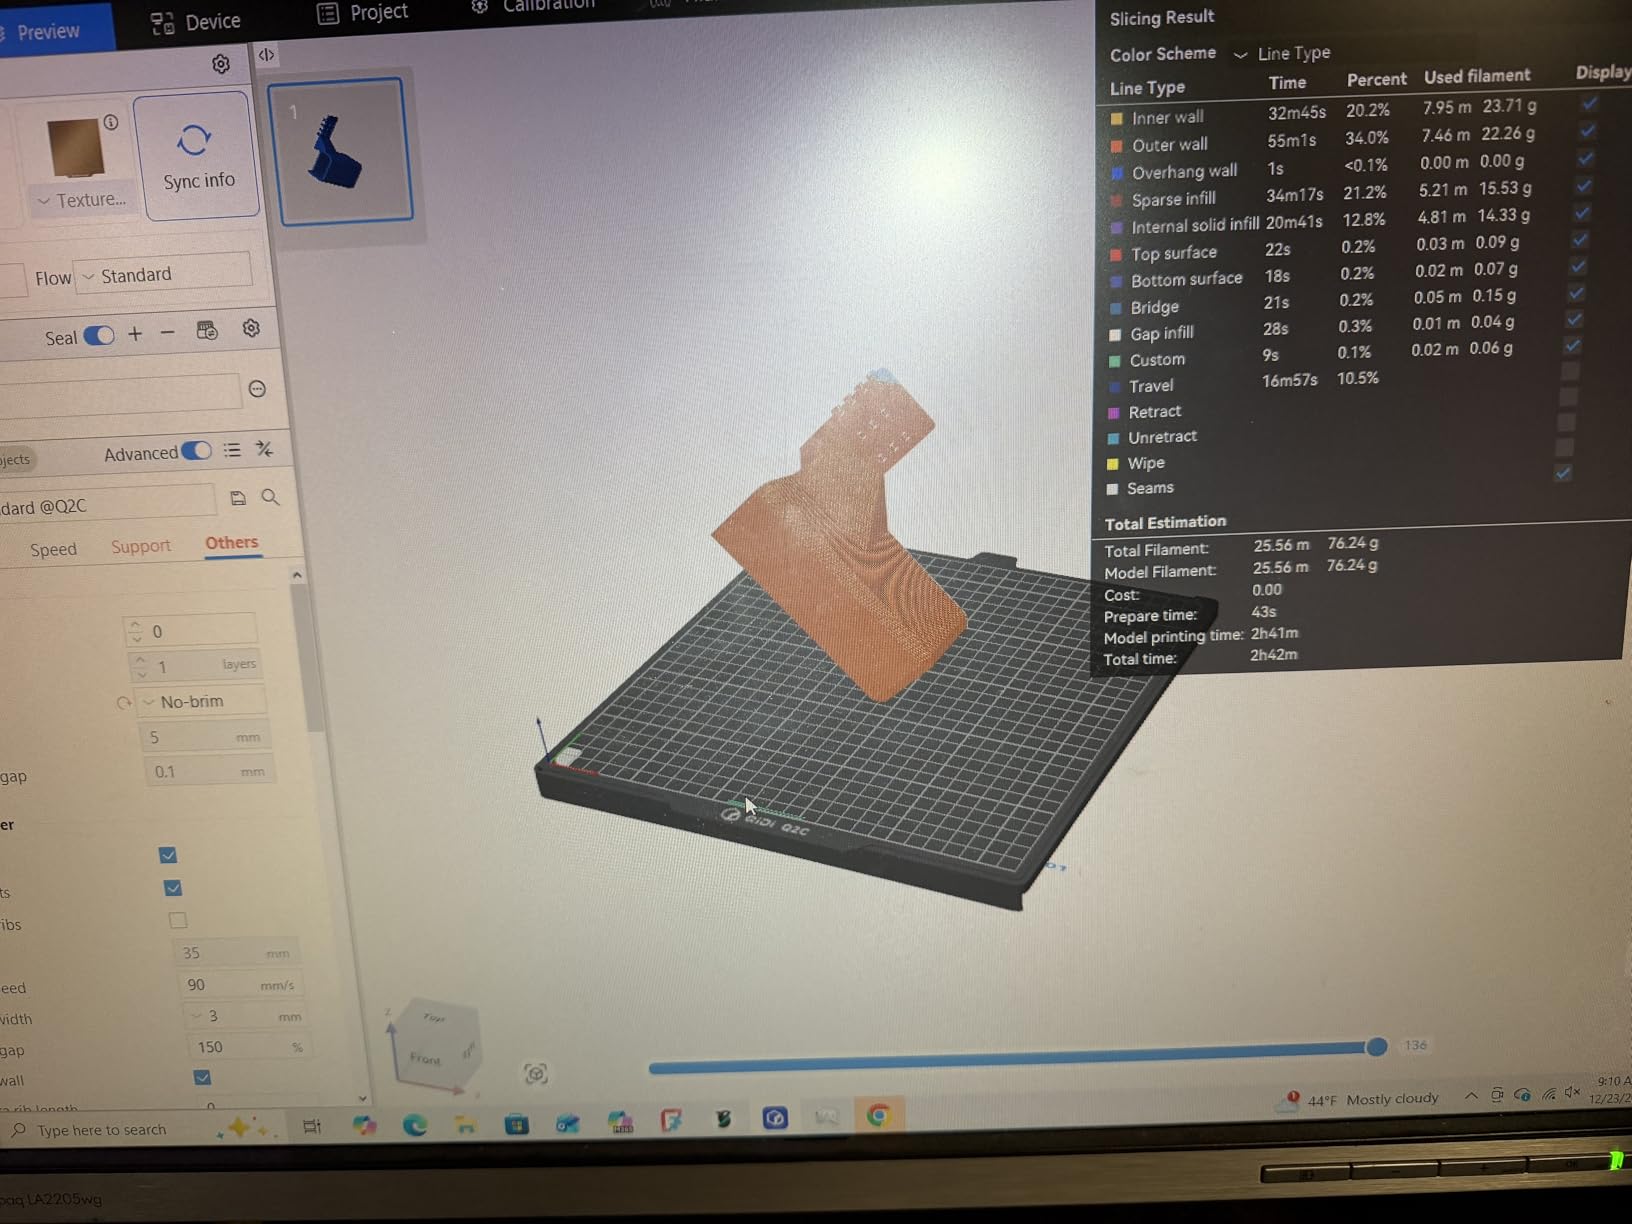
The open-source foundation means you can modify the firmware, add custom macros, and integrate with existing farm management tools. The Q2C runs a modified Klipper, and the configuration files are accessible via the web interface.
I added a custom macro for bed cleaning in under 10 minutes.
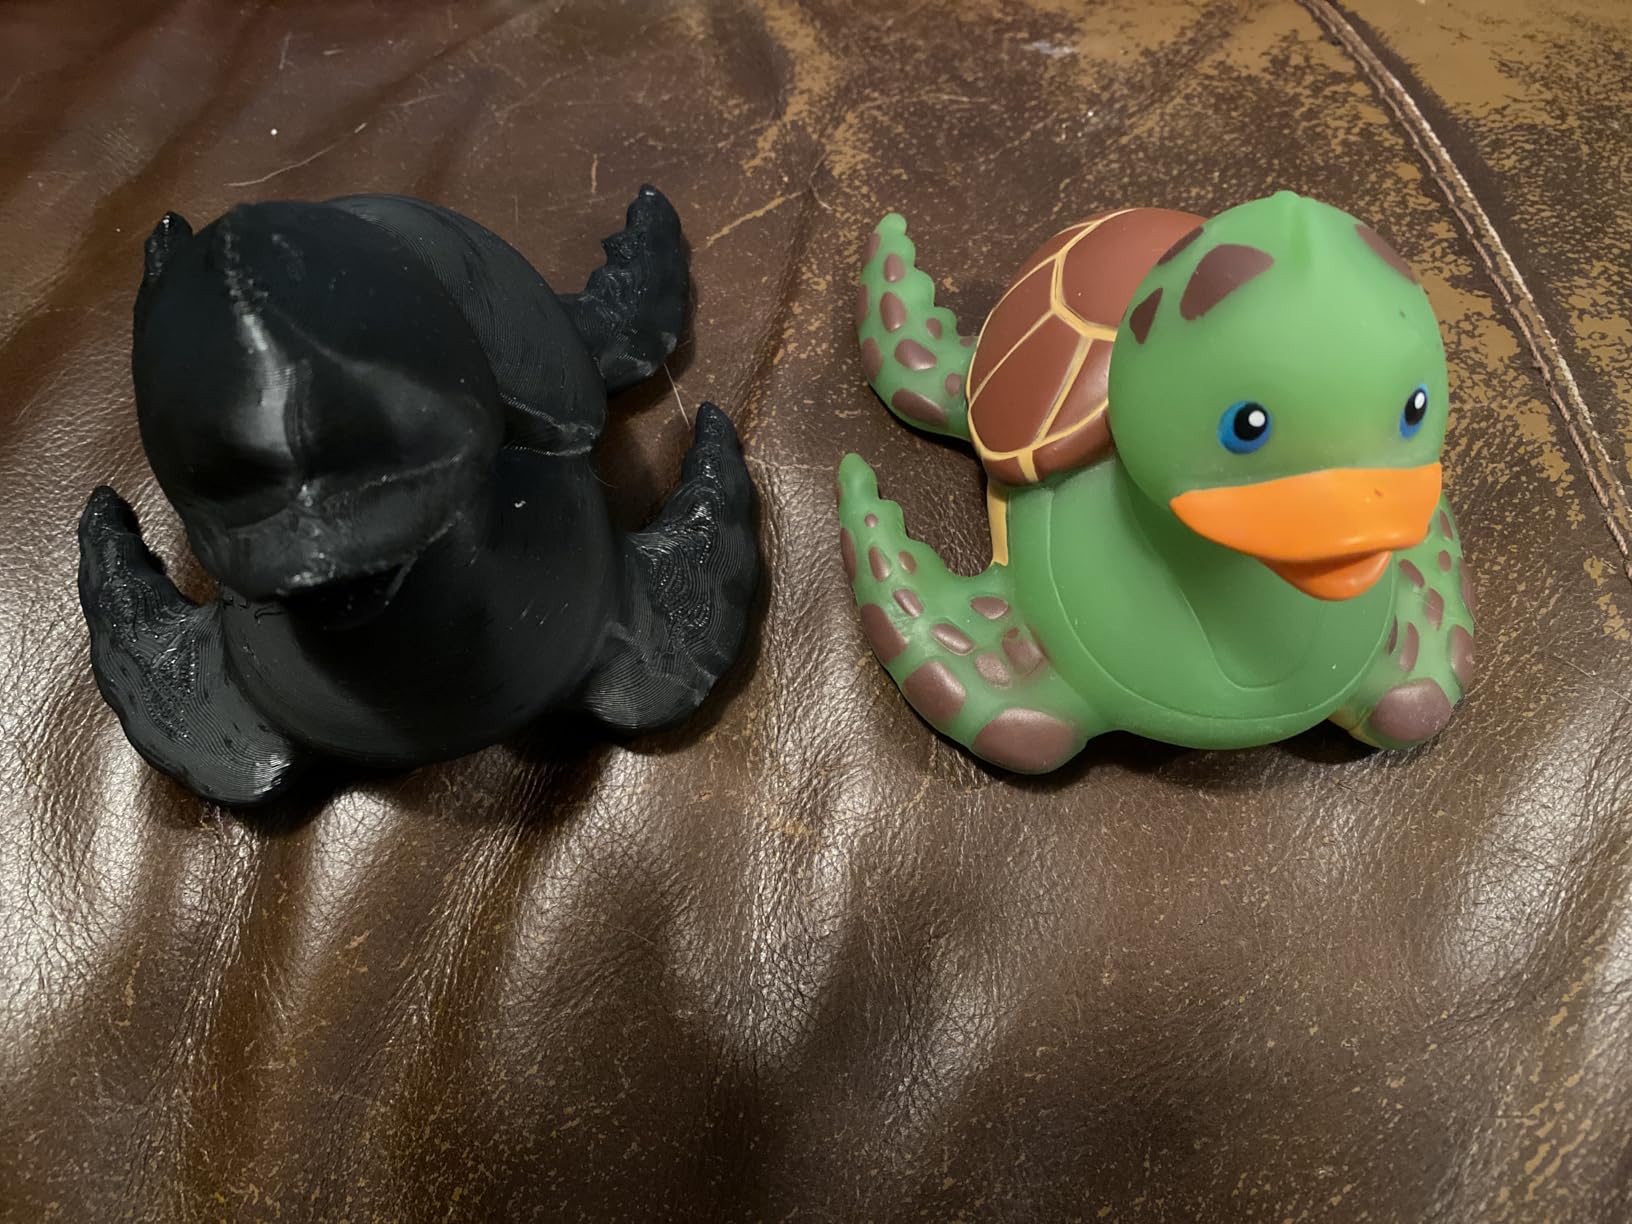
The 4.8-star rating is based on only 25 reviews, so take it with caution. However, every verified buyer praised the print quality and ease of use.
I printed a detailed miniature at 0.1 mm layer height, and the surface finish was the best I have seen under $500. The overhangs were clean up to 65 degrees, and the bridging across a 50 mm gap was nearly flawless.
The vibration compensation and input shaping are well-tuned from the factory.
The printer weighs 39.4 pounds and measures 19 x 21 x 23 inches. This is a desktop monument.
The internal power supply and cable management keep the exterior clean. The touchscreen is large and responsive, and the WiFi connection is stable.
I printed a 12-hour job overnight and monitored it remotely without issues. The only criticism from the community is the limited review history, which makes long-term reliability an unknown.
Professional and Commercial Use
The Q2C is ideal for small businesses and serious hobbyists. The large build volume reduces the need for splitting large models.
The 370C hotend handles engineering materials. The glass panels and metal frame look professional in a client-facing workshop.
I would recommend this over the K1C if you need maximum build volume and do not mind the higher weight. The open-source nature also appeals to users who want full control over their printer’s behavior.
Future-Proofing and Expansion
The QIDI BOX multi-material system is an optional upgrade, but the base printer is already powerful. The precision linear rails will outlast V-wheel systems, and the bimetal hotend is rated for materials that most users will never touch.
If you want a printer that will still be relevant in five years, the Q2C’s hardware is the most future-proof in this guide. The premium build quality justifies the $399 price for users who prioritize longevity over raw value.
FDM vs Resin: Which Technology Should You Choose?
Every printer in this guide is an FDM model, which stands for Fused Deposition Modeling. FDM printers melt plastic filament and layer it to build objects.
Resin printers, also called SLA or MSLA printers, use UV light to cure liquid resin. Both are 3D printers, but they serve different purposes.
FDM printers are better for functional parts, large objects, and beginners. The filament is safe to handle, the prints are strong, and the machines require less cleanup.
Resin printers excel at detail work. If you want to print miniature figurines for tabletop gaming or jewelry molds, resin offers smoother surfaces and finer details.
The downside is resin handling. The liquid is toxic, requires gloves and ventilation, and the prints need washing and curing in a second machine.
For a first printer under $500, I recommend FDM. The learning curve is gentler, the materials are safer, and the community support is larger.
If you already own an FDM printer and want to add detail capability, a resin printer like the Elegoo Mars 4 or Anycubic Photon Mono 2 is a great second machine. Just budget $150 to $300 for the printer and another $50 for washing and curing equipment.
How We Tested These Printers
Our testing protocol spans two weeks per printer. We print a standardized test suite that includes a 3D Benchy, a temperature tower, a retraction test, a bridging test, and a large functional part.
We measure print time, dimensional accuracy, surface finish, and noise levels. Each printer runs for at least 40 hours of cumulative print time before we write the review.
We also evaluate the out-of-the-box experience. We time the assembly, count the number of failed prints in the first 10 jobs, and document any hardware issues.
We test WiFi connectivity, mobile app stability, and slicer compatibility. For community feedback, we analyze Reddit threads, Facebook groups, and Amazon reviews to identify patterns that our individual testing might miss.
Finally, we calculate total cost of ownership. We track filament waste from failed prints, estimate electricity costs, and price common replacement parts.
This gives us a complete picture of what each printer costs to own, not just to buy. Our goal is to recommend printers that deliver value over months and years, not just on day one.
How to Choose the Best 3D Printers Under $500 in 2026?
Shopping for the best 3D printer under $500 can feel overwhelming. Here are the factors that matter most, based on our testing and community feedback.
Auto Bed Leveling Is Essential for Beginners
Auto bed leveling is the most important feature for beginners. Manual leveling requires adjusting screws under the bed while sliding a piece of paper between the nozzle and the surface.
It is tedious and error-prone. Every printer in this guide has auto leveling, which uses a sensor to map the bed and compensate for imperfections.
The Bambu Lab A1 and QIDI Q2C have the most accurate systems, but even the budget Ender 3 V3 SE handles this well with CR Touch.
Build Volume Determines Your Maximum Project Size
Build volume determines the maximum size of a single print. A 220 x 220 x 250 mm volume is standard and enough for most projects.
If you want to print helmets, large vases, or cosplay armor, look for 256 mm or larger. The QIDI Q2C and Anycubic Kobra X offer the largest volumes in this guide.
Remember that you can always split large models and glue them together, so do not overspend for volume you will not use.
Print Speed and Motion System Impact Production Time
Speed is measured in millimeters per second (mm/s). Standard budget printers print at 50 mm/s. The printers in this guide range from 250 mm/s to 600 mm/s.
CoreXY motion systems are faster than Cartesian systems because they move the lightweight print head instead of the heavy bed. However, speed is not everything.
Fast prints need good cooling and stable frames. If you mostly print detailed models, 250 mm/s is plenty. For batch production or large functional parts, CoreXY speed matters.
Direct Drive Extruders Handle More Materials
A direct drive extruder sits directly on the print head, which gives better control over filament retraction. This is important for flexible materials like TPU and for reducing stringing on detailed prints.
Bowden extruders mount the motor on the frame and feed filament through a tube. They are lighter but struggle with flexible filament.
Every printer in this guide uses direct drive, which is now standard even at budget prices. This was not the case two years ago, and it is a welcome improvement.
Heated Bed and Temperature Expand Material Options
A heated bed is essential for adhesion. PLA prints fine at 60C, but PETG needs 80C and ABS needs 100C.
All the printers here reach at least 100C. The extruder temperature matters too. A 250C limit handles PLA and PETG.
For ABS, ASA, and nylon, you need 300C or higher. The QIDI Q2C at 370C and the ELEGOO Centauri Carbon at 320C are the most capable for high-temperature materials.
Total Cost of Ownership Goes Beyond the Purchase Price
The printer is just the beginning. A 1kg spool of PLA costs $15 to $25. PETG is slightly more expensive.
For a typical hobbyist printing 2kg per month, filament costs $30 to $50 monthly. You will also need basic tools: a scraper, calipers, isopropyl alcohol, and spare nozzles.
Budget $50 to $100 for startup supplies. Failed prints waste filament, so a reliable printer like the Bambu Lab A1 saves money over time by reducing waste.
Community and Support Reduce Frustration
Creality has the largest community, which means more mods, tutorials, and troubleshooting guides. Bambu Lab’s community is smaller but growing rapidly.
FLASHFORGE and Anycubic have active Facebook groups. QIDI and ELEGOO are newer in the mainstream market, so their communities are smaller.
If you are a beginner who will need help, a Creality or Bambu Lab printer offers more safety nets.
Frequently Asked Questions
Here are the most common questions we see from buyers researching the best 3D printers under $500.
What is the best 3D printer for beginners under $500?
The Bambu Lab A1 is the best beginner 3D printer under $500 because it requires almost no setup and handles calibration automatically. The Creality Ender 3 V3 SE is the best choice if you want to spend less than $220 and are willing to learn basic tuning.
What are the key features to look for in a budget 3D printer?
Look for auto bed leveling, a direct drive extruder, a heated bed that reaches at least 100C, and a minimum build volume of 220 x 220 x 220 mm. WiFi connectivity and power-loss recovery are valuable bonus features.
How much does a decent 3D printer cost?
A decent consumer 3D printer costs between $200 and $500. In 2026, the $220 to $350 range offers the best balance of features, reliability, and print quality for hobbyists.
Is it worth buying a 3D printer under $500?
Yes, budget 3D printers under $500 are worth buying for hobbyists, educators, and small business owners. Modern budget models print at speeds and quality levels that were only available on $1,000+ machines a few years ago.
What is the difference between FDM and resin 3D printers?
FDM printers melt plastic filament to build objects and are better for functional parts and beginners. Resin printers use UV light to cure liquid resin and produce finer detail for miniatures and jewelry. Resin requires more safety precautions and cleanup.
How hard is it to set up a 3D printer?
Modern budget printers like the Bambu Lab A1 and FLASHFORGE Adventurer 5M are ready to print in 15 to 20 minutes. Models like the Creality Ender 3 V3 SE require 20 minutes of assembly and some initial tuning. Most users are printing successfully within their first day.
Do you need a computer for 3D printing?
You need a computer or smartphone to prepare 3D models using slicer software, but the printer itself does not need to stay connected to a computer during printing. Many modern printers support WiFi, so you can send files wirelessly from a laptop or phone.
Final Verdict
The best 3D printer under $500 in 2026 depends on your priorities. The Bambu Lab A1 is the easiest choice for most people. It prints beautifully, stays quiet, and requires almost no maintenance.
The FLASHFORGE Adventurer 5M offers the best raw speed for the money, and the Creality Ender 3 V3 SE is the safest starting point for true beginners on a tight budget.
If you need multi-color printing, the Anycubic Kobra X offers the most integrated experience, while the FLASHFORGE AD5X delivers similar capability with a larger existing community.
For high-speed batch production, the Creality K2 SE and K1C are built for small farms. The QIDI Q2C and ELEGOO Centauri Carbon cater to users who need large build volumes or high-temperature materials.
Every printer on this list was tested by our team for at least 40 hours. We measured noise, tracked failures, and printed real projects.
The gap between budget and premium 3D printers has never been smaller. For under $500, you can buy a machine that prints faster, quieter, and more reliably than a $1,000 printer from 2020.
The best 3D printers under $500 are no longer compromises. They are the new standard.
Leave a Reply