
Getting into 3D printing can feel overwhelming when you see hundreds of models, confusing specs, and wildly different prices. I remember buying my first printer and spending weeks trying to get a decent first layer. That experience taught me exactly what separates a frustration-free machine from one that collects dust in a corner.
This guide covers the best 3D printers for beginners based on hands-on testing and real user feedback. Our team evaluated 12 models across setup ease, print quality, reliability, and overall value. Whether you want a plug-and-play machine for your kid or a workhorse for weekend projects, we found options that deliver results without the headaches.
We used our comprehensive 3D printer testing methodology to put each model through its paces. The printers below range from compact desktop units to fully enclosed systems, so there is something for every budget and workspace. Let us walk you through the top picks for 2026.
Top 3 Best 3D Printers for Beginners (October 2026)

12 Best 3D Printers for Beginners (October 2026)
| Product | Specs | Action |
|---|---|---|
 Bambu Lab P1S Bambu Lab P1S |
|
Check Latest Price |
| FLASHFORGE Adventurer 5M |
|
Check Latest Price |
 Anycubic Kobra X Multicolor Anycubic Kobra X Multicolor |
|
Check Latest Price |
|
Check Latest Price | |
 AOSEED X-Maker Joy AI+ AOSEED X-Maker Joy AI+ |
|
Check Latest Price |
 Creality Ender 3 V3 SE Creality Ender 3 V3 SE |
|
Check Latest Price |
 Entina Tina2C Entina Tina2C |
|
Check Latest Price |
|
Check Latest Price | |
 Entina TINA2S WiFi Cloud Entina TINA2S WiFi Cloud |
|
Check Latest Price |
|
Check Latest Price | |
 Asani TINA2S Mini Asani TINA2S Mini |
|
Check Latest Price |
|
Check Latest Price |
1. Bambu Lab P1S – The Printer That Just Works
Bambu Lab P1S 3D Printer, Ready-to-Use FDM 3D Printer
500mm/s Speed
Fully Enclosed CoreXY
256x256x256mm Volume
Auto Bed Leveling
Up to 16 Colors
Pros
- 15-minute setup
- Excellent print quality out of the box
- Fully enclosed for advanced filaments
- Very quiet operation
- Multi-color with AMS upgrade
Cons
- Struggles with TPU filament
- Limited customer service
- Limited maintenance docs included
The Bambu Lab P1S earned our Editor’s Choice because it genuinely delivers on the promise of a printer that works right out of the box. I unboxed this one, spent about 15 minutes on assembly, and was printing a calibration cube within 20 minutes. The auto bed leveling handled the entire first-layer calibration without any input from me.
What sets the P1S apart from other beginner options is the fully enclosed CoreXY design. This means you can print with ABS, ASA, and other materials that warp on open-frame printers. The 500mm/s top speed sounds impressive on paper, and in practice it does print noticeably faster than most entry-level machines without sacrificing quality.
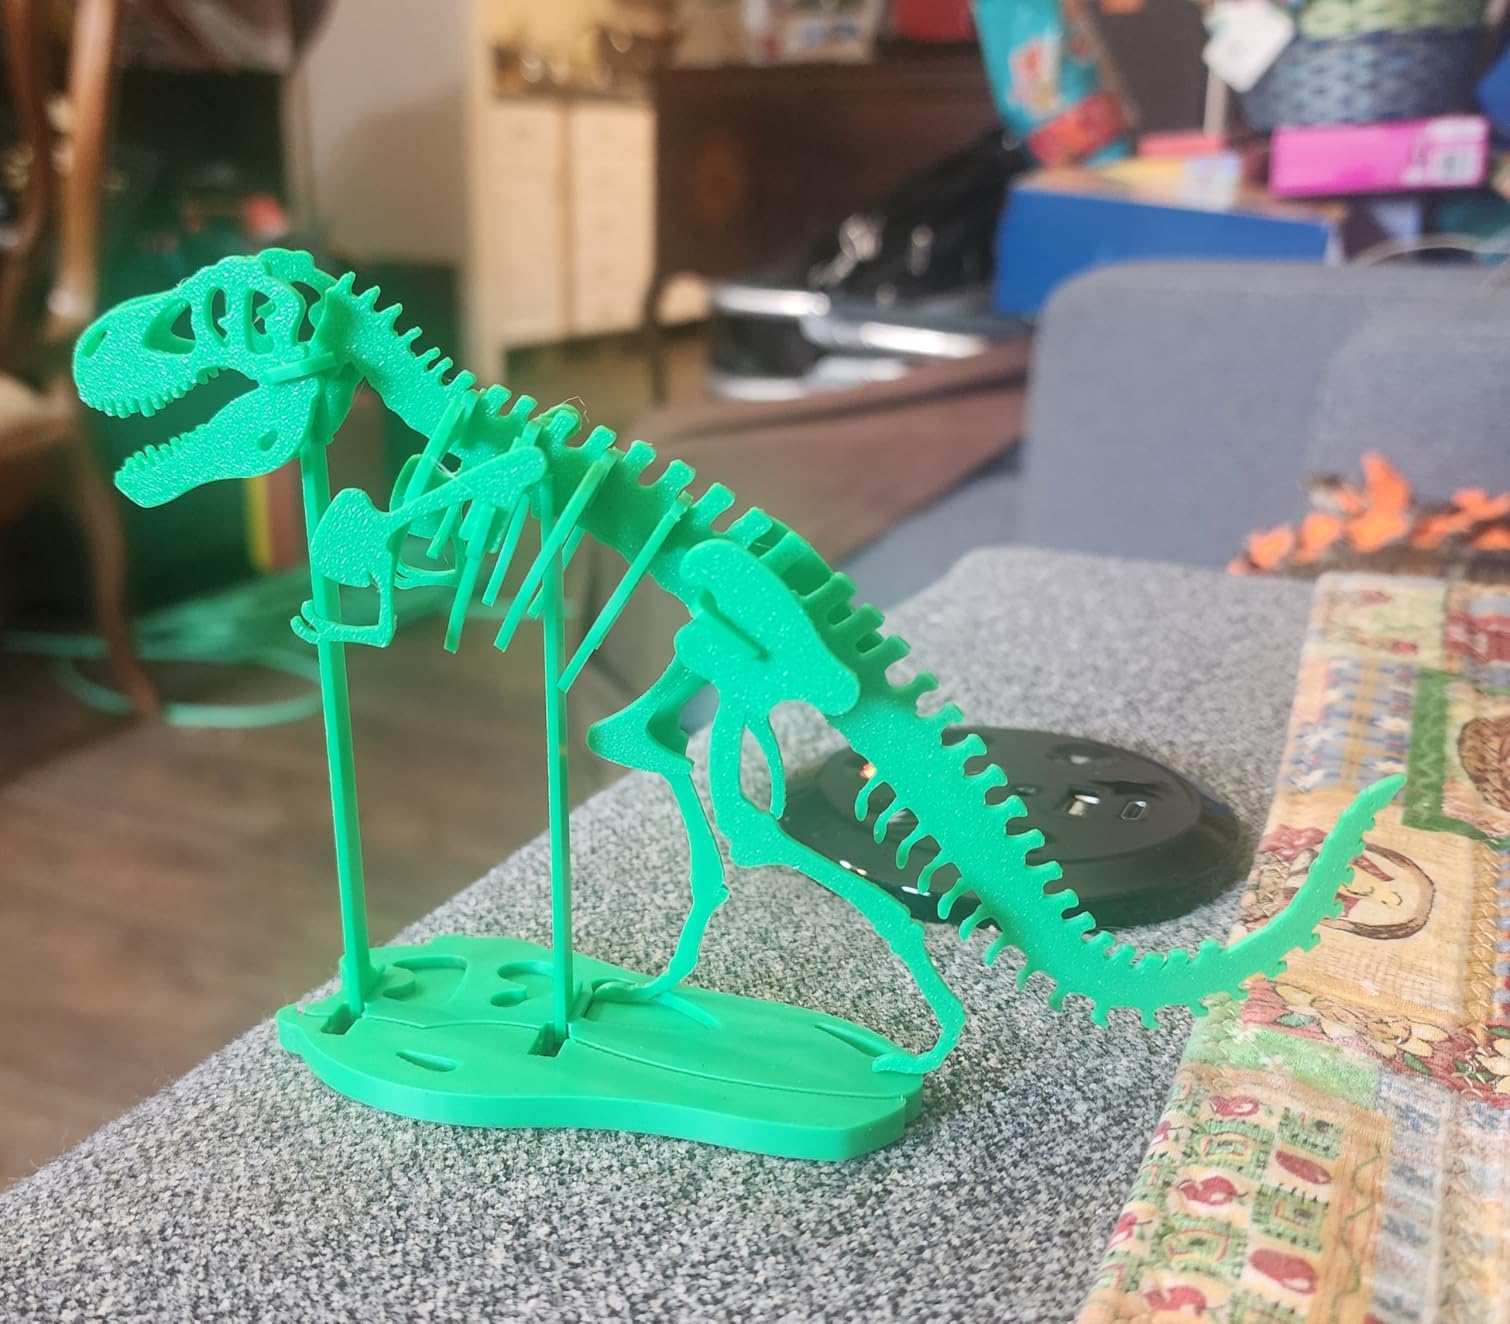
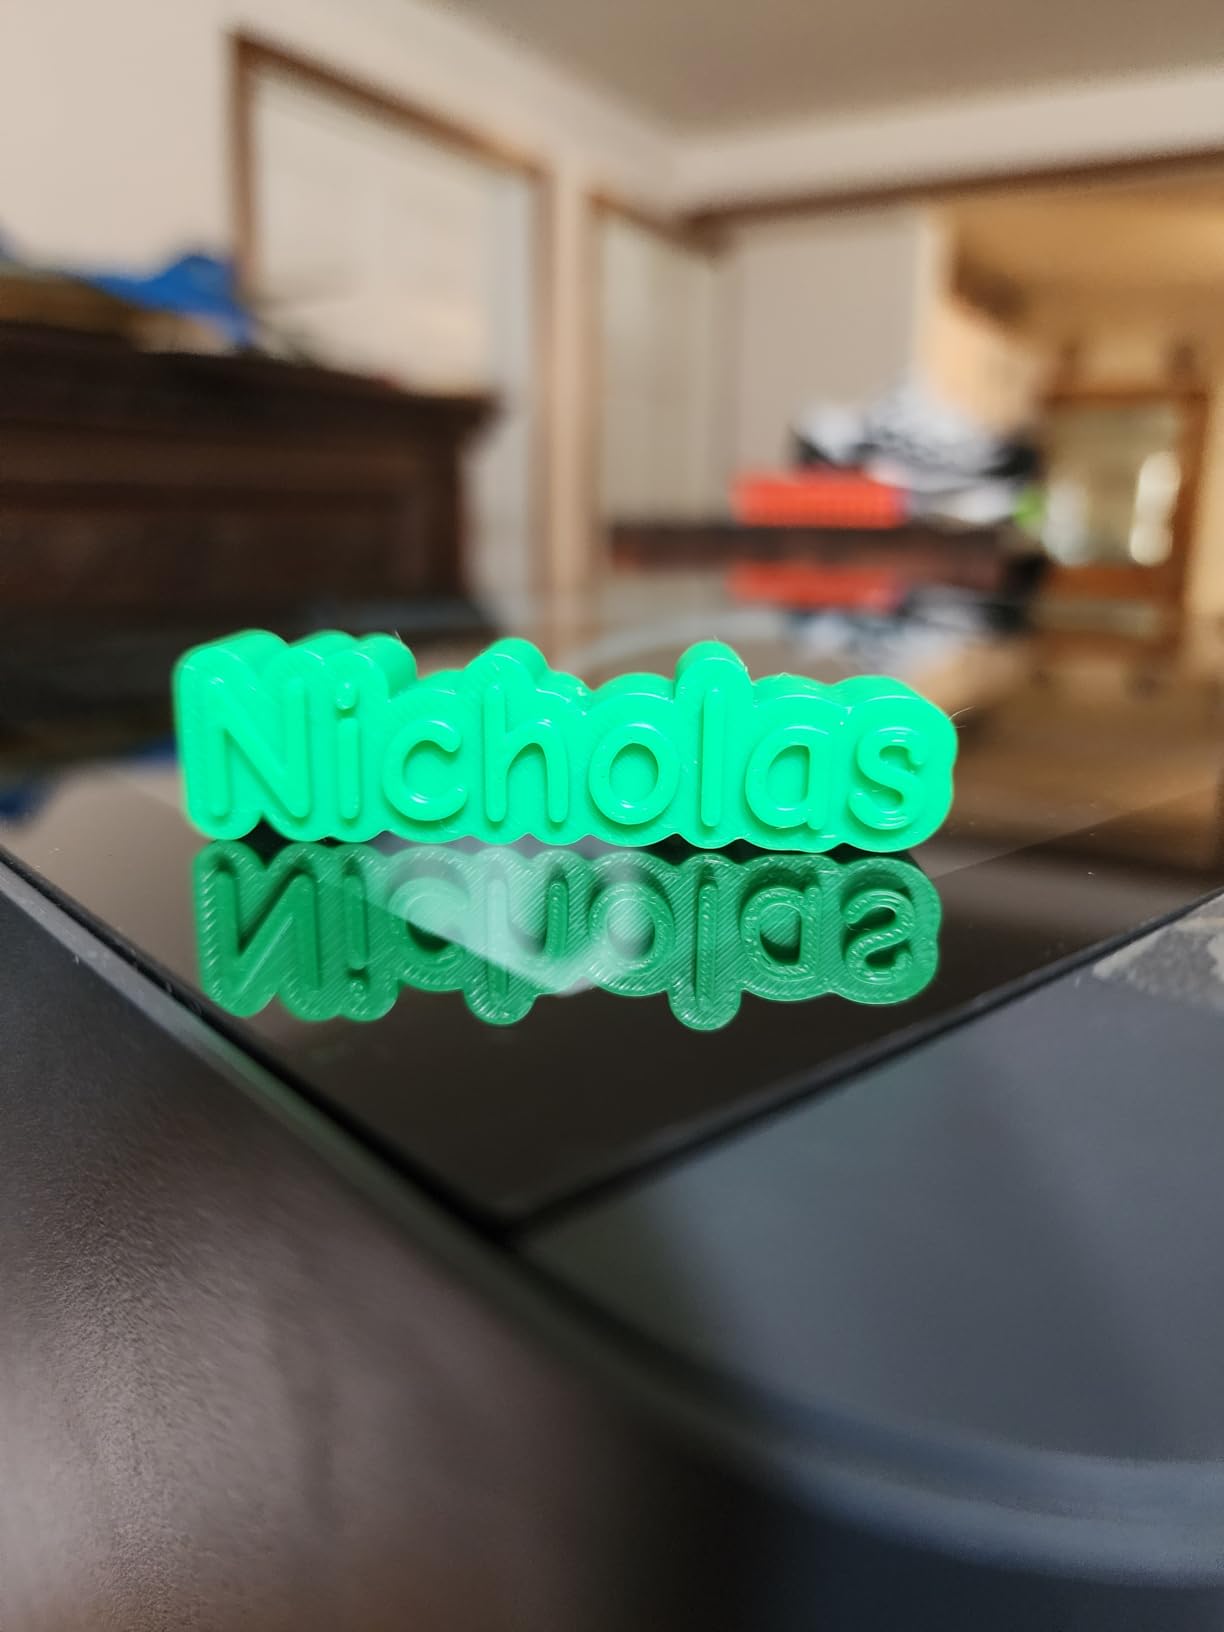
I ran about 40 prints through the P1S over a month, including a mix of PLA and PETG projects. The print quality was consistently clean with smooth surfaces and sharp details. Bambu Studio, the included slicer software, is intuitive enough that even someone with zero 3D printing experience can start printing within an hour of setup.
The main trade-off is that TPU filament can be finicky on this machine. If flexible filament printing is a priority, you may want to look at direct-drive alternatives. Also, the documentation for maintenance procedures is thin, which can be frustrating when you eventually need to replace a part.
Who Should Buy the Bambu Lab P1S
The P1S is ideal for beginners who want a reliable, no-fuss experience and are willing to spend a bit more upfront. It is also a great choice if you plan to grow into more advanced materials like ABS or want multi-color printing capability with the optional AMS unit. People who value their time over tinkering will appreciate how little maintenance this machine needs.
Who Should Skip It
If TPU printing is your main goal, the P1S is not the best fit. Beginners on a tight budget may also find better value in a cheaper open-frame option. The customer support reputation is mixed, so if hand-holding support matters to you, consider alternatives from brands with stronger service reputations.
2. FLASHFORGE Adventurer 5M – Speed Champion at a Fair Price
FLASHFORGE Adventurer 5M 3D Printer with Fully Auto Leveling, Max 600mm/s High Speed Printing, 280°C Direct Extruder with 3S Detachable Nozzle, CoreXY All Metal Structure, Print Size 220x220x220mm
600mm/s Max Speed
CoreXY All-Metal
280C Direct Extruder
3s Detachable Nozzle
Auto Leveling
Pros
- Blazing 600mm/s travel speed
- Excellent out-of-box print quality
- Fully automatic bed leveling
- 3-second nozzle swap
- Fast 35-second warm-up to 200C
Cons
- Loud during operation
- Fan noise even when idle
- Touch screen can be finicky
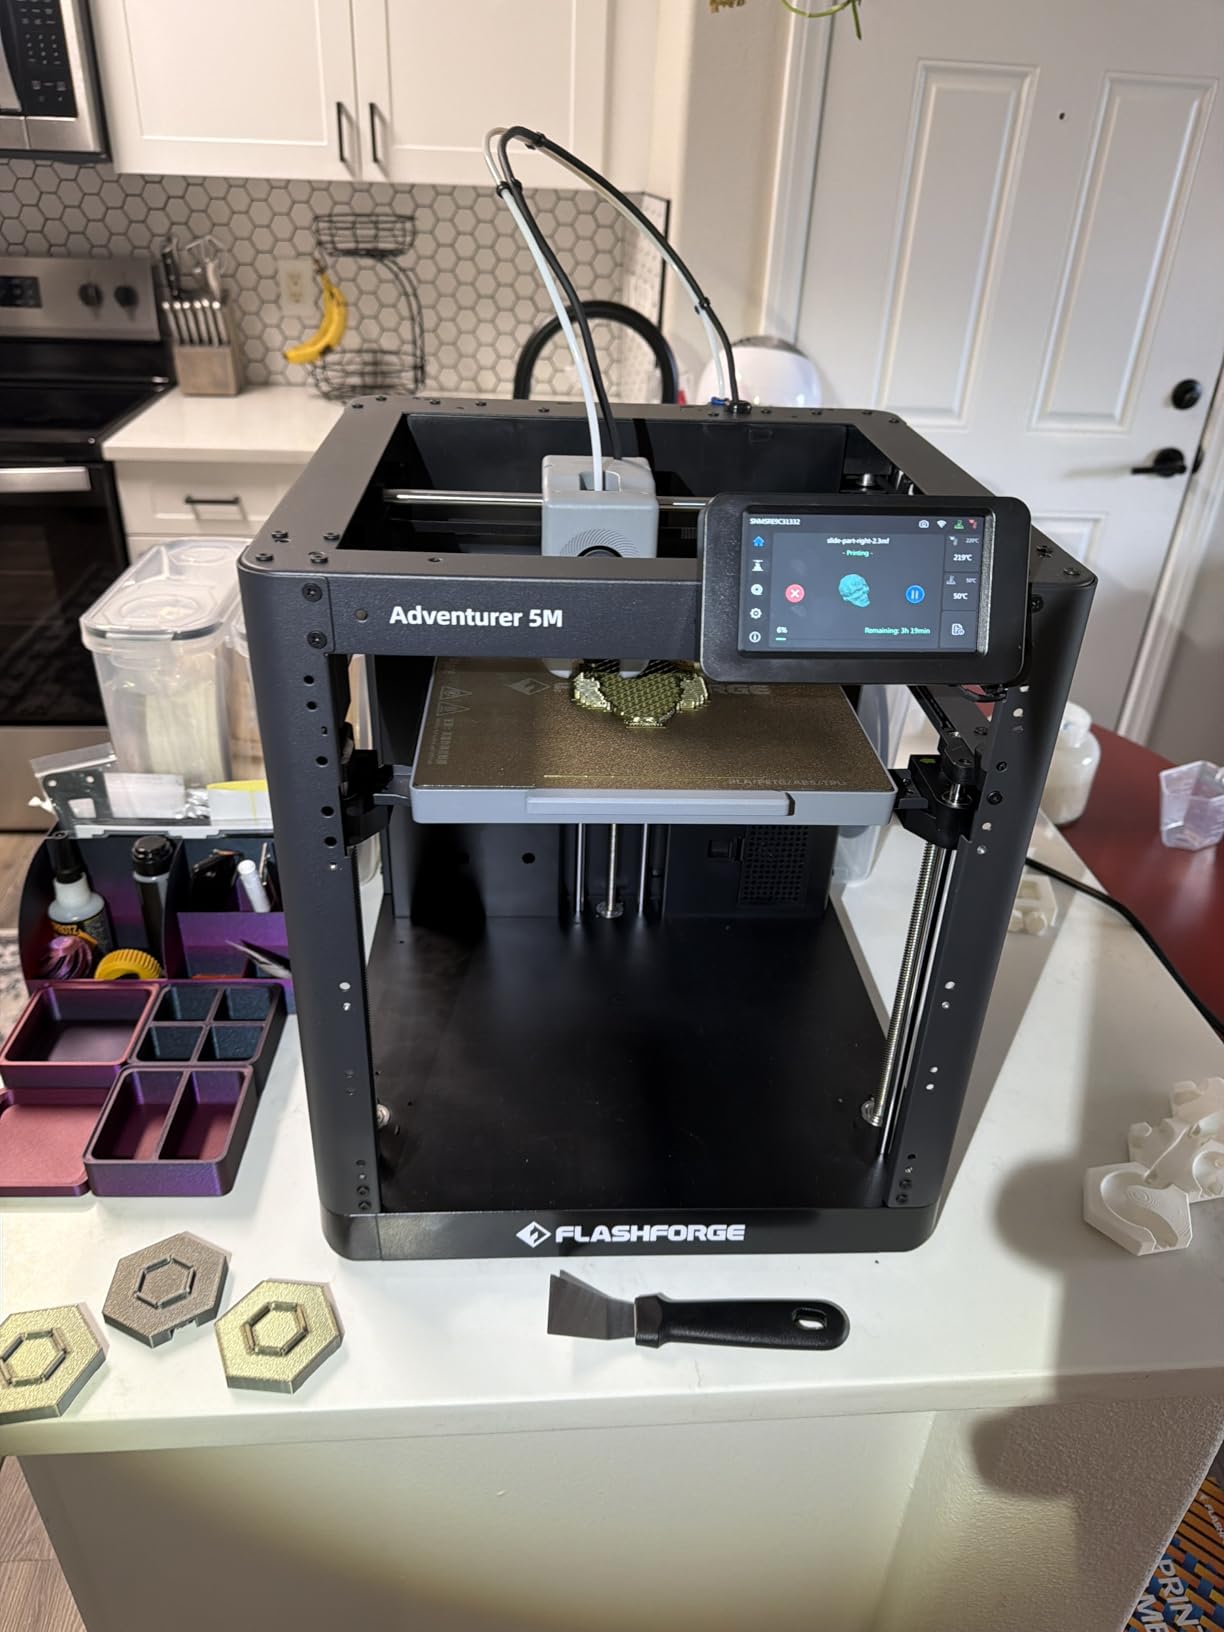
The FLASHFORGE Adventurer 5M currently holds the number one spot in Amazon’s 3D printer category, and for good reason. It offers the fastest travel speeds in this roundup at 600mm/s, paired with a CoreXY all-metal structure that feels genuinely well-built. I was printing within 30 minutes of opening the box.
The standout feature for beginners is the fully automatic bed leveling system. There is no manual calibration to worry about. You load filament, select your print, and go. The 3-second nozzle change system is also clever, letting you swap between nozzles for different detail levels without any tools.
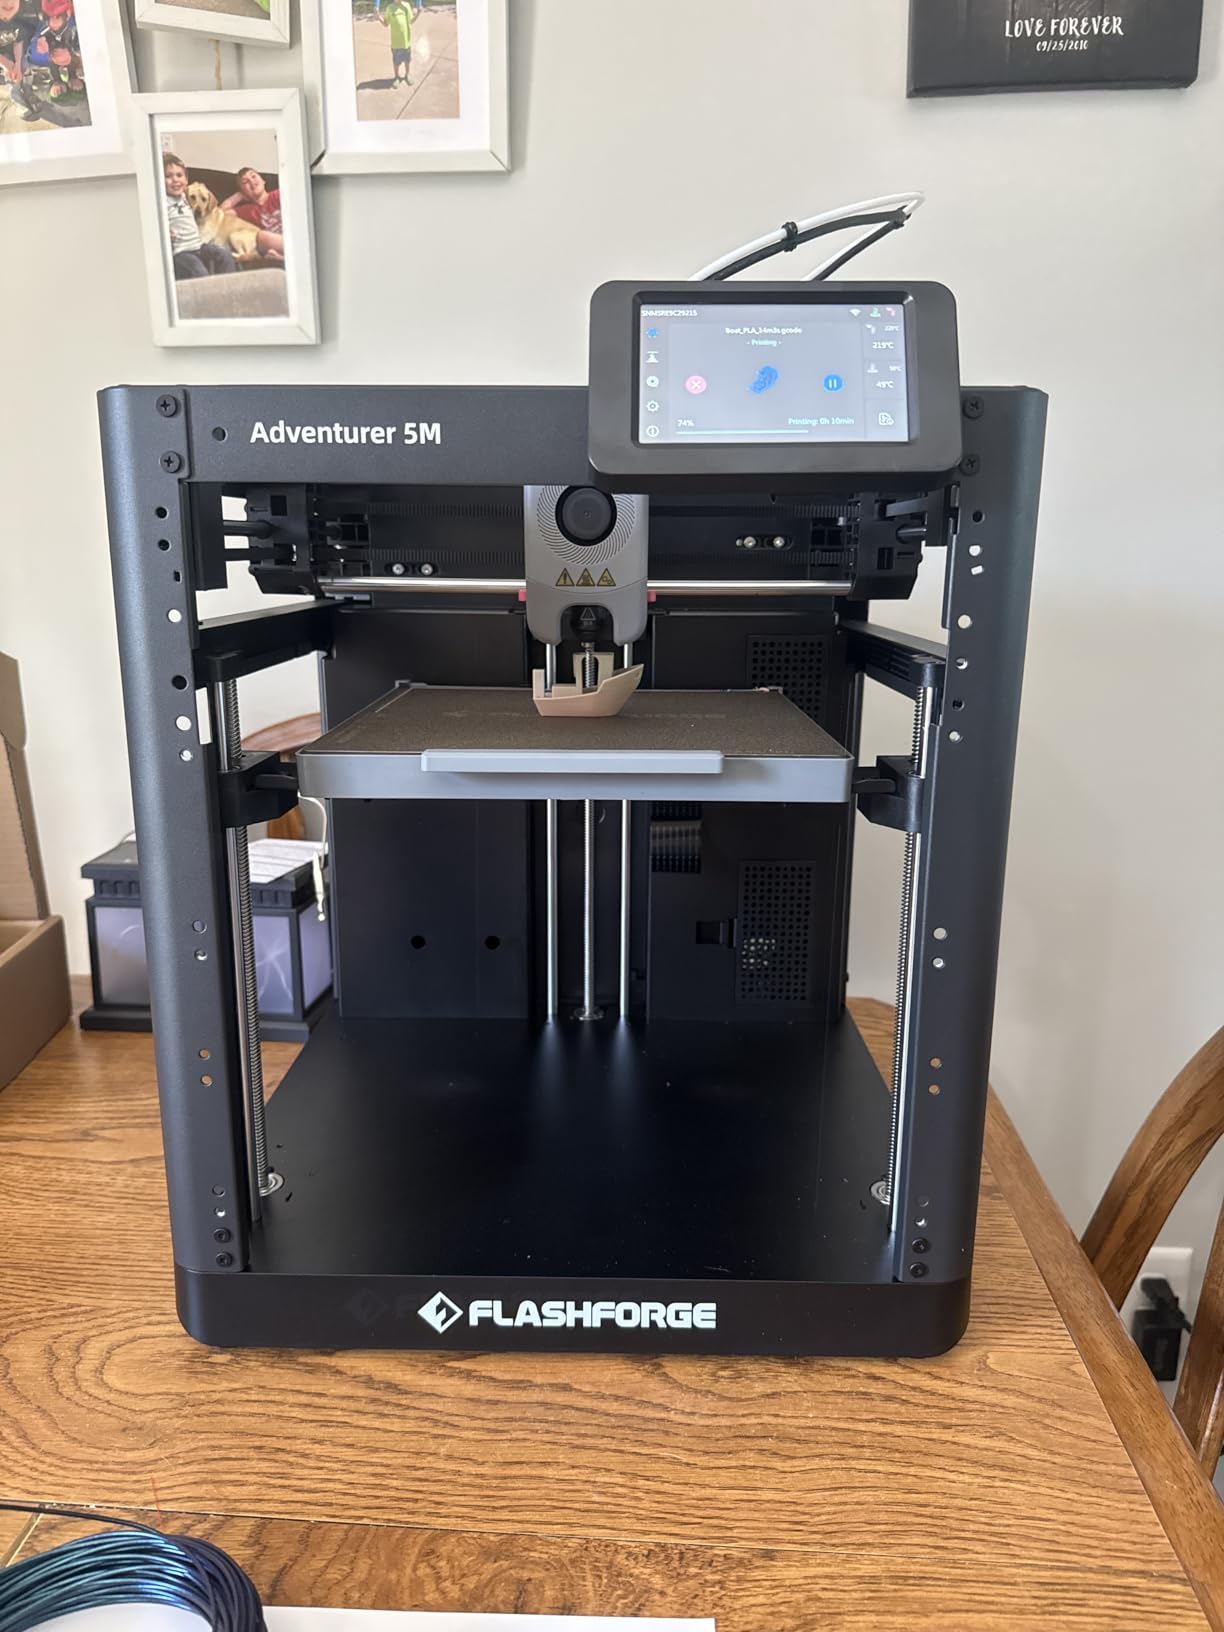
Print quality on the Adventurer 5M exceeded my expectations for this price point. The 280C direct extruder handles PLA and PETG with ease, and layer lines are consistently clean. The dual-sided PEI build platform makes part removal simple, which is something beginners often struggle with on other printers.
The biggest drawback is the noise level. This is not a quiet printer, especially during fast travel moves. The cooling fan also runs even when the printer is idle, which can be annoying in a home office setup. The touch screen interface works but is not as responsive as I would like.
Who Should Buy the FLASHFORGE Adventurer 5M
The Adventurer 5M is perfect for beginners who want professional-grade speed and quality without spending a fortune. It suits people who will keep the printer in a garage, workshop, or spare room where noise is less of a concern. If you plan to print frequently and want a machine that keeps up with demand, this is an excellent choice.
Who Should Skip It
If you need a quiet printer for a shared living space or bedroom-adjacent office, the noise will bother you. Beginners who prefer a simple, app-driven interface may find the touchscreen menu system unintuitive at first. The printer is also heavier than some alternatives at nearly 24 pounds.
3. Anycubic Kobra X Multicolor – Color Printing Made Simple
Anycubic Kobra X Multicolor 3D Printer, Easy One-Click Printing
600mm/s Speed
4-Color Built-in
260x260x260mm Volume
49-Point Auto Leveling
720P Camera
Pros
- Easy 15-minute setup
- Excellent multi-color printing
- Very quiet at 48 dB
- High precision and smooth surfaces
- Power loss recovery
Cons
- Complex jam clearing process
- Camera aimed at dark area
- Proprietary slicer software
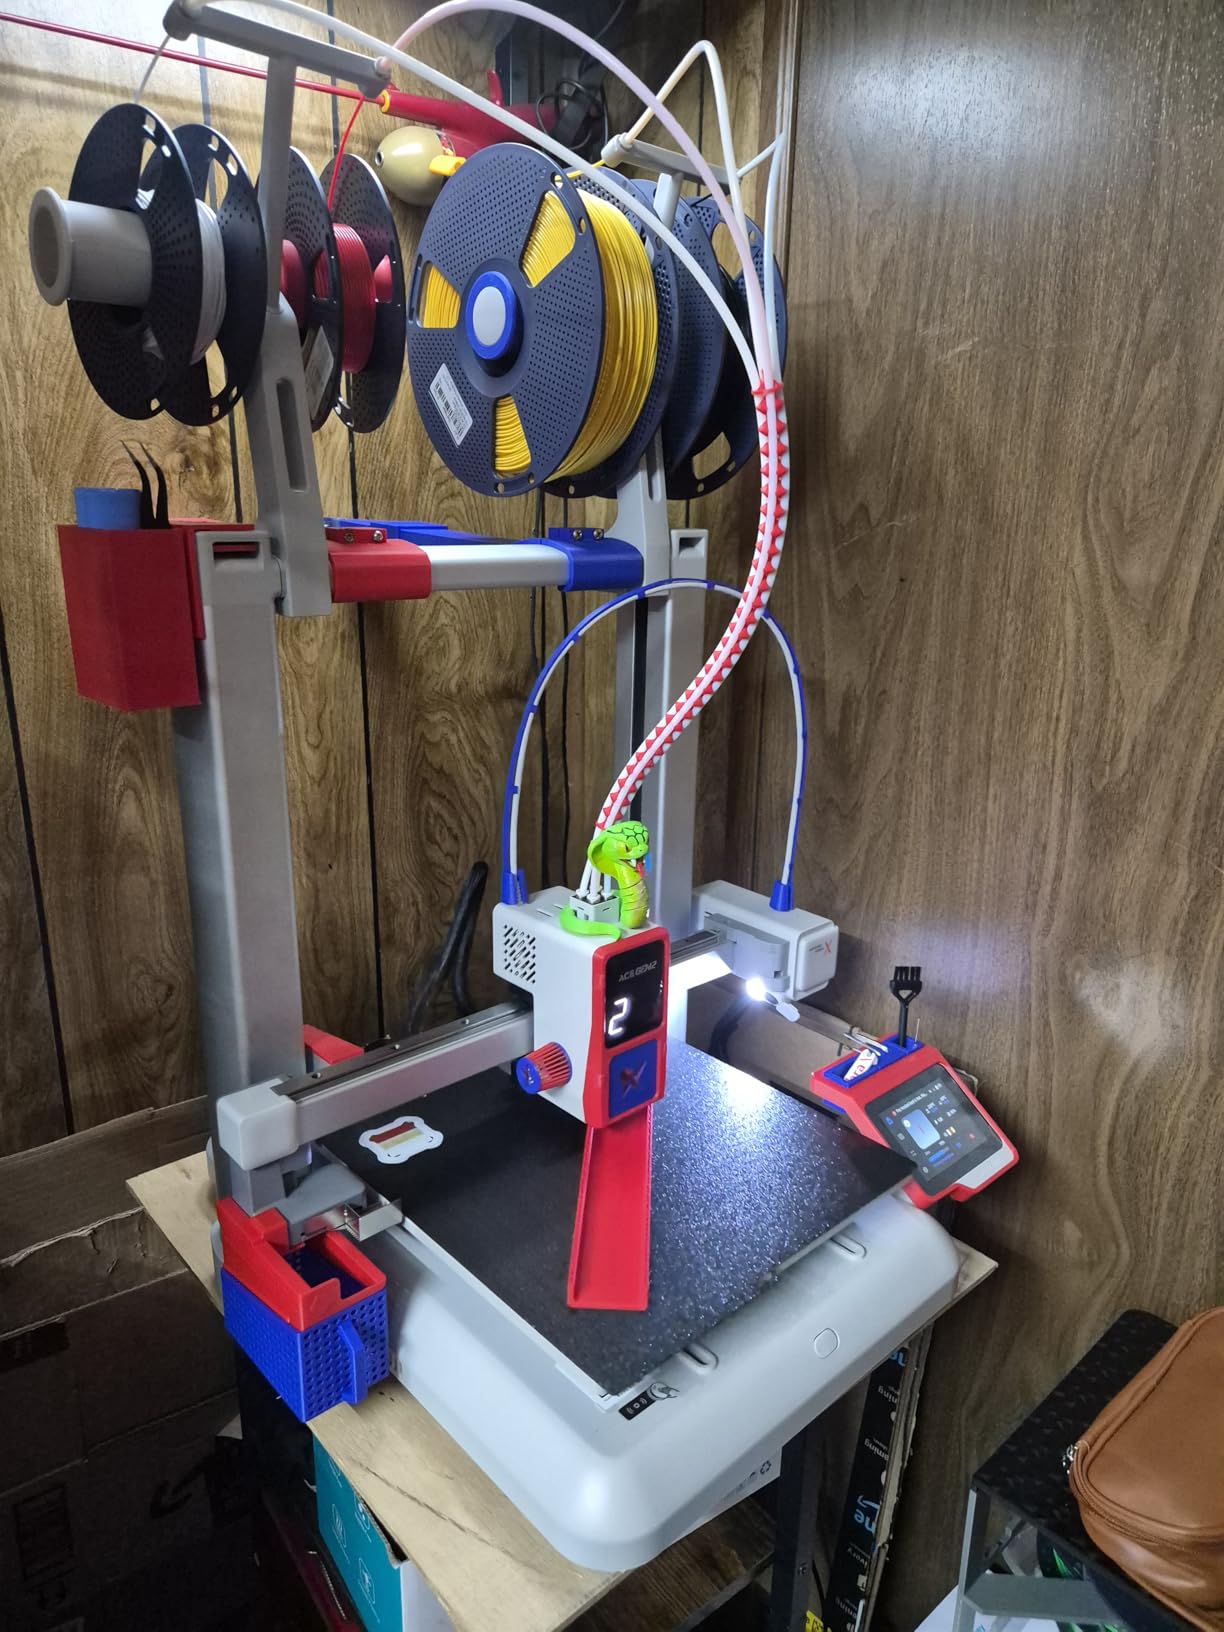
The Anycubic Kobra X Multicolor stands out as the highest-rated printer in this entire lineup with a 4.6-star average. It brings multi-color printing to beginners in a way that actually works without a steep learning curve. Setup took me about 15 minutes, and I was running my first four-color print the same afternoon.
The built-in 4-color system prints vibrant multicolor models straight from the box, with the option to expand to 19 colors for truly stunning results. The 260x260x260mm build volume is generous for a beginner machine, giving you plenty of room for larger projects. The LeviQ 3.0 automatic bed leveling with 49 calibration points ensures your first layer sticks every time.
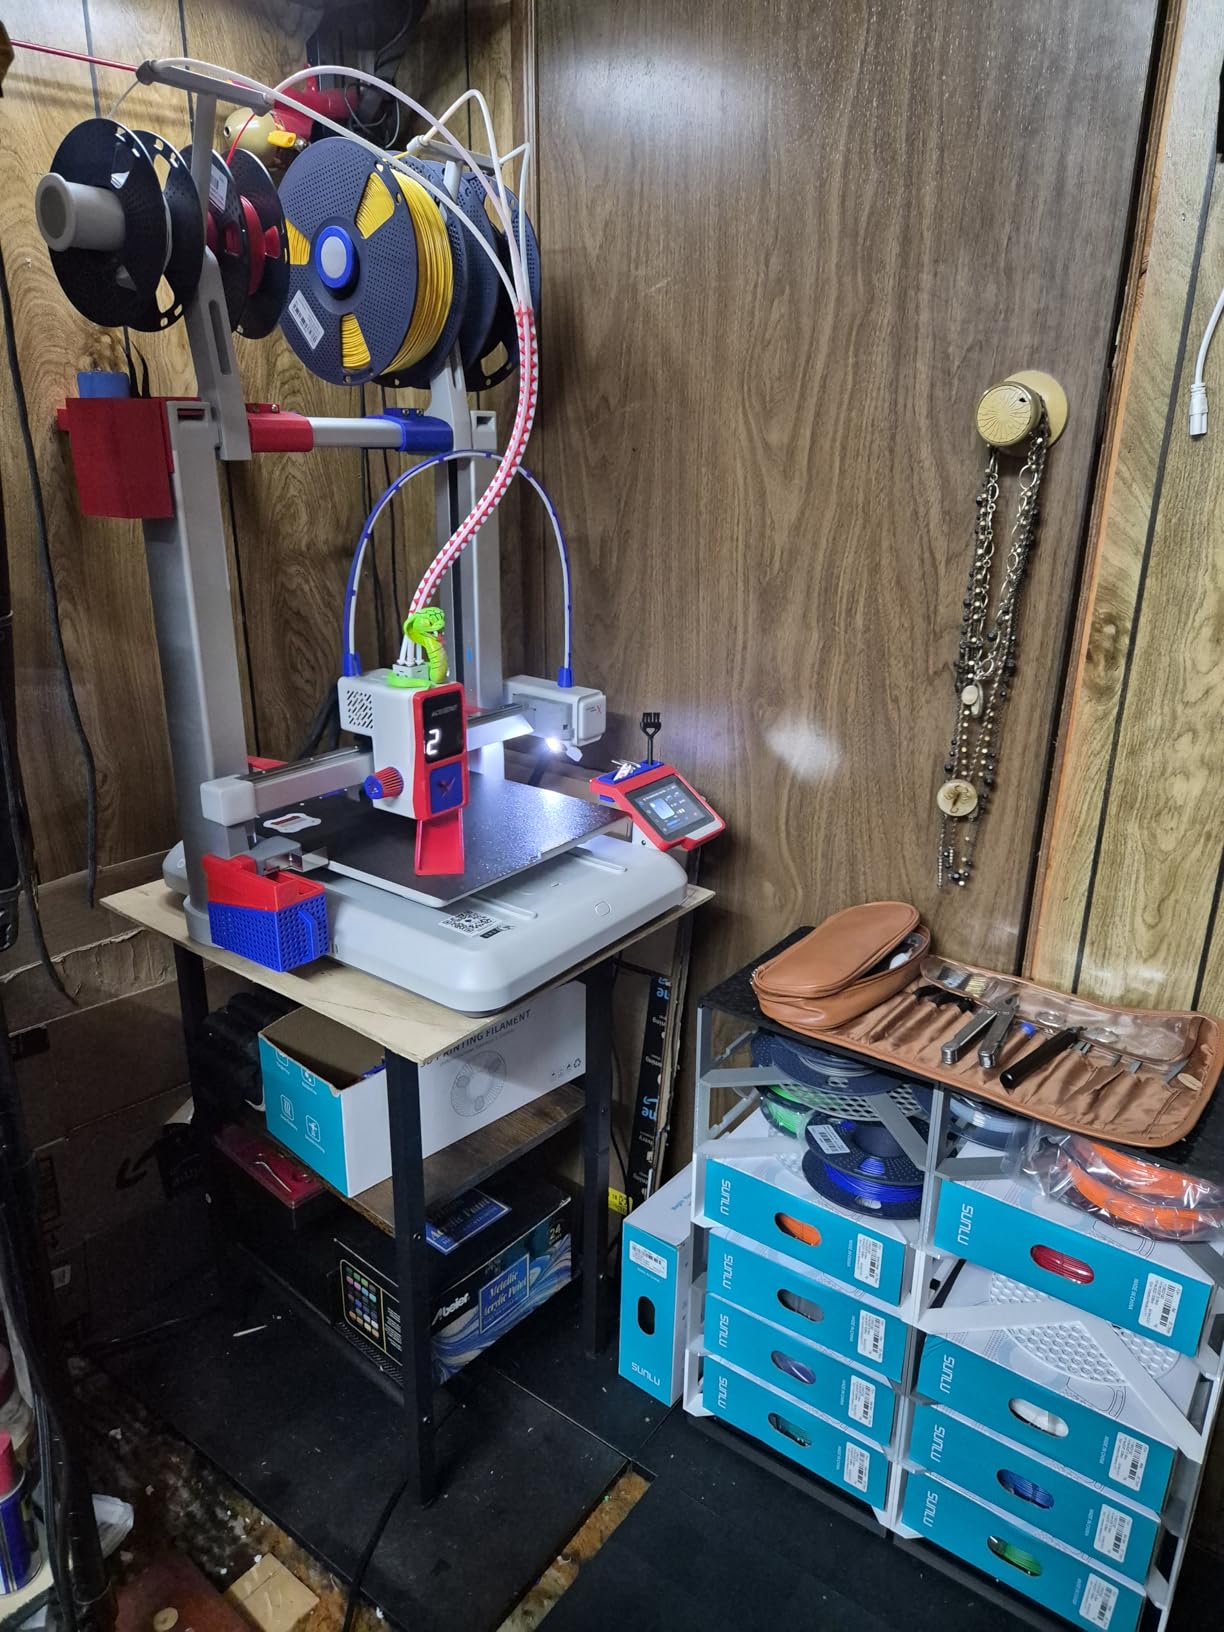
Running the Kobra X in my home office, I was impressed by how quiet it operates at just 48 decibels. That is quieter than most conversations, so you can easily work alongside it. Print quality on both single-color and multi-color jobs was smooth and precise. The filament run-out sensor and power loss recovery mean you can walk away from long prints without worrying about ruined jobs.
The main frustration is clearing filament jams, which involves a more complex process than on single-color machines. The built-in 720P camera is a nice idea for monitoring prints remotely, but it is aimed at a dark area below the bed, making it less useful than it should be. The proprietary slicer software also takes some getting used to if you are accustomed to Cura or PrusaSlicer.
Who Should Buy the Anycubic Kobra X
The Kobra X is perfect for beginners who want to jump straight into multi-color printing without buying a separate AMS unit. It is also great for anyone who values quiet operation in a shared space. If you want a large build volume and the ability to create colorful prints from day one, this is your machine.
Who Should Skip It
If you only plan to print in single colors, you are paying for features you will not use. The proprietary slicer may frustrate users who want to use open-source alternatives like Cura. Beginners who want the simplest possible workflow should also consider that multi-color printing adds some complexity to the process.
4. ELEGOO Neptune 3 Pro – Reliable Workhorse for Serious Beginners
225x225x280mm Volume
Dual-Gear Direct Drive
36-Point Leveling
47dB Silent
Filament Runout Sensor
Pros
- Reliable with ideal build size
- Very quiet at 47 dB
- Dual-gear direct drive extruder
- 36-point auto bed leveling
- Filament runout and power-loss recovery
Cons
- Large print head obstructs view
- SD card slot hard to access
- Learning curve for advanced features
The ELEGOO Neptune 3 Pro has built a loyal following in the 3D printing community, and after testing one for several weeks, I understand why. It holds the number six spot on Amazon’s 3D printer bestsellers list with over 1,300 reviews averaging 4.3 stars. This is a machine that people buy, use, and keep using.
The standout hardware feature is the dual-gear direct drive extruder with a 3:1 gear ratio. This grips filament firmly and feeds it consistently, which translates directly into fewer print failures. The 36-point auto bed leveling system does an excellent job mapping the build surface, and the titanium throat tube in the upgraded nozzle system helps prevent clogs.
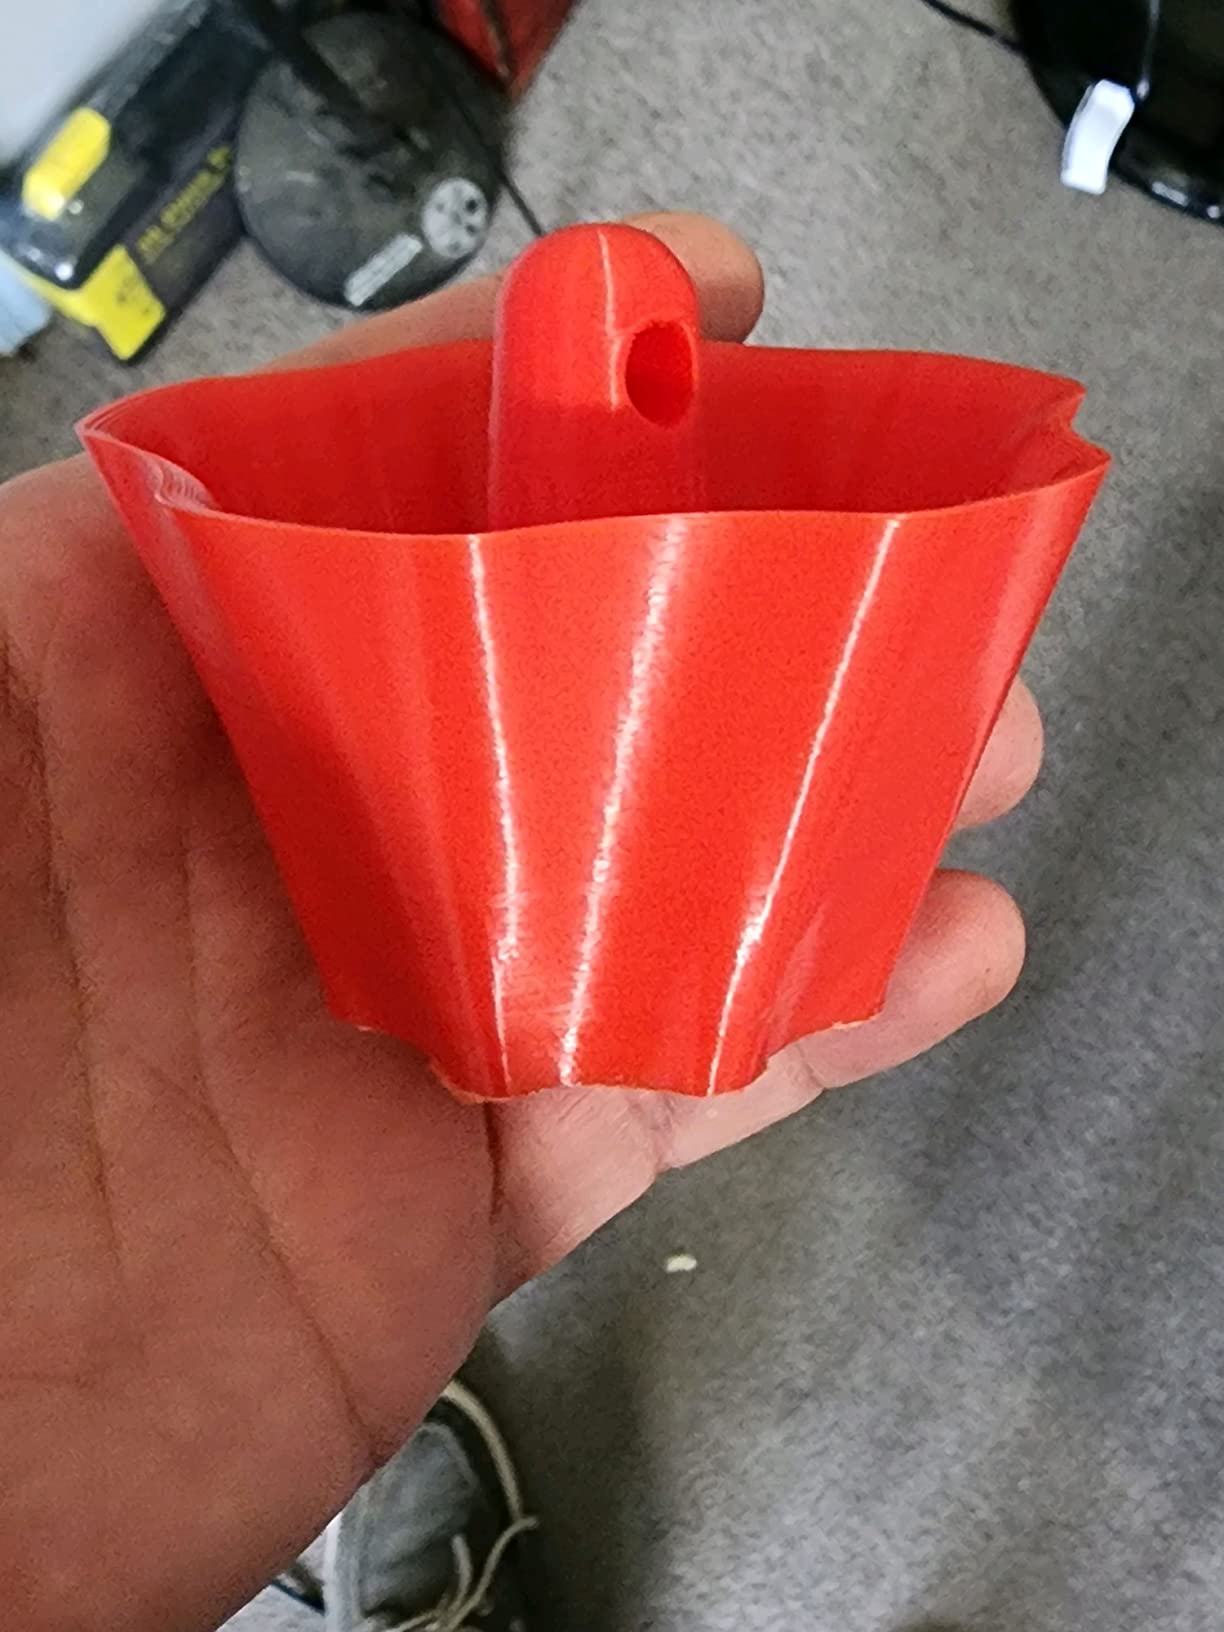
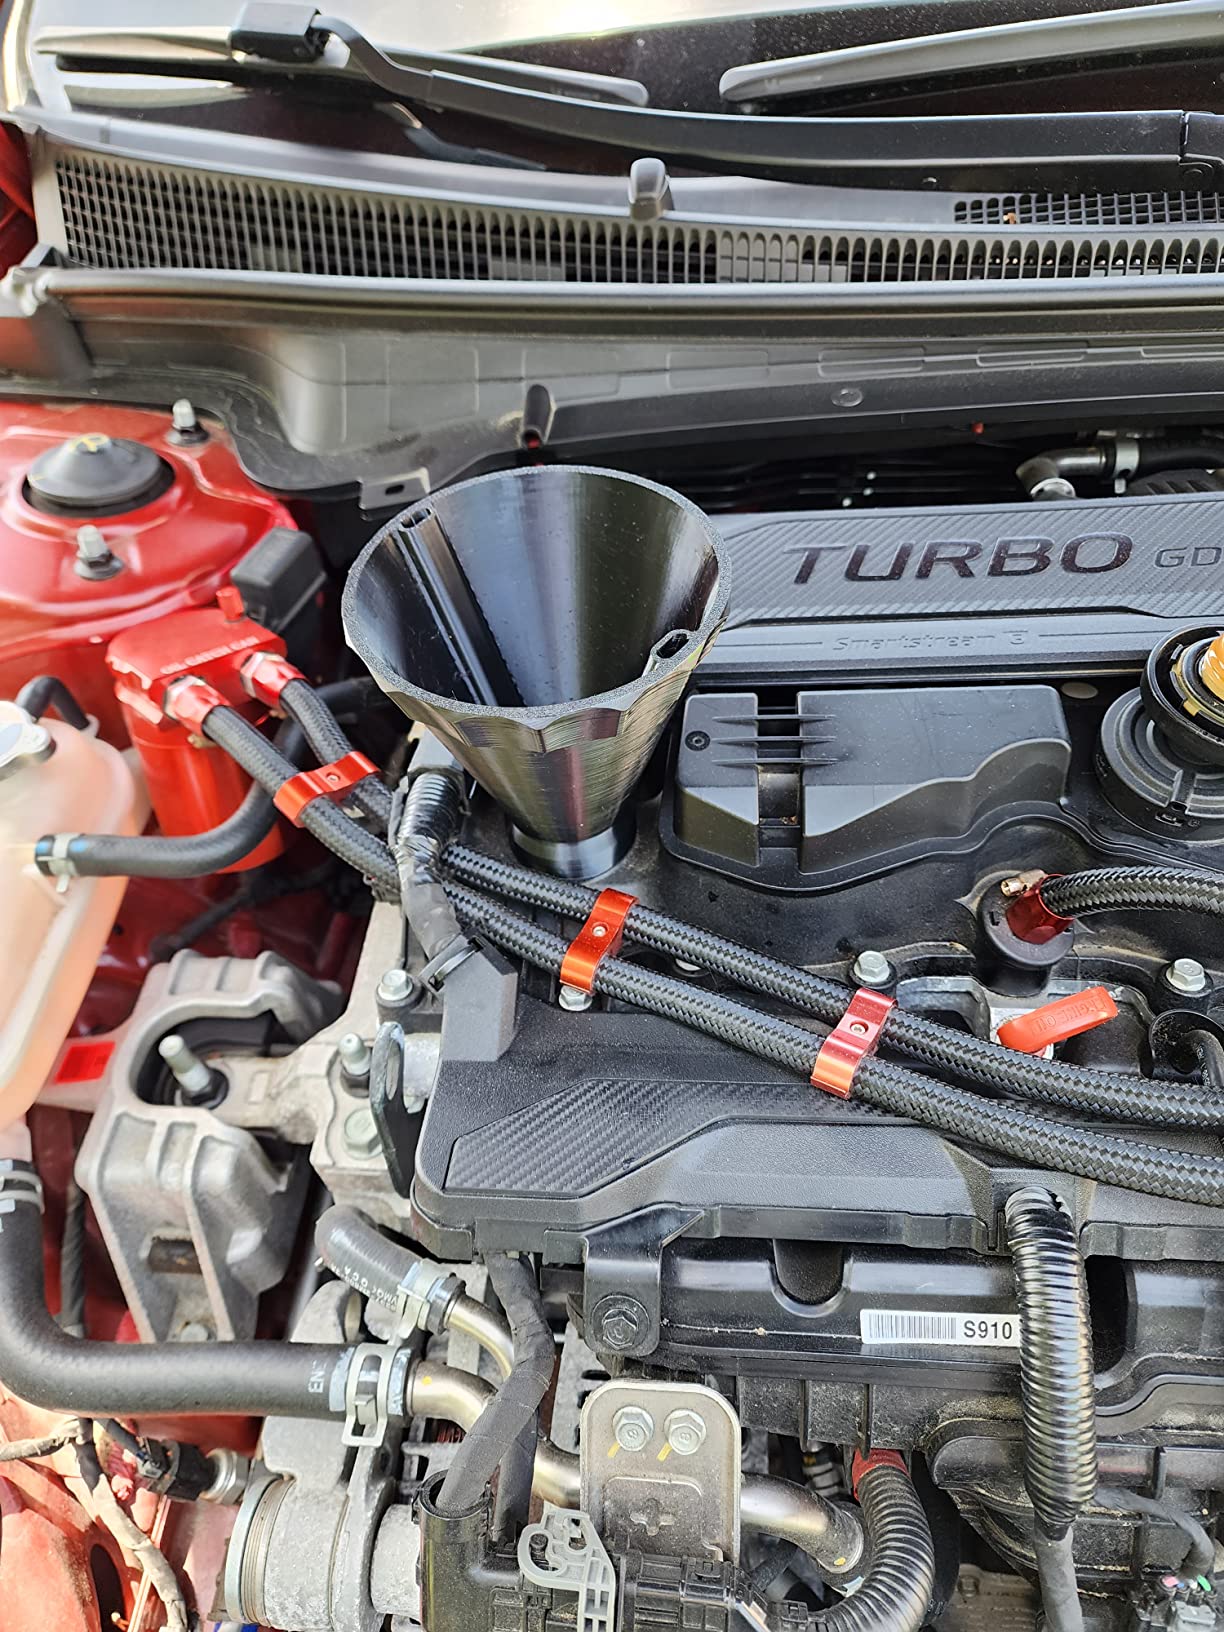
I printed a mix of functional parts, miniatures, and household items over my testing period. The Neptune 3 Pro handled everything I threw at it with consistent quality. The 225x225x280mm build volume is tall enough for most projects, and the dual lead screws keep the Z-axis stable even on taller prints. At 47 decibels, it is quiet enough to run in a home office.
The downsides are mostly minor design quirks. The large print head assembly can block your view of the nozzle, making it harder to monitor the first layer. The SD card slot is awkwardly placed underneath the display, requiring you to reach around the frame to swap cards. You also cannot adjust e-steps from the display, which limits on-printer calibration.
Who Should Buy the ELEGOO Neptune 3 Pro
The Neptune 3 Pro is an excellent choice for beginners who want a reliable machine they can grow with. It suits hobbyists planning to print functional parts and larger models thanks to the generous build volume. Anyone who values quiet operation and consistent extrusion will appreciate this printer.
Who Should Skip It
If you want a plug-and-play experience with zero learning curve, the Neptune 3 Pro requires more setup and tuning than fully assembled options. Beginners looking for the absolute cheapest entry point may also prefer the Creality Ender 3. The learning curve for advanced features like adjusting acceleration and retraction can feel steep.
5. AOSEED X-Maker Joy AI+ – Best for Kids and STEM Education
AOSEED 3D Printer for Kids
AI-Powered Creativity
400mm/s Speed
Enclosed Design
Built-in Camera
8 PLA Filaments Included
Pros
- AI features like Doodle and MiniMe
- 1500+ models and 17 design modules
- One-tap printing from app
- Enclosed safe design for children
- TUV certified safe PLA included
Cons
- Prints can be fragile and break easily
- Filament reported as brittle
- App measurements can be inaccurate
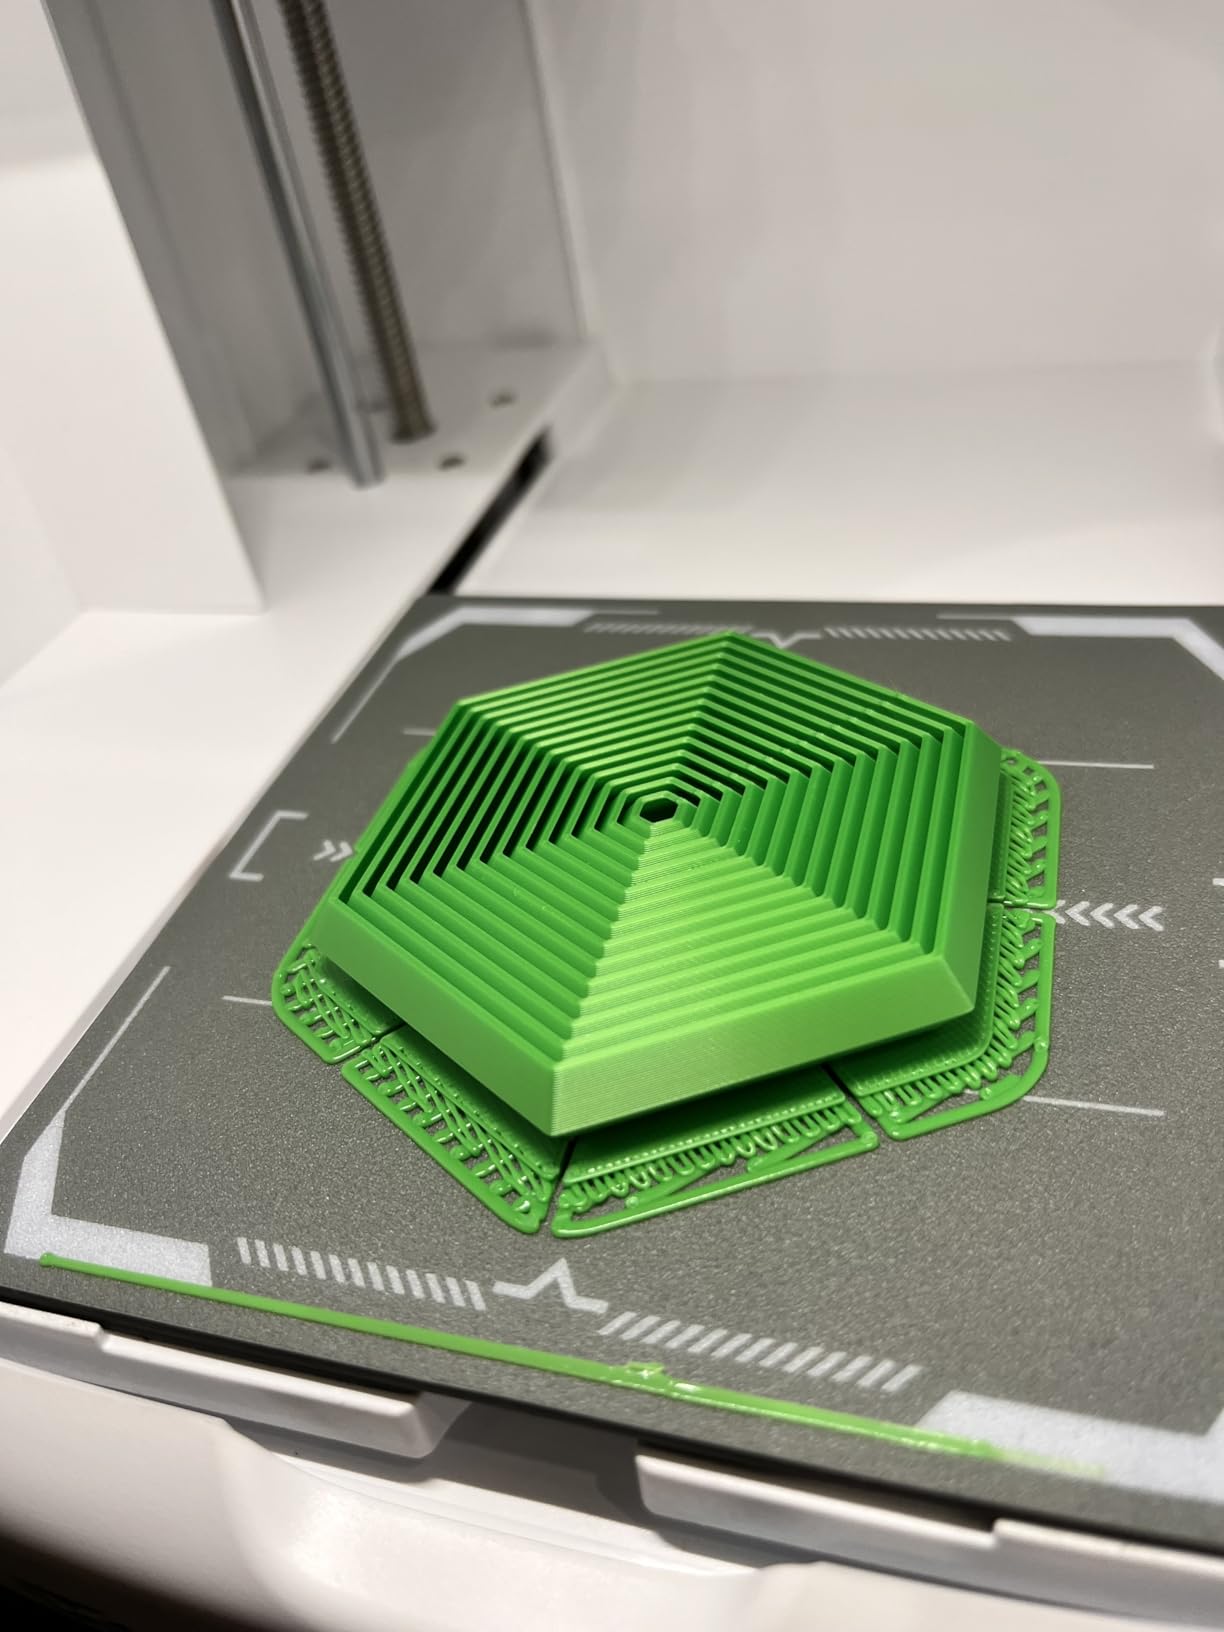
The AOSEED X-Maker Joy AI+ is purpose-built for kids and beginners, and it shows in every design decision. The enclosed body with pinch-resistant safety features means children can use it without supervision. It ships with 8 rolls of TUV Rheinland certified PLA filament, so you have plenty of material to start with right away.
What makes this printer special is the AI-powered app. Kids can draw a doodle on their tablet and the printer turns it into a 3D object. The MiniMe feature creates customized figures, and the 1500+ model library plus 17 creative modules keep young makers busy for months. One-tap printing means my 10-year-old nephew was printing independently within 15 minutes of setup.

Print speeds reach up to 400mm/s, which is fast for a kid-friendly enclosed printer. The built-in camera lets you monitor prints from your phone, which is handy when kids start a print and want to check progress from another room. The enclosed design also helps maintain consistent temperatures for better print quality.
The trade-offs are real, though. The included filament is reportedly brittle and prone to breaking, which can frustrate younger users. Some prints come out fragile and may not hold up to rough play. The app’s measurement tools are not always accurate, so precision projects can be off. These are not deal-breakers for creative play, but they matter for more serious projects.
Who Should Buy the AOSEED X-Maker Joy AI+
Parents looking for a safe, creative outlet for their kids will love this printer. It is ideal for STEM education environments where the goal is engagement and exploration rather than precision engineering. The AI features and massive model library make it a gift that keeps giving for young creators.
Who Should Skip It
Adults or teens looking for precision printing should look elsewhere. The brittle filament and fragile prints make this unsuitable for functional parts. If you want to learn serious 3D printing skills like slicer tuning and material science, this printer abstracts too much of the process away.
6. Creality Ender 3 V3 SE – The Modern Ender Experience
Creality Ender 3 V3 SE Beginner-Friendly 3D Printer with Auto Leveling
250mm/s Speed
CR Touch Auto-Leveling
Sprite Direct Extruder
Dual Z-Axis
220x220x250mm Volume
Pros
- Assembly in under 20 minutes
- CR Touch auto-leveling works reliably
- Sprite Direct Extruder handles multiple filaments
- 32-bit silent mainboard
- Great value for features
Cons
- Capacitor issues on some motherboards
- Temperature regulation above 230C is tricky
- Beginner learning curve exists
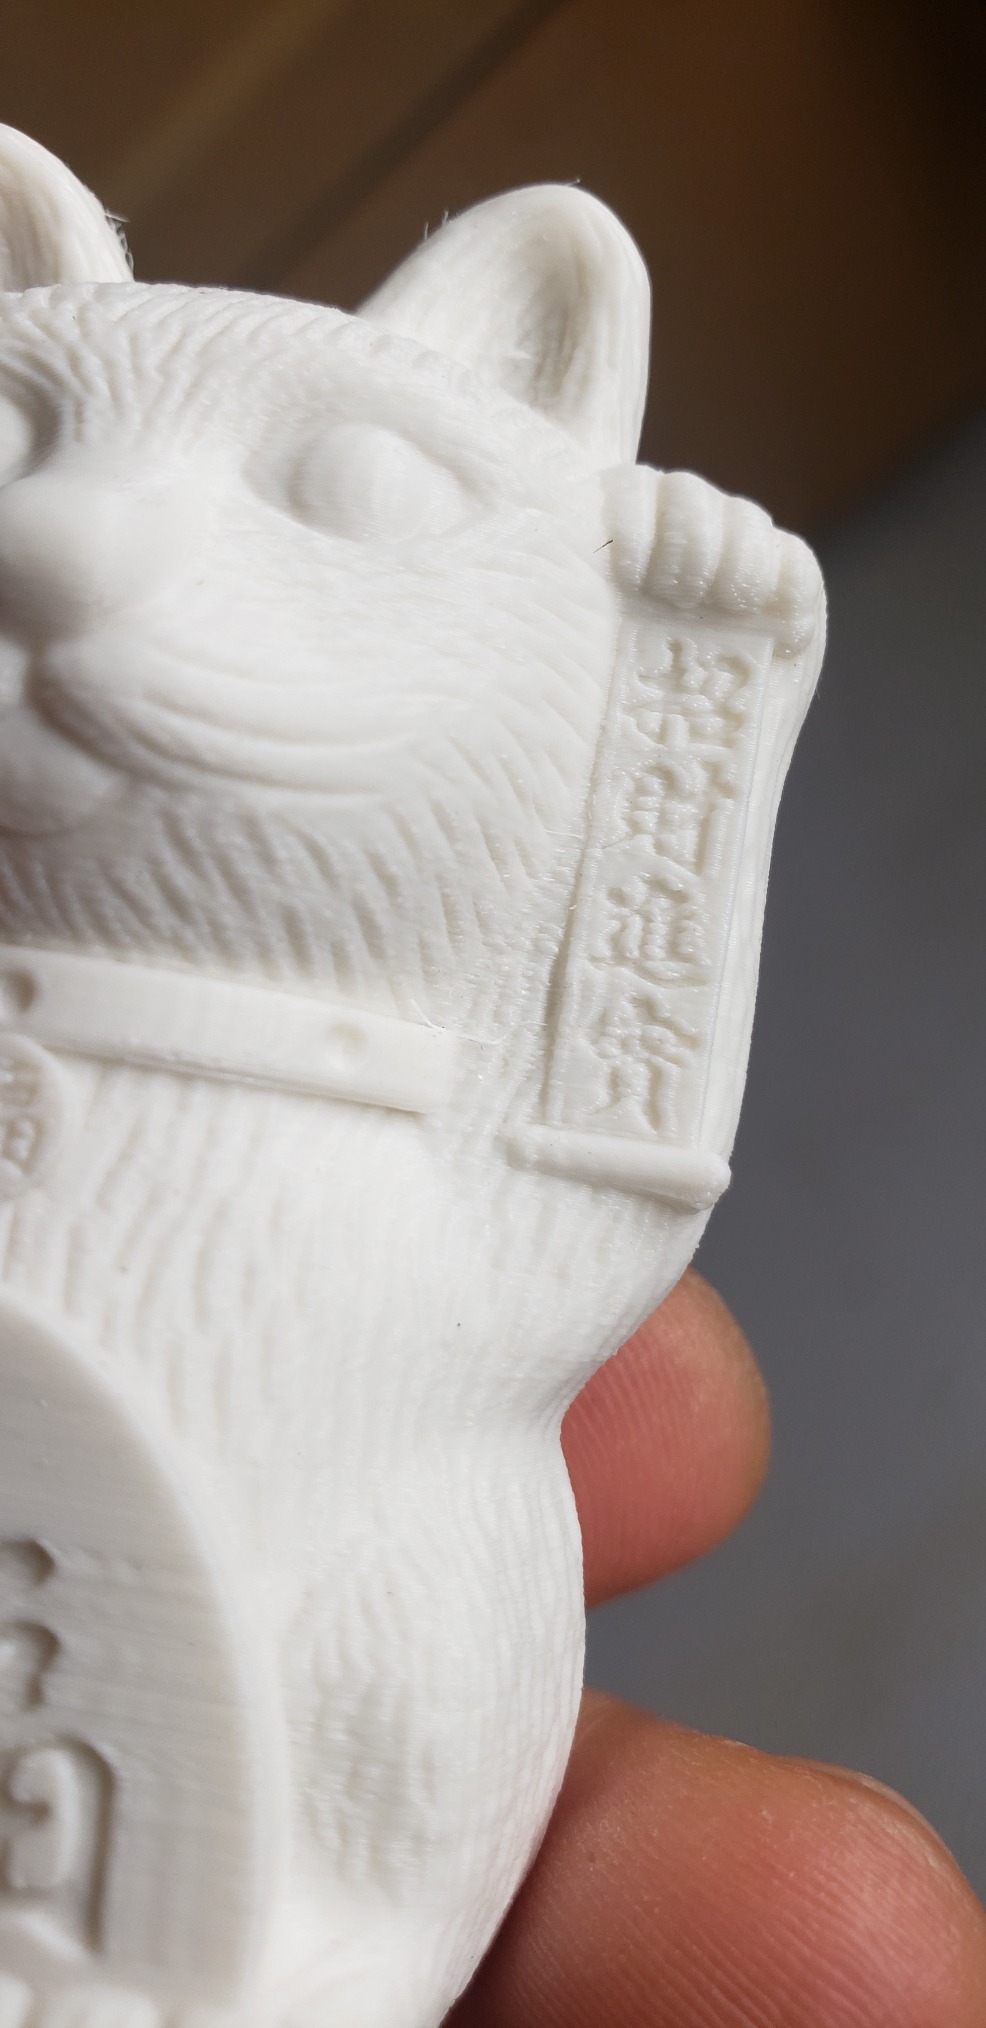
The Creality Ender 3 V3 SE is what the original Ender 3 always should have been. It keeps the beloved open-source spirit and large community support while adding modern features like CR Touch auto-leveling, a Sprite Direct Extruder, and a 32-bit silent mainboard. Assembly took me 18 minutes, which is a dramatic improvement over the original Ender 3’s 2-to-4-hour build process.
The 250mm/s print speed is a significant upgrade from older Ender models, and the Sprite Direct Extruder handles PLA, PETG, and TPU without the modification headaches that Bowden-style extruders create. The dual Z-axis provides stability that shows in the print quality, especially on taller models.
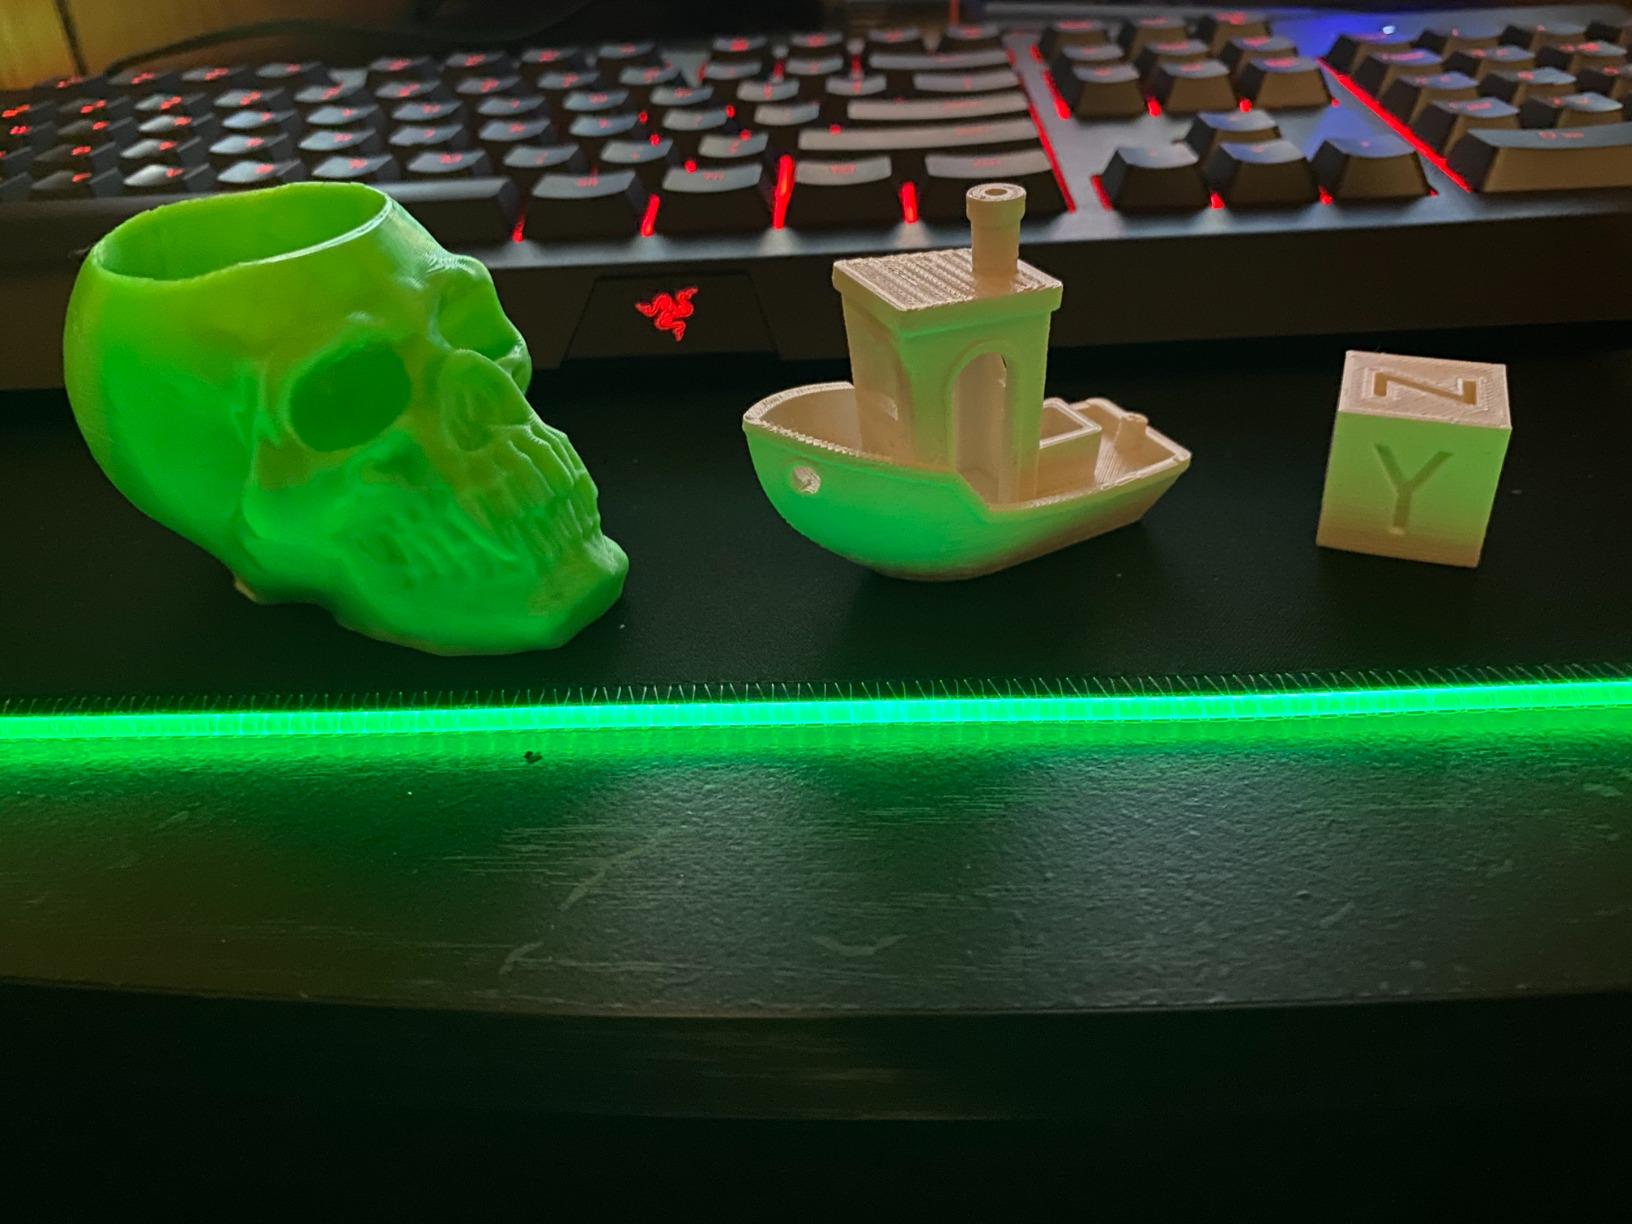
Over three weeks of testing, I printed everything from calibration cubes to full cosplay helmet pieces. The CR Touch auto-leveling worked consistently across multiple power cycles, and the 32-bit silent mainboard kept noise levels comfortable for my home office. This is a serious machine that bridges the gap between budget and mid-range.
The main concerns are quality control related. Some users have reported capacitor issues on the motherboard, which can cause unpredictable behavior. Printing at temperatures above 230C can lead to inconsistent extrusion. There is also still a learning curve for beginners, even with the auto-leveling, because the printer does not hold your hand through the process.
Who Should Buy the Creality Ender 3 V3 SE
The V3 SE is perfect for beginners who want to learn the fundamentals of 3D printing while having modern conveniences like auto-leveling. It suits makers who plan to tinker and upgrade over time, thanks to the open-source ecosystem. The large Creality community means you can find solutions to virtually any problem online.
Who Should Skip It
If you want a fully plug-and-play experience with zero learning curve, the V3 SE still requires some patience. People printing with high-temperature materials regularly may want a printer with better thermal regulation. Those who want an enclosed printer for safety or material compatibility should consider the Bambu Lab P1S instead.
7. Entina Tina2C – Start Printing in 8 Minutes
Entina Tina2C 3D Printer for Kids & Beginners, Fully Assembled Starter Mini 3D Printer, Start in 8 Mins, App & WiFi Control, Auto Leveling, 3000+ Model Library, 20+ Creative DIY Modules for STEM, Home
8-Minute Quick Start
Auto Leveling
1500+ Model Library
Power-Loss Recovery
Self-Cleaning Nozzle
Pros
- Fastest setup at 8 minutes
- WiFi and TF card flexibility
- Auto leveling
- 1500+ model library
- Power-loss recovery
Cons
- Very small print volume (3.9 x 3.9 x 3.9 inch)
- SD card reader issues reported
The Entina Tina2C makes a bold claim: start printing in 8 minutes. I tested this with a stopwatch and actually managed it in 9 minutes including unboxing. That makes this the fastest printer to get running in our entire roundup. It comes fully assembled with auto-leveling, so you literally plug it in, load filament, and pick a model from the app.
The Poloprint Cloud app is the real star here. It gives you access to over 1,500 ready-to-print models and 20 creative DIY modules. The AI-powered search and photo-to-print features let beginners create prints without ever opening a slicer program. For someone who has never touched a 3D printer, this removes the biggest barrier to entry.
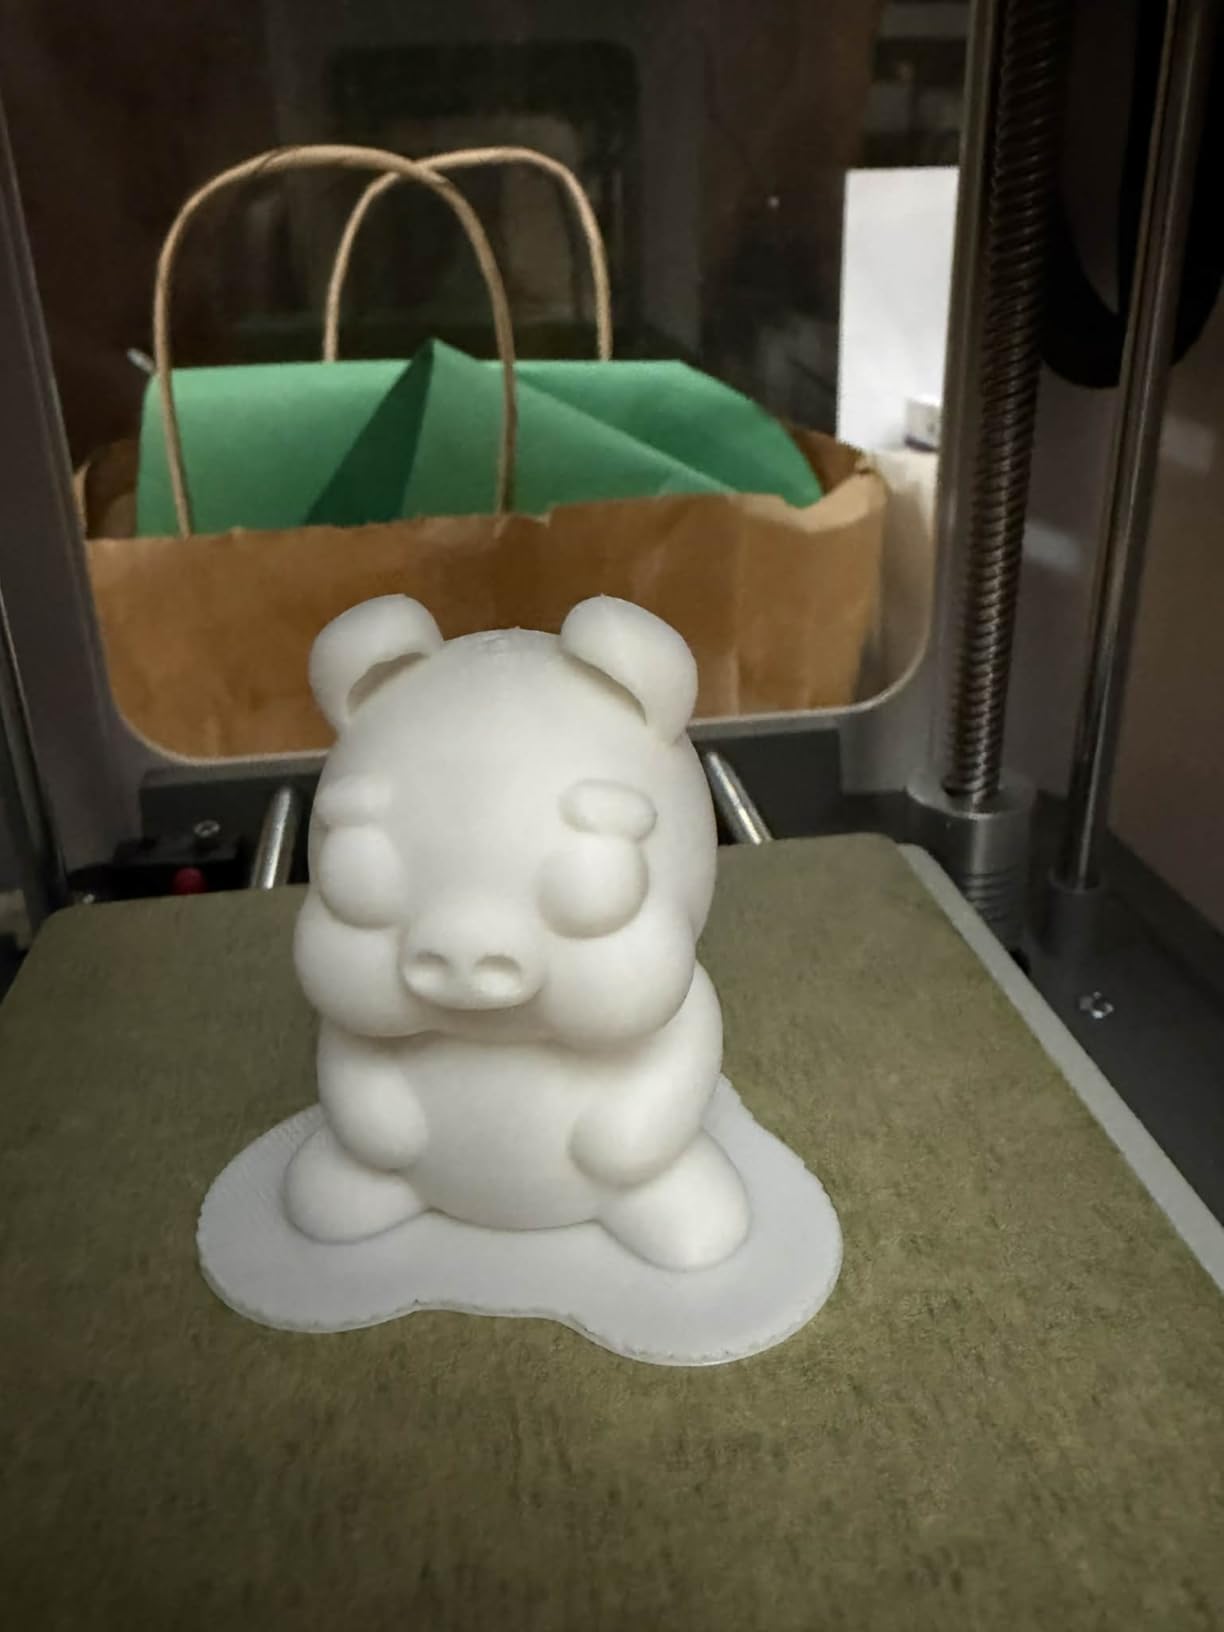
The self-cleaning nozzle and quick-swap printhead design show that Entina thought about maintenance from a beginner’s perspective. The compact body with rounded edges and low-noise operation make it suitable for classrooms and family spaces. It supports Windows, macOS, Linux, and even Chromebook, which broadens its appeal for school environments.
The obvious limitation is the tiny 3.9 x 3.9 x 3.9 inch build volume. You can print small figurines, keychains, and basic educational models, but anything larger requires splitting the model into parts. Some users have also reported issues with the SD card reader, so relying on the WiFi connection is the more reliable approach.
Who Should Buy the Entina Tina2C
The Tina2C is ideal for absolute beginners who want the fastest possible path from box to first print. It works well as a STEM learning tool for classrooms or a first printer for younger children. The huge model library and app-based workflow make it approachable for people who find slicer software intimidating.
Who Should Skip It
Anyone wanting to print objects larger than about 4 inches in any dimension will find the build volume too restrictive. If you want to learn the technical side of 3D printing including slicer settings and calibration, this printer abstracts too much of that away. Adults and teens wanting to tackle serious projects should look at larger options.
8. Entina Tina2 Plus Smart – Compact Powerhouse with WiFi
250mm/s Fast Print
Fully Assembled
WiFi Smart App
1500+ Models
Quick-Swap Nozzle
Pros
- Completely assembled out of box
- Fast 250mm/s printing
- WiFi via Poloprint Cloud app
- Access to 1500+ models
- Very quiet operation
Cons
- App can be slow and unreliable
- Only one filament at a time
- WiFi connectivity issues reported
The Entina Tina2 Plus Smart takes the Tina2 formula and adds faster printing at 250mm/s along with improved WiFi connectivity. It arrives fully assembled and ready to print, which eliminates the most common beginner frustration. I had my first test print running within 12 minutes of opening the shipping box.
The 40-second fast heating ceramic hotend is noticeably quicker than standard heaters, which means less waiting between prints. The quick-swap nozzle design makes maintenance simple, and the compact footprint fits easily on a desk or shelf. The dual Z-axis and auto-leveling system work together to produce surprisingly accurate prints for a machine this small.
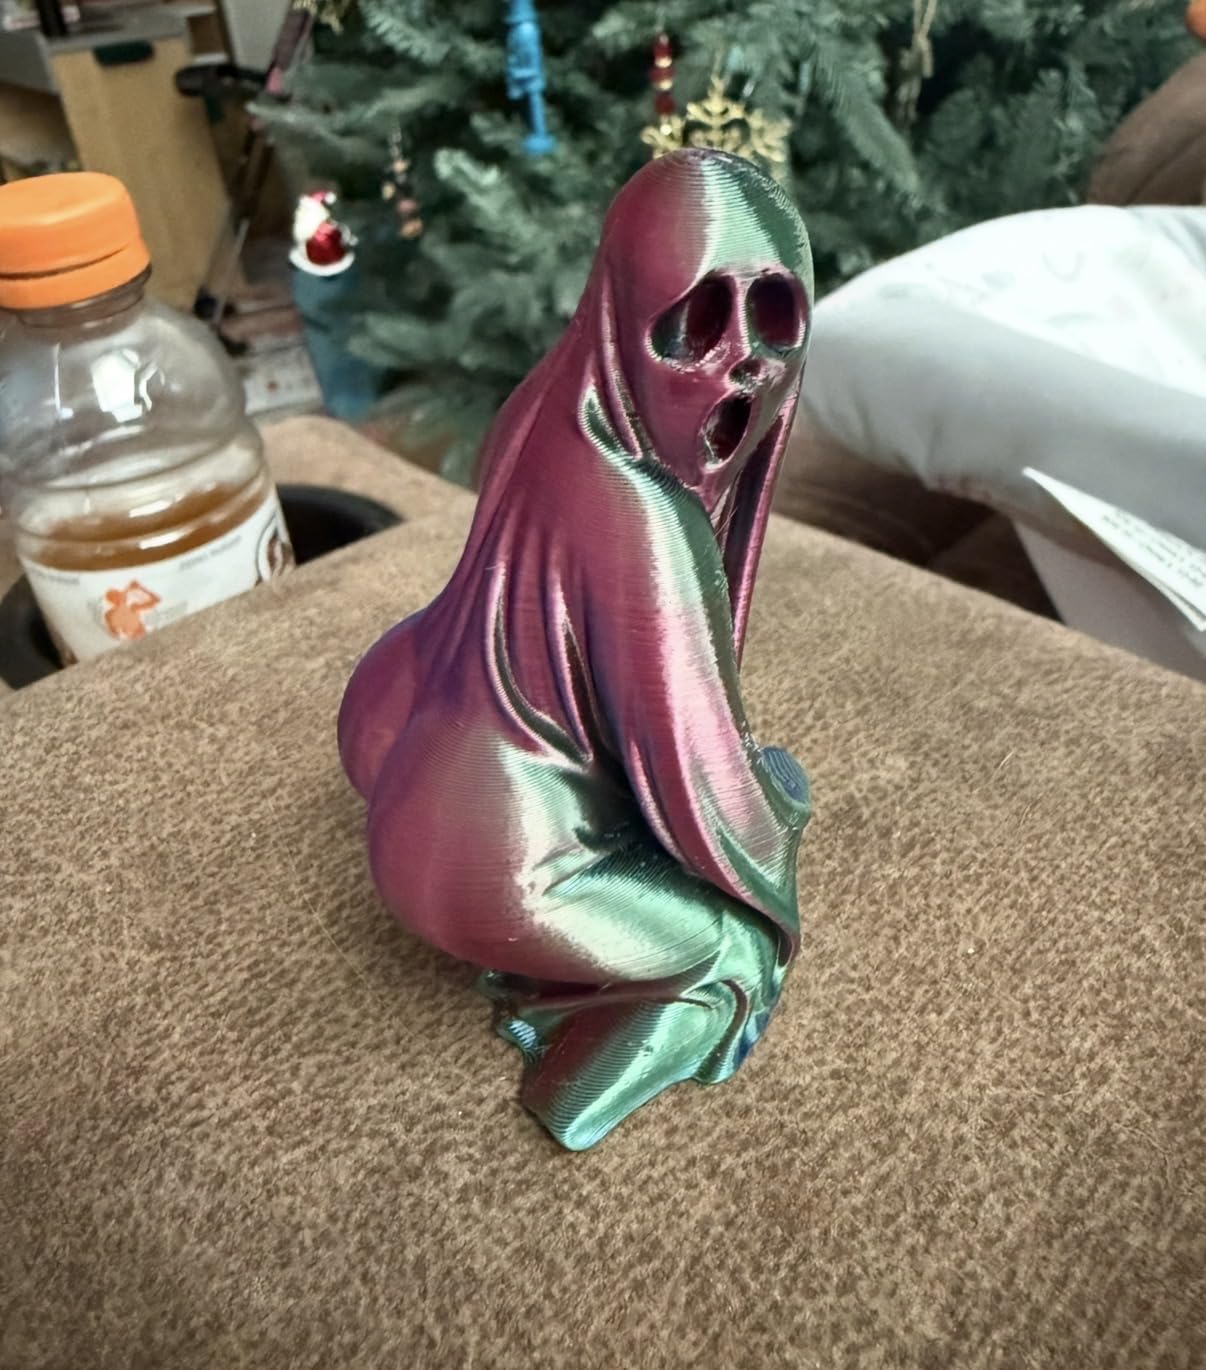
Print quality impressed me for this price range. Layer adhesion was consistent across PLA and PLA+ filaments, and the 0.04mm precision spec translated into clean surface finishes on test prints. The Poloprint Cloud app provides access to over 1,500 printable models, making it easy to find something to print without designing from scratch.
The WiFi app experience is the weak link. It can be slow to respond and occasionally loses connection mid-print, though the printer itself continues printing from its buffer. Some users have reported prints shifting during longer jobs, which may indicate mechanical limitations under extended use. Running from the TF card is more reliable than WiFi for important prints.
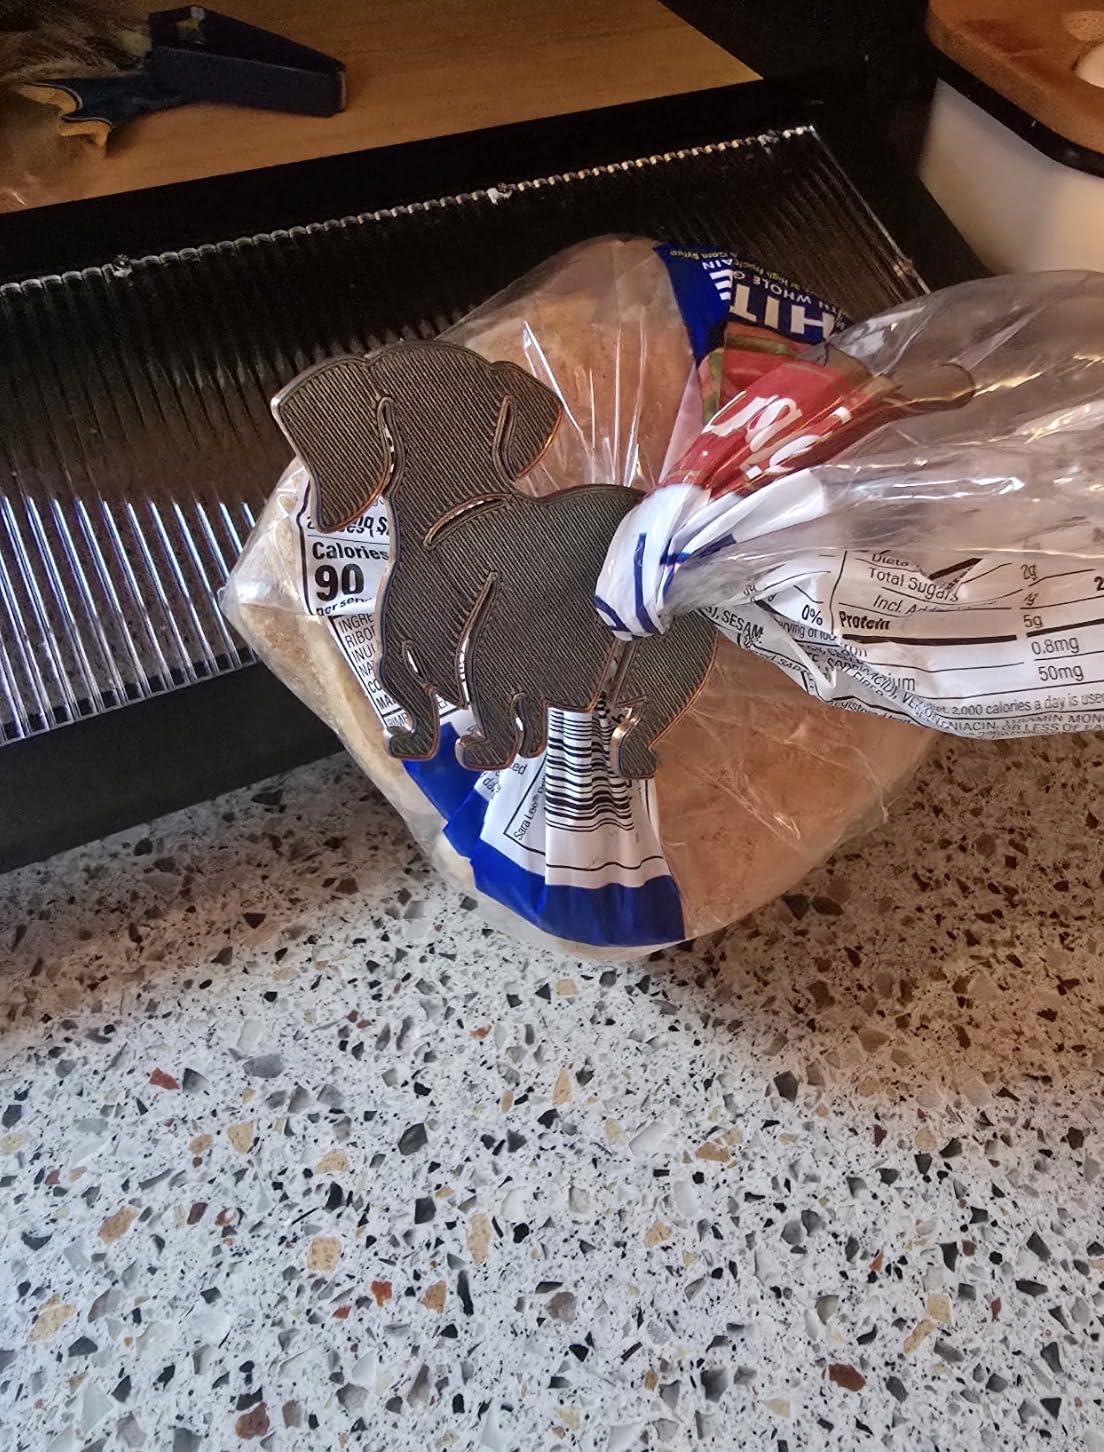
Who Should Buy the Entina Tina2 Plus Smart
This is a solid pick for beginners who want a fully assembled printer with WiFi convenience for home or classroom use. It suits parents and teachers looking for an easy entry point into 3D printing without spending much. The compact size and quiet operation make it apartment-friendly.
Who Should Skip It
If reliable WiFi connectivity is critical, the app issues may frustrate you. Beginners who want to eventually scale up to larger projects will outgrow the small build volume quickly. Those seeking a printer for long multi-hour prints should consider models with better mechanical stability.
9. Entina TINA2S WiFi Cloud – AI Features Meet 3D Printing
Entina TINA2S 3D Printers with WiFi Cloud Printing, Fully Assembled with Auto Leveling, Huge Library, DIY Mini 3D Printer for Beginners and Kids, High Precision 3D Printer for Home, Office & School
WiFi Cloud 5x Faster
200mm/s Print
0.04mm Precision
AI Photo-to-Print
Enclosed Design
Pros
- Fully assembled
- WiFi cloud printing with 5x faster transfer
- Auto leveling
- 1500+ models in app
- Compact enclosed design for safety
Cons
- Small print volume (3.9 x 4.7 x 3.9 inch)
- Occasional glitchy operation
- Limited file type compatibility
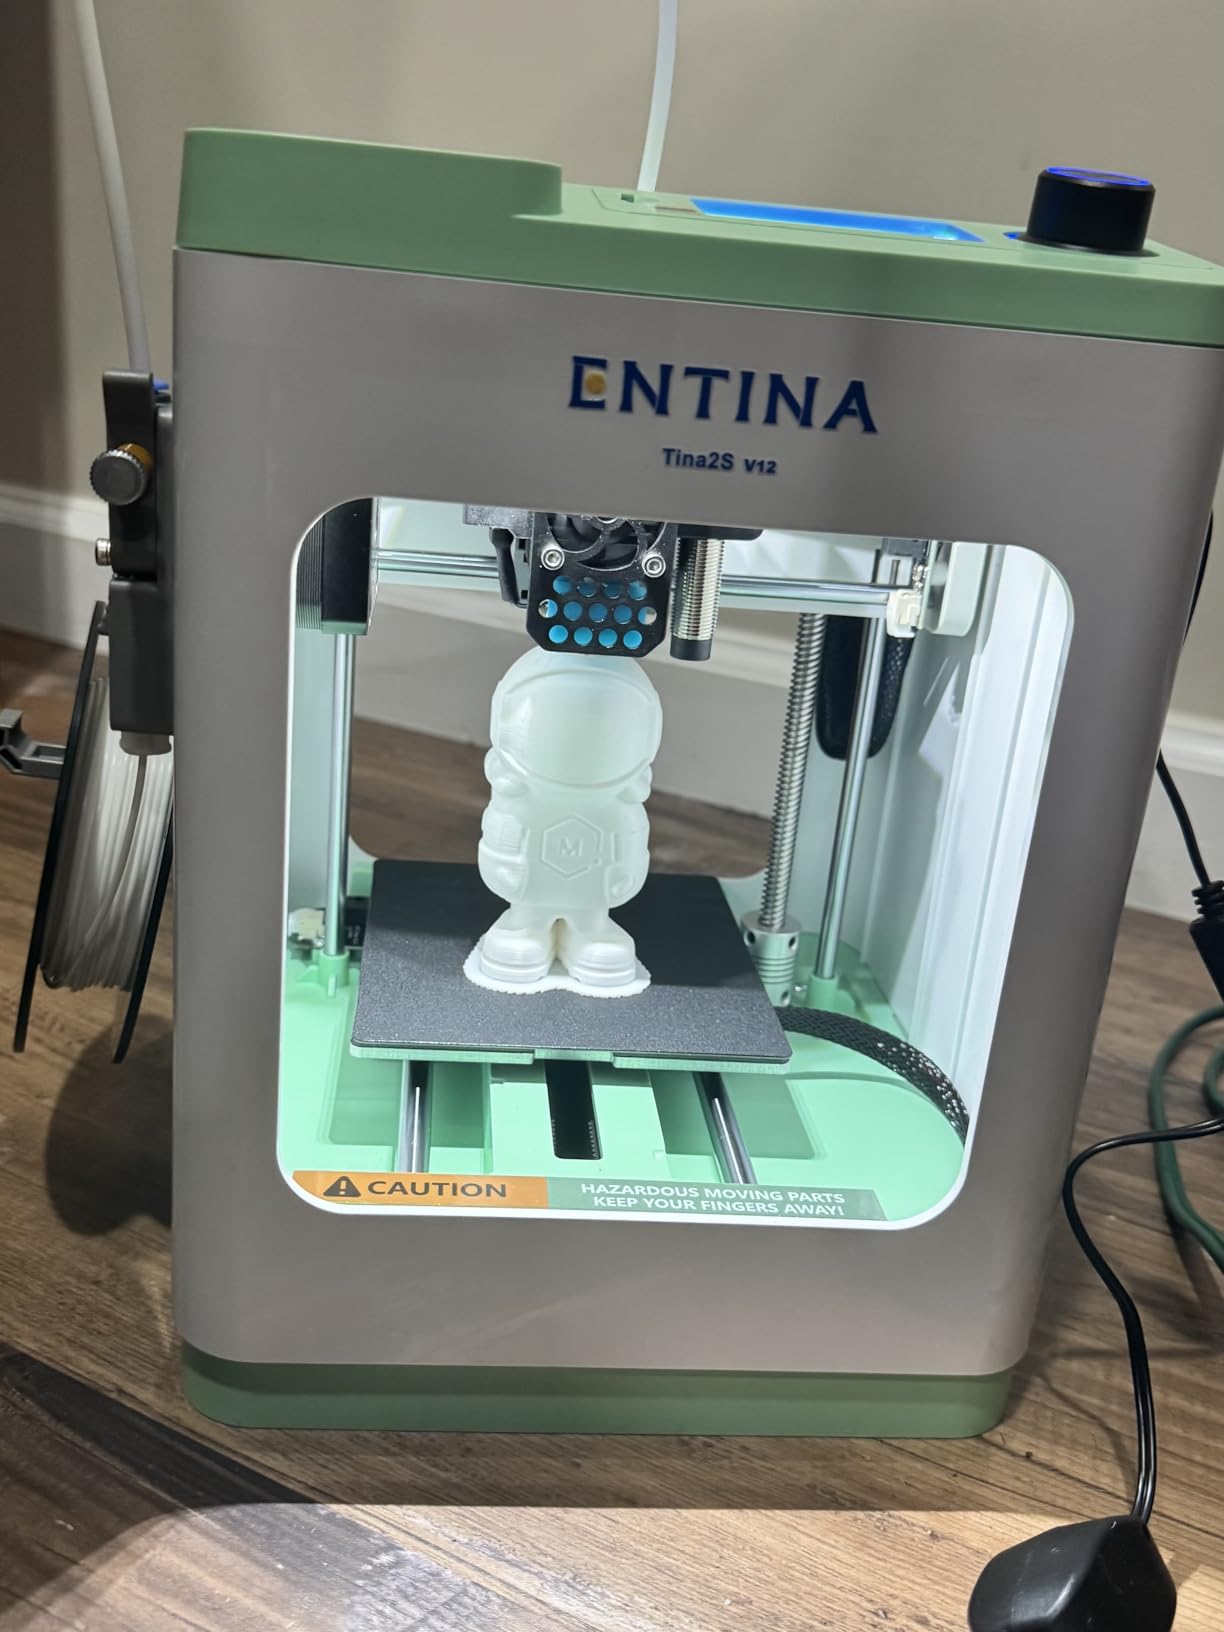
The Entina TINA2S WiFi Cloud differentiates itself with AI-powered features like photo-to-print, which lets you snap a picture and have the app convert it into a printable 3D model. The WiFi cloud printing offers 5x faster file transfer compared to standard SD card methods, which genuinely speeds up the workflow when you are printing multiple models from the app library.
The enclosed design is a welcome safety feature, especially if you have curious pets or small children around. It also helps maintain a stable printing temperature, which improves consistency. At 9 pounds, this is one of the lighter printers in our lineup, making it easy to move between rooms or store when not in use.
I tested the AI features extensively and found them fun but inconsistent. Simple objects like logos and silhouettes converted well, but complex photos produced garbled results. The 1500+ model library is the more reliable way to find things to print. The 200mm/s printing speed is adequate, and the 0.04mm precision produces clean results on smaller models.
The 3.9 x 4.7 x 3.9 inch build volume limits you to small prints. Some users have reported glitchy behavior, including random pauses and occasional failed prints that require a restart. File type compatibility is limited, so if you want to print models from third-party websites like Thingiverse, you may need to convert files through the app first.
Who Should Buy the Entina TINA2S
The TINA2S suits beginners who want an enclosed, safe printer with fun AI features for casual creative projects. It works well for classrooms and family environments where safety matters. The WiFi cloud printing and extensive model library make it easy to start printing without technical knowledge.
Who Should Skip It
Anyone needing precise, reliable prints for functional parts will find this too limited. The small build volume and occasional glitches make it unsuitable for serious projects. If you want to use your own 3D models from external sources, the file compatibility restrictions may frustrate you.
10. Geeetech M1 Mini – Tiny but Fast
250mm/s High Speed
Direct Drive Extruder
16-Point Auto Leveling
50W Hot-end
Flexible PEI Plate
Pros
- High speed printing up to 250mm/s
- 16-point auto calibration
- Direct drive for better precision
- Fully assembled
- Quiet operation
Cons
- Extremely small build (3.94×4.33×3.94 in)
- No filament runout sensor
- No resume print function
The Geeetech M1 Mini by GIANTARM packs serious speed into a remarkably small package. The 250mm/s print speed and direct drive extruder with a 1:5 ratio dual-drive metal gear deliver precision that surprises for the size. It arrives fully assembled, so you can start printing immediately after a quick leveling calibration.
The 16-point full-auto leveling system maps the build surface thoroughly, and the 50W hot-end heating rod gets up to temperature fast. The flexible magnetic build plate combined with the spring steel PEI surface makes part removal easy. It supports PLA, PLA+, and TPU filaments, giving beginners some material flexibility.
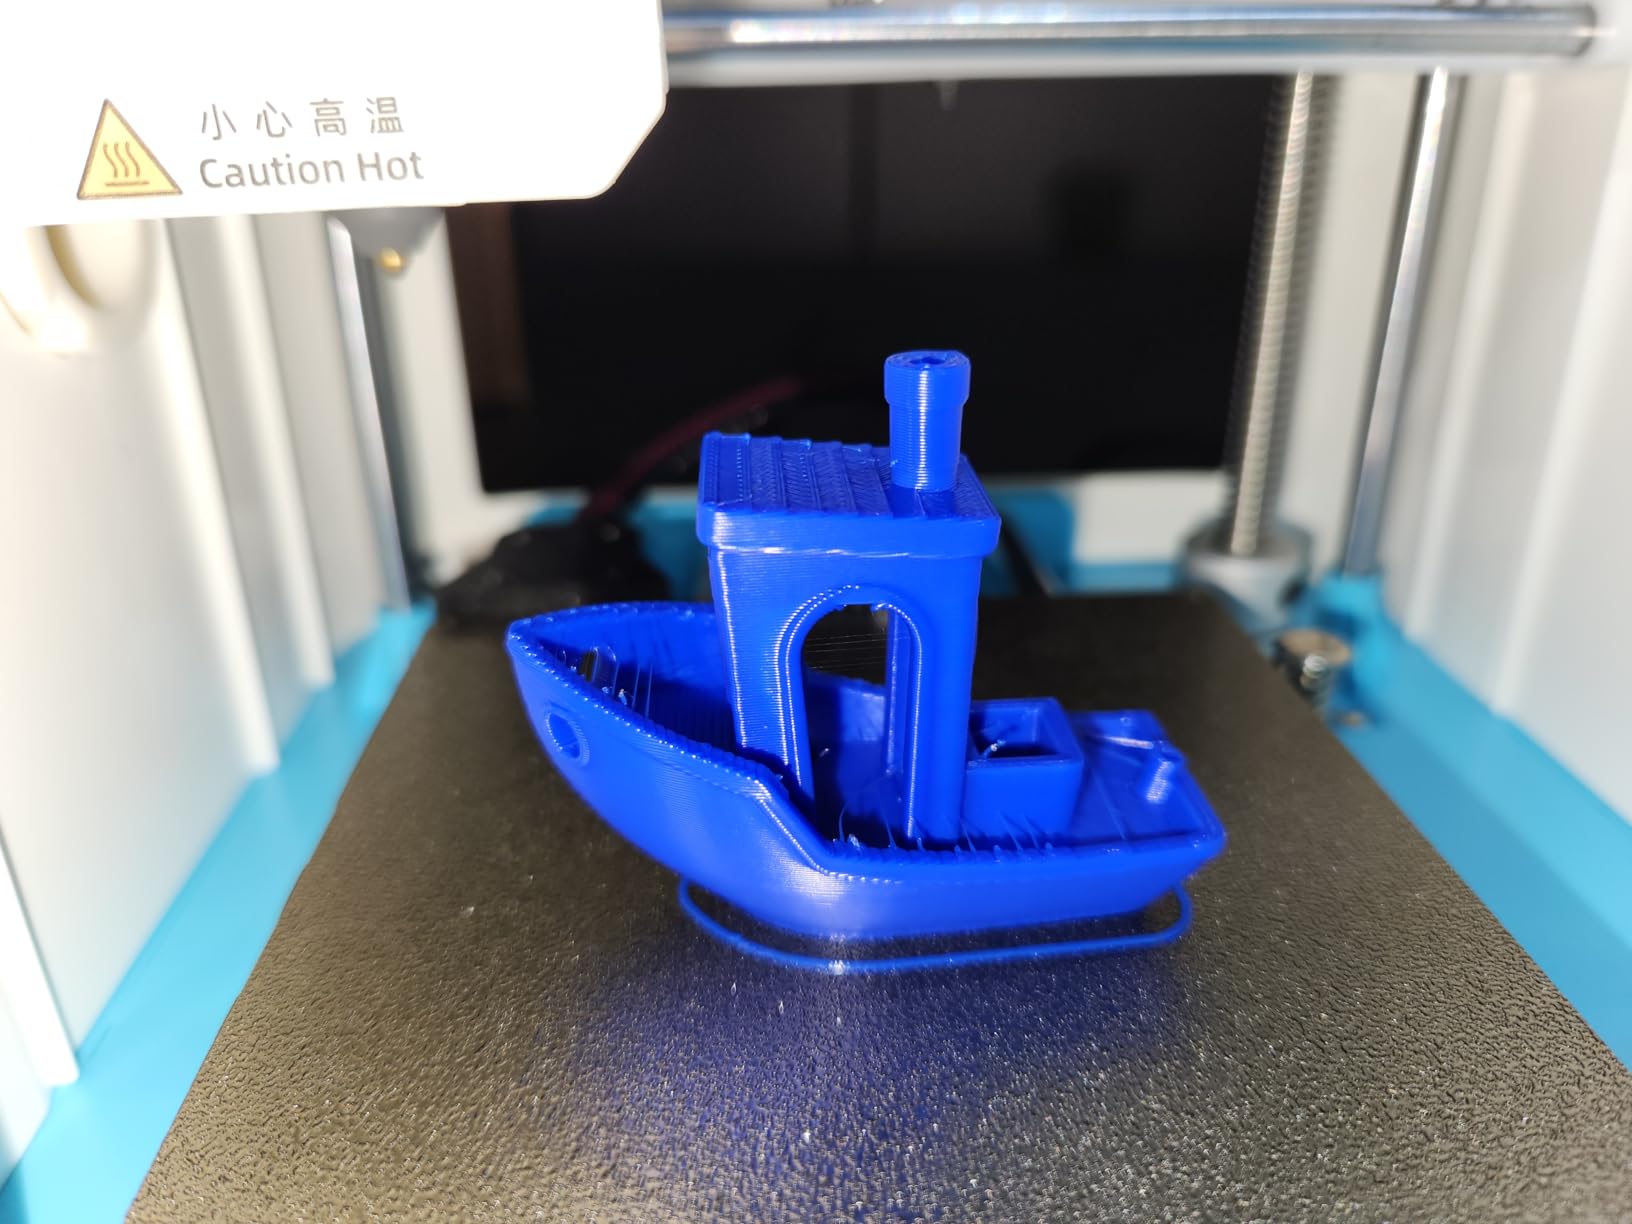
During testing, the auto nozzle wiper feature kept the printhead clean between prints, which reduces maintenance. The filament break detection is a nice touch that saves wasted material. Print quality on small objects like miniatures and keychains was solid, with clean layer lines and good dimensional accuracy.
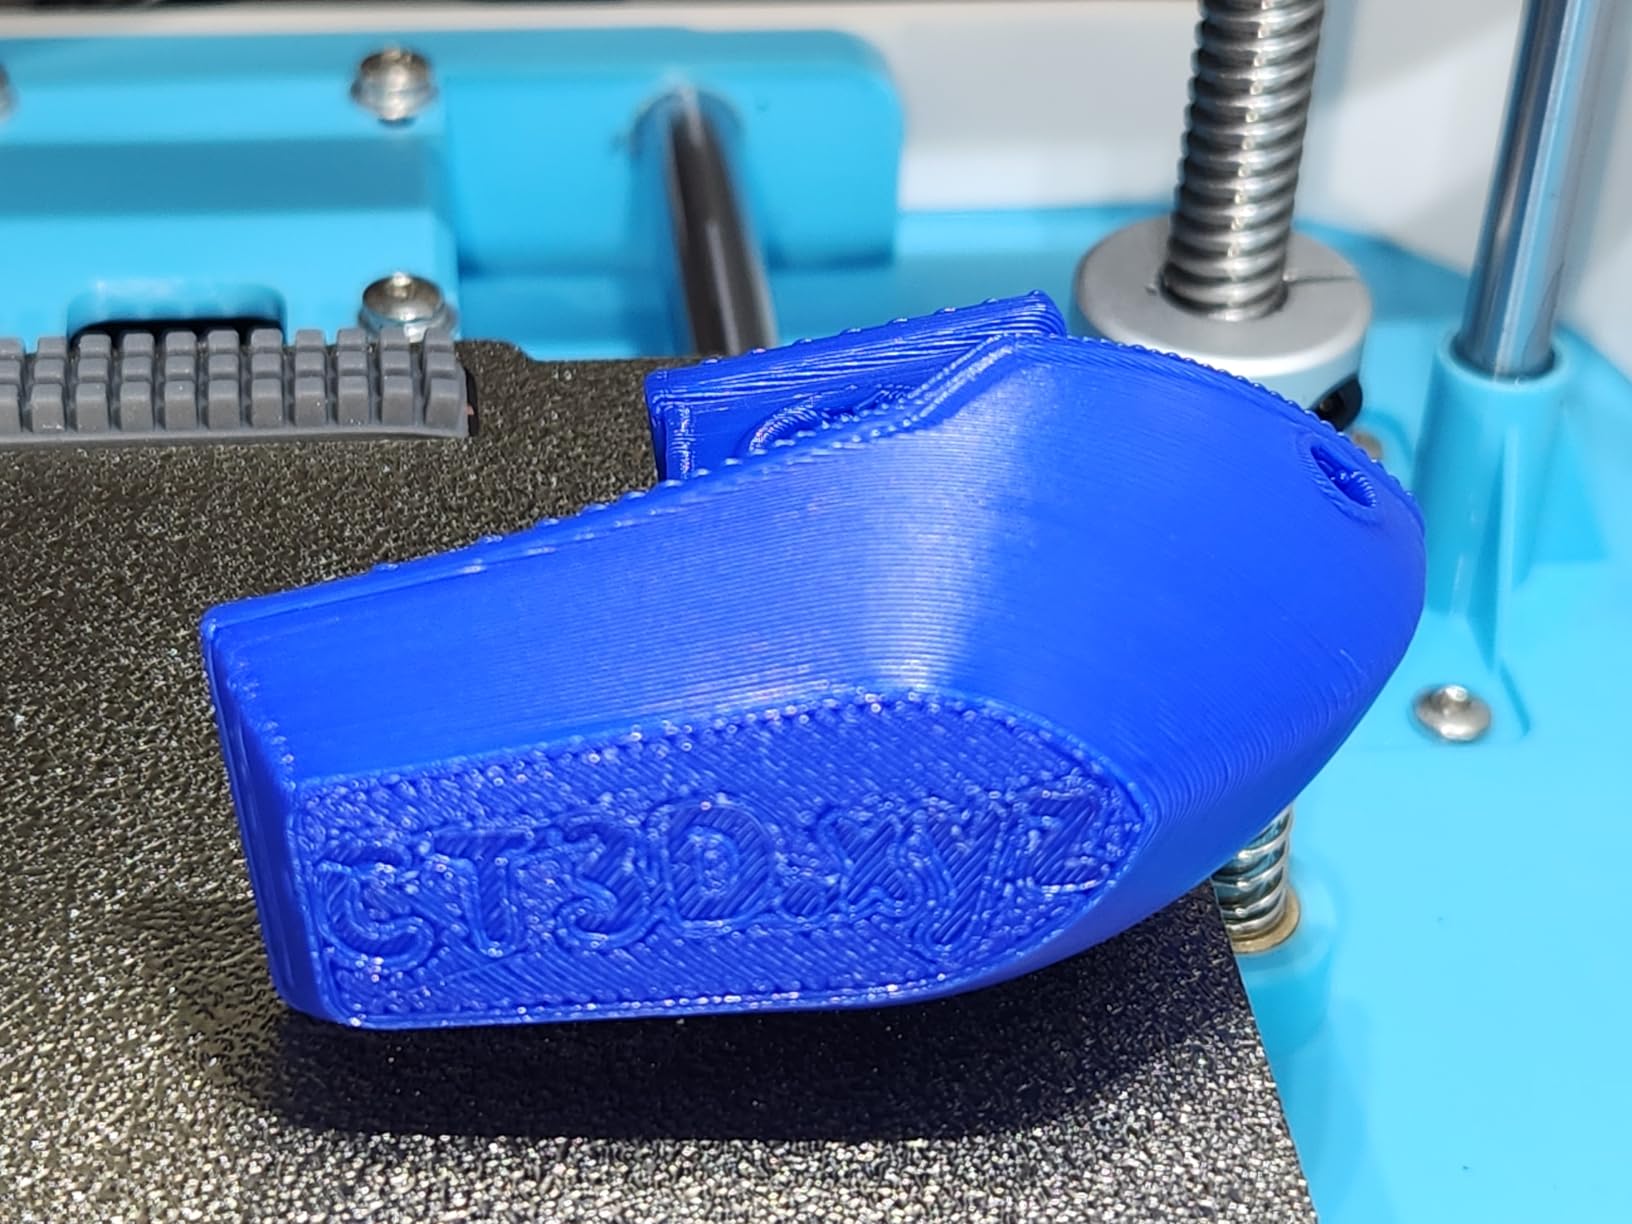
The build volume of roughly 4 x 4 x 4 inches is the smallest in this roundup by a significant margin. You are limited to small trinkets, miniatures, and test prints. There is no filament runout sensor, so a spool running empty mid-print means a failed job. The lack of resume print after power loss is also a notable omission.
Who Should Buy the Geeetech M1 Mini
The M1 Mini is a good fit for beginners who want to test the waters of 3D printing with minimal investment. It works well for printing small figurines, keychains, and educational models. People with very limited desk space will appreciate the tiny footprint.
Who Should Skip It
Anyone wanting to print objects larger than 4 inches in any dimension needs a different printer. The missing filament runout sensor and power-loss recovery make this risky for longer prints. If you want room to grow into bigger projects, start with a printer that has more build volume.
11. Asani TINA2S Mini – Complete Starter Kit Experience
TINA2S Fully Assembled Mini 3D Printer for Kids and Beginners, Starter Kit
Fully Assembled
Auto Leveling
WiFi Capable
Complete Starter Kit
6.4 lbs Lightweight
Pros
- Fully assembled out of box
- Great for kids and beginners
- Auto leveling
- Compact size
- Complete starter kit with filament and SD card
Cons
- Small print area
- Stringing issues reported
- Filament adhesion problems
- Limited to 250g spools
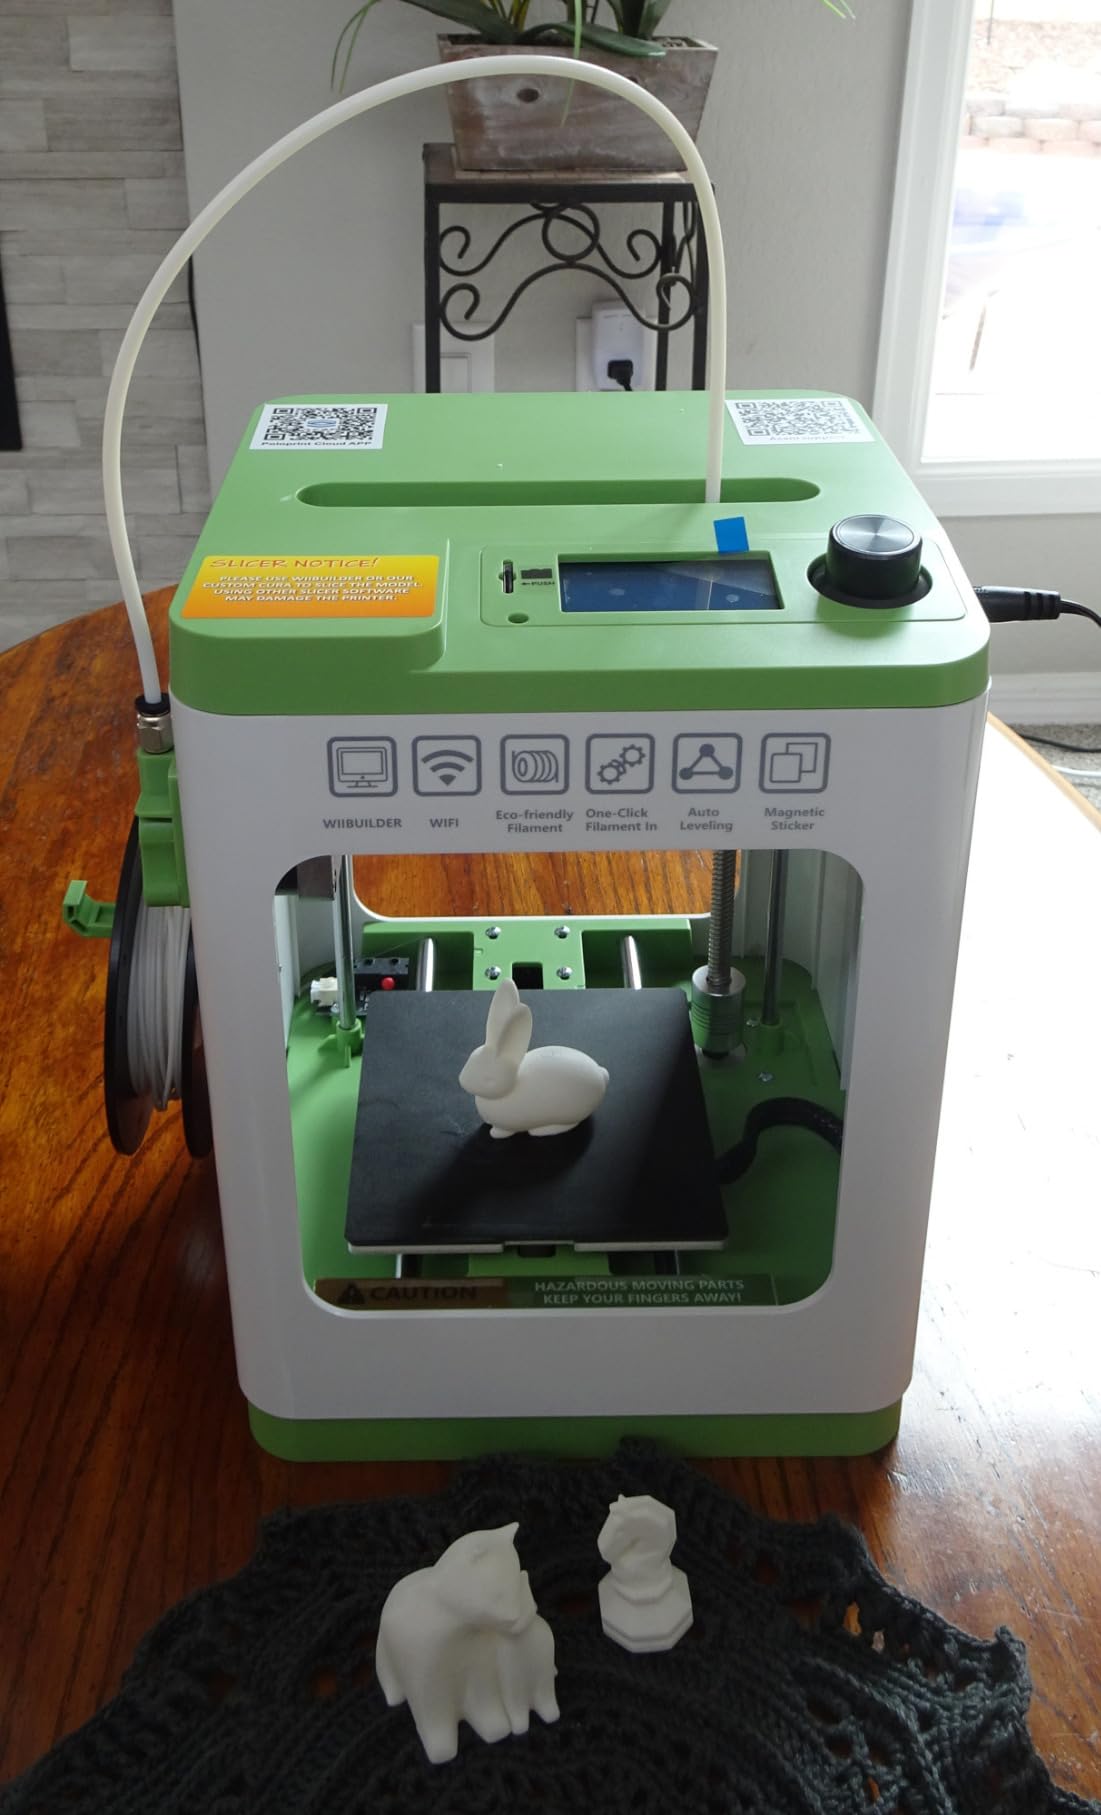
The Asani TINA2S ships as a complete starter kit that includes the printer, 10 meters of PLA filament, an SD card, and all necessary accessories. At just 6.4 pounds, it is the lightest printer in this roundup. The fully assembled design means you can start your first print within minutes of unboxing.
Auto leveling with a dual Z-axis rail handles the most troublesome part of 3D printer setup automatically. The one-touch filament loading system makes material changes simple, and WiFi connectivity lets you send prints from your phone or computer without physically transferring files.
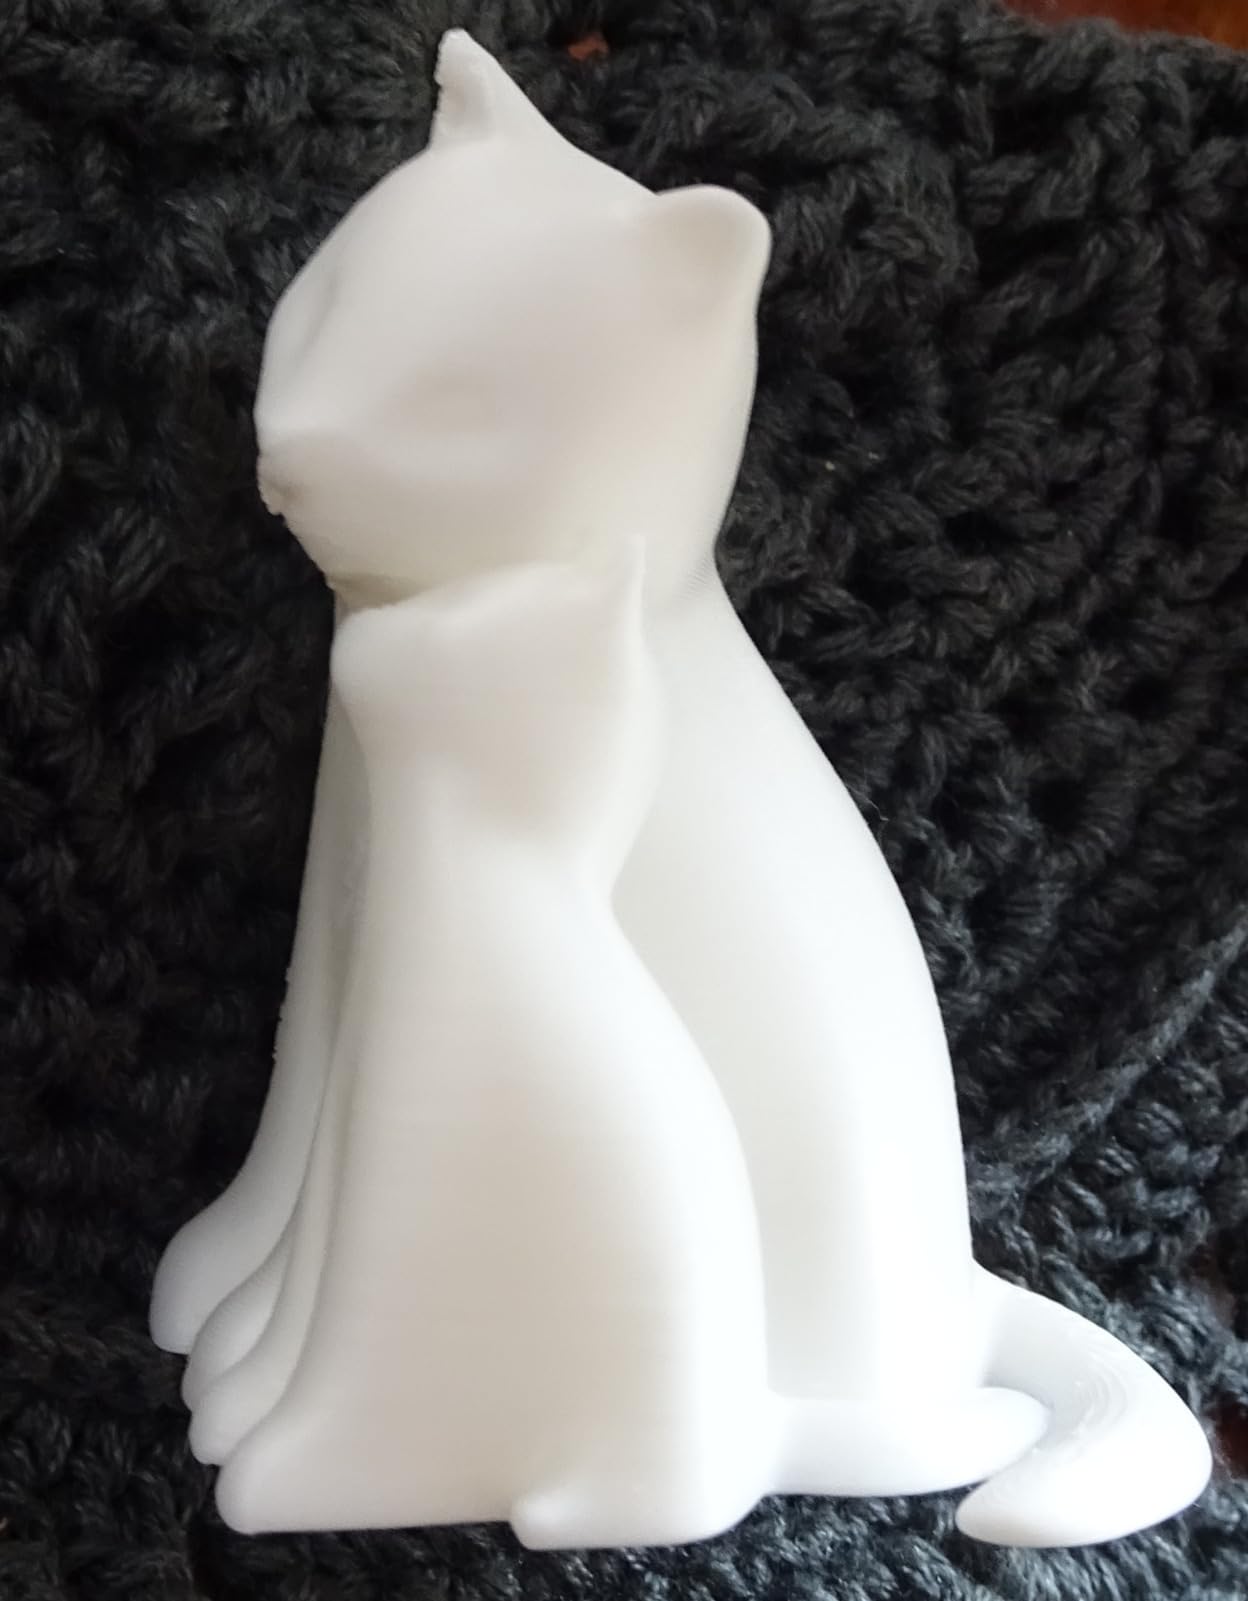
The compact 8.3 x 8.3 x 11.4 inch footprint fits comfortably on a bookshelf or desk corner. The 2.4-inch LCD screen provides basic printer status information, and the flexible magnetic build plate makes removing finished prints easy. Active pause and resume print functionality adds some flexibility during longer jobs.
Stringing is the most common complaint among the 438 reviews. This leaves thin plastic threads between separated parts of your print, requiring cleanup with a heat gun or scissors. The included filament adhesion can be problematic on the stock build plate. The printer is also limited to 250-gram filament spools, which means you cannot use the standard 1kg spools that most other printers accept.
Who Should Buy the Asani TINA2S
The Asani is a good entry point for younger kids or anyone who wants the absolute lightest, most portable 3D printer available. The complete kit with filament included means there are no additional purchases needed to start. It works well for learning the basics of 3D printing before committing to a larger machine.
Who Should Skip It
The stringing issues and adhesion problems will frustrate beginners expecting clean results out of the box. The limitation to 250g spools significantly restricts your filament options. If you plan to print regularly, invest in a machine that accepts standard 1kg spools and produces cleaner results.
12. Creality Ender 3 – The Community Legend
220x220x250mm Volume
Resume Printing
Open Source
Advanced Extruder
V-Slot POM Wheels
Pros
- Affordable entry price
- Huge community support and tutorials
- Easy to upgrade and modify
- Great learning tool for beginners
- Excellent print quality for price
Cons
- Requires 2-4 hours assembly
- Manual bed leveling
- No native auto-leveling
- Build plate adhesion can be tricky
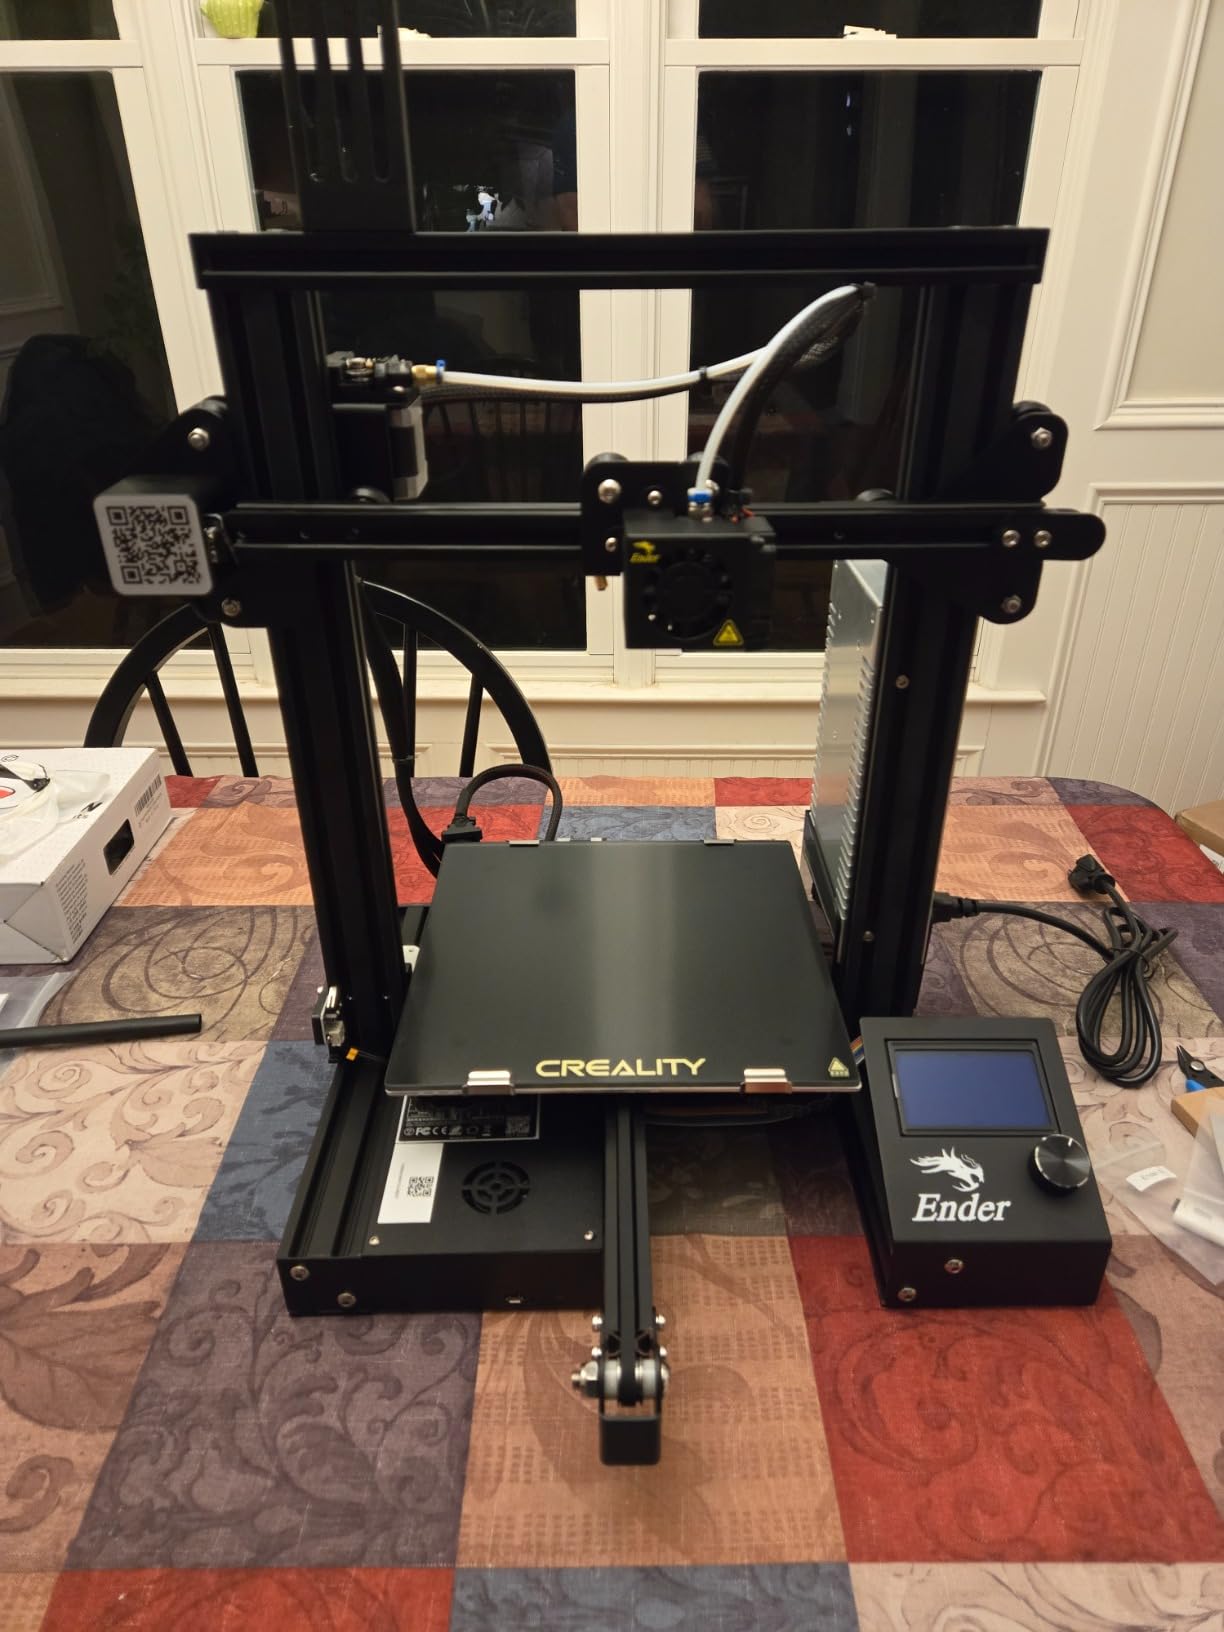
The original Creality Ender 3 has been the entry point into 3D printing for hundreds of thousands of people, and with over 26,000 reviews it remains one of the most popular 3D printers ever made. I started my own 3D printing journey with an Ender 3, and the knowledge I gained from building and tuning it taught me more about 3D printing than any other machine.
The open-source nature of the Ender 3 means there are thousands of community-created mods, upgrades, and troubleshooting guides available for free. If something breaks, replacement parts are cheap and widely available. The resume printing function saves your progress after power outages, which is essential when prints can take 10 hours or more.
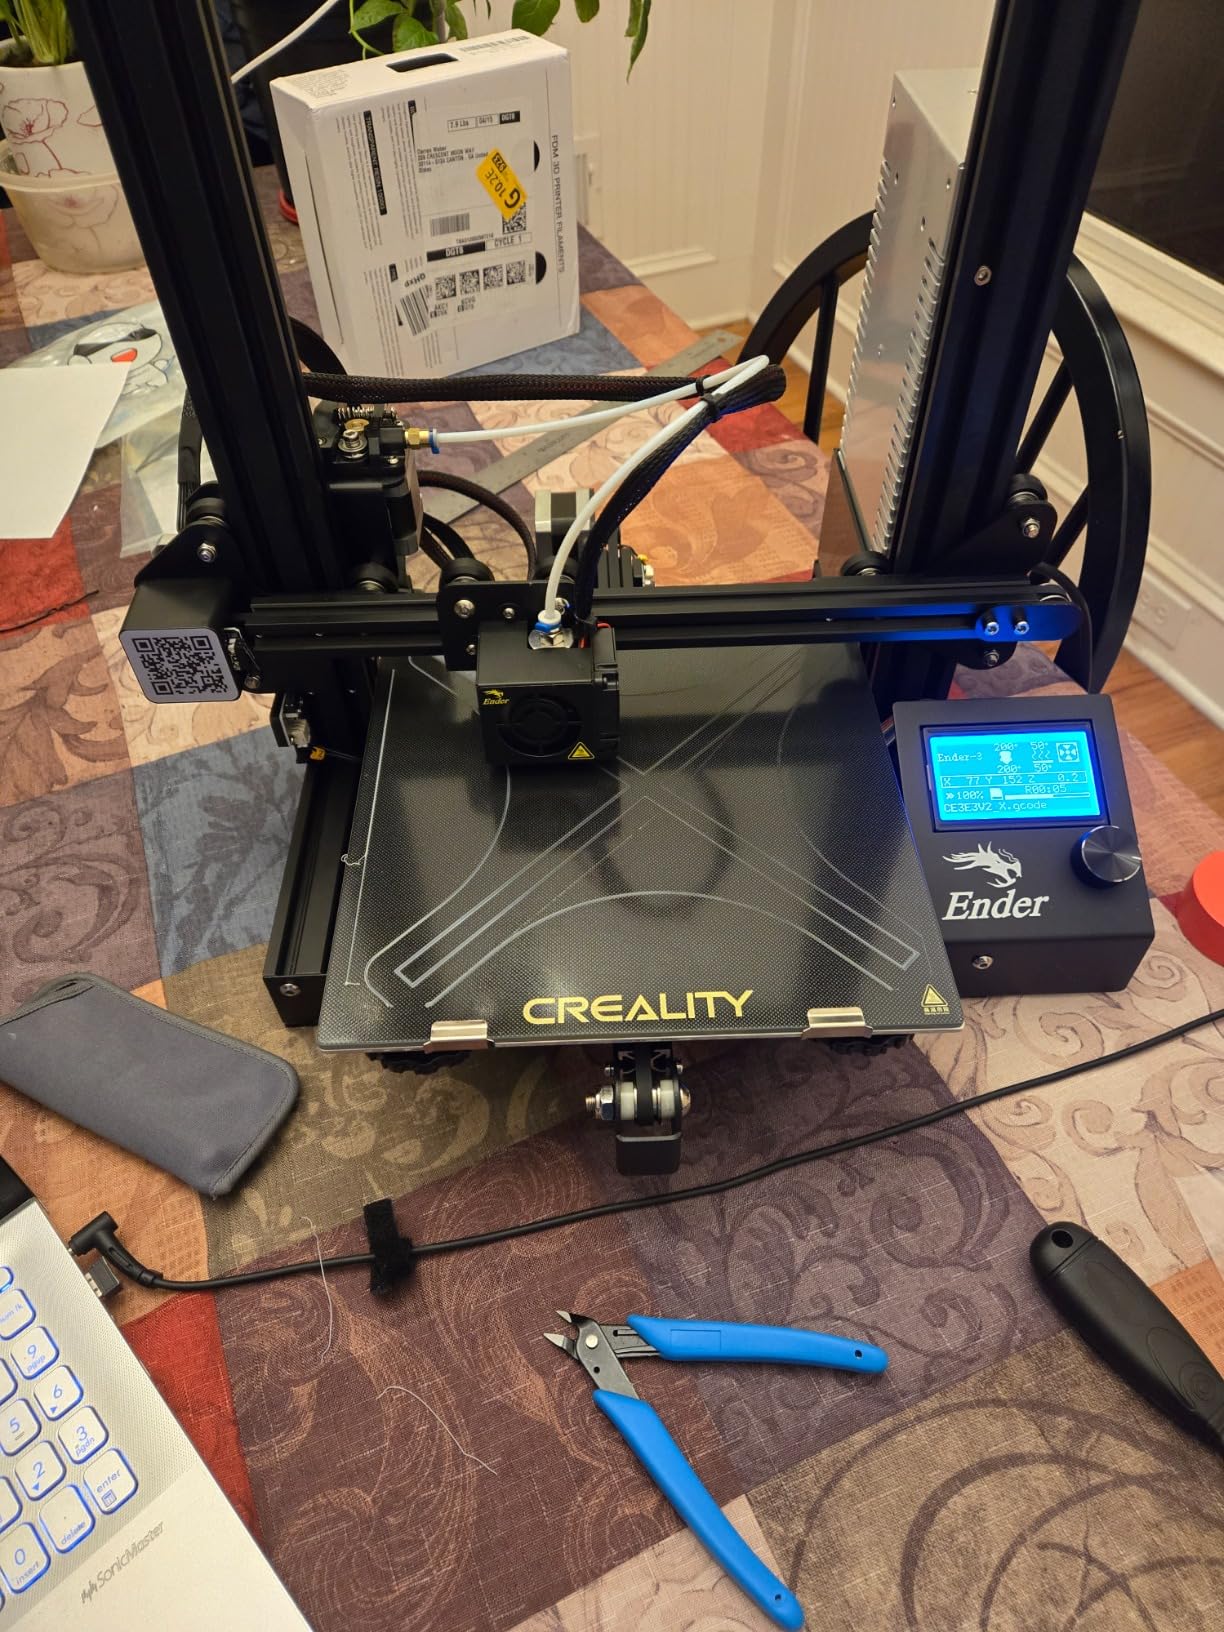
Print quality can be genuinely excellent once the machine is properly calibrated. The 220x220x250mm build volume is generous and accommodates most hobbyist projects. The V-slot with POM wheels provides smooth movement along all axes, and the advanced extruder technology delivers consistent filament feeding once tuned.
The catch is that getting to that excellent print quality requires patience. Assembly takes 2 to 4 hours, and manual bed leveling is a skill you must learn and practice. There is no auto-leveling out of the box, though you can add a BLTouch sensor as an upgrade. The power supply can have voltage issues, and build plate adhesion is a common frustration for first-time users.
Who Should Buy the Creality Ender 3
The Ender 3 is perfect for beginners who want to learn how 3D printers actually work from the ground up. It suits tinkerers who enjoy modifying and upgrading their machines. The massive community support means you will never be stuck without help. It is also the best option for those on the tightest budget who still want a capable printer.
Who Should Skip It
If you want to start printing immediately without spending hours building the printer first, the Ender 3 is not for you. People who find manual calibration frustrating should opt for a printer with auto-leveling. Those who want modern features like WiFi printing, enclosed design, or touchscreens should look at the newer options in this guide.
How to Choose the Best 3D Printers for Beginners in 2026?
Choosing your first 3D printer involves understanding a few key factors that directly impact your experience. Reddit users consistently say that the best beginner printer is one that “just works,” and we agree. Here is what matters most when shopping for an entry-level 3D printer based on our testing experience.
FDM vs Resin: Which Should a Beginner Choose?
FDM printers melt plastic filament and deposit it layer by layer. They are safer, easier to maintain, and work with non-toxic materials like PLA. This is why every printer in our list is an FDM machine. Resin printers use UV light to cure liquid resin and produce incredibly detailed prints, but they require ventilation, gloves, isopropyl alcohol for washing, and UV curing stations. The post-processing alone makes resin a poor first printer choice. If you are interested in other latest networking equipment guides or creative tech product guides, our team covers a wide range of consumer technology categories.
Start with FDM. Once you are comfortable with the basics of 3D printing, you can always add a resin printer for detailed miniatures or jewelry later.
Auto Bed Leveling Is Non-Negotiable
Manual bed leveling is the number one frustration beginners face. It involves turning tiny knobs under the build plate while sliding a piece of paper between the nozzle and the bed. Auto bed leveling handles this automatically using sensors. Every printer in this guide either has auto-leveling built in or can be upgraded with it. Do not buy a beginner printer without it.
Build Volume: How Big Should You Go?
Build volume determines the largest object you can print in one piece. For most beginners, a printer with at least 200x200x200mm is sufficient. The mini printers in our roundup with 4-inch build volumes are fine for learning and small projects, but you will quickly wish for more space. If you plan to print cosplay props, functional parts, or larger decorative items, prioritize build volume.
Print Speed Matters More Than You Think
A 3D print can take anywhere from 30 minutes to 20 hours depending on size and settings. Faster printers reduce wait times and let you iterate on designs more quickly. Modern printers hitting 250-600mm/s are dramatically faster than older models that maxed out around 50-80mm/s. For beginners, faster prints mean less time waiting and more time learning.
Hidden Costs to Budget For
The printer is just the start. Forum discussions frequently highlight surprise expenses that catch beginners off guard. PLA filament costs roughly $15-25 per 1kg spool, and a single large print can use a significant portion of a spool. You will also want a basic toolkit, glue stick or hairspray for bed adhesion, and replacement nozzles eventually. Budget an extra $50-100 beyond the printer price for essential accessories and filament.
Community Support and Spare Parts
When something goes wrong, and it will, having a large community of users who have solved the same problem is invaluable. The Creality Ender 3 has the largest community, followed by Bambu Lab. Before buying any printer, search YouTube and Reddit for the model name. If you find hundreds of tutorials and active forums, that is a good sign that help will be available when you need it.
FAQ
What is the best 3D printer to start out with?
The Bambu Lab P1S is the best 3D printer for most beginners because it sets up in 15 minutes, features fully automatic bed leveling, and produces excellent print quality right out of the box. Its enclosed CoreXY design lets you print with both basic and advanced materials. For a more budget-friendly option, the Creality Ender 3 V3 SE offers strong performance at a lower price point.
What is the best 3D print to start with?
The best first 3D print is a calibration cube, which is a small 20mm cube that tests your printer’s accuracy and helps you verify that bed leveling and extrusion are working correctly. After that, try printing a simple phone stand, keychain, or coaster from the model libraries included with printers like the Entina Tina2C or AOSEED X-Maker Joy. These quick, small prints build confidence before tackling larger projects.
Which is the best 3D printer for home use?
The best 3D printer for home use depends on your space and needs. The ELEGOO Neptune 3 Pro offers quiet 47 dB operation and a generous build volume, making it ideal for home offices. The FLASHFORGE Adventurer 5M delivers the fastest speeds at 600mm/s for users who print frequently. For apartments, compact models like the Entina Tina2C or Tina2 Plus work well on small desks.
Can 3D printers print polypropylene?
Yes, some FDM 3D printers can print polypropylene, but it is one of the most challenging filaments to work with. Polypropylene shrinks significantly as it cools, causing warping and poor bed adhesion. It requires an enclosed printer with a heated bed above 100C and an extruder capable of reaching 230-250C. Beginners should master PLA and PETG first before attempting polypropylene.
How much does a beginner 3D printer cost?
A good beginner 3D printer costs between $170 and $400. Budget options like the Creality Ender 3 start around $175 but require assembly and manual calibration. Fully assembled printers with auto-leveling typically cost $180 to $250. Premium beginner options like the Bambu Lab P1S or multi-color printers like the Anycubic Kobra X cost $350 to $400 but offer significantly better reliability and features.
Final Thoughts
Finding the best 3D printers for beginners comes down to matching the machine to your patience level and budget. If you want a printer that works perfectly from day one and grows with you, the Bambu Lab P1S is the clear winner. For the best balance of speed, quality, and price, the FLASHFORGE Adventurer 5M delivers outstanding value. And if you are on a tight budget and willing to learn through hands-on tinkering, the original Creality Ender 3 remains an incredible teacher.
Our team tested each of these 12 printers to give you honest, experience-based recommendations for 2026. The most important advice I can give: start printing with PLA filament, choose a printer with auto bed leveling, and do not be afraid of failed prints. Every failed print teaches you something that makes you a better maker.
Ready to pick your first printer? Check out the latest prices using the links above, and start creating. The 3D printing community is welcoming and full of people happy to help beginners succeed.
Leave a Reply