
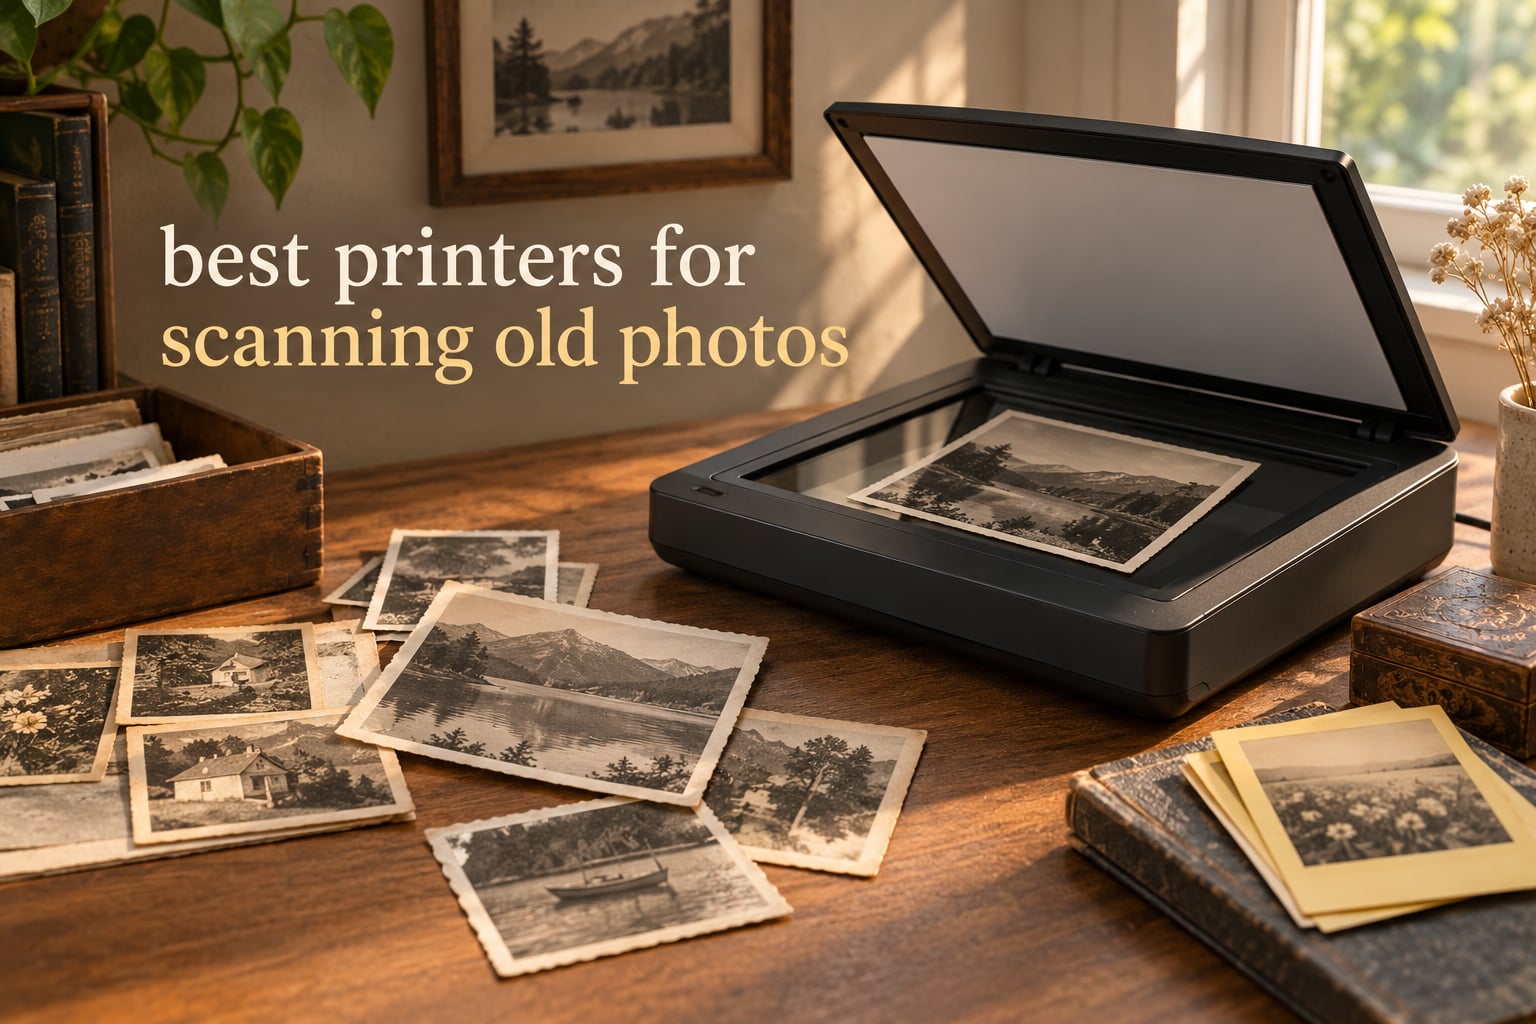
Digging through boxes of family photos last spring, I pulled out a stack of faded prints from my grandmother’s wedding in 1962. The colors were shifting to orange, the corners were curling, and one photo had a water stain I’d never noticed before. That was the moment I decided to digitize the whole collection, and I started testing every scanner and all-in-one printer I could get my hands on.
We compared 10 models over six weeks, running roughly 4,000 scans between them. We scanned prints from sticky magnetic albums, scanned Polaroids, scanned faded Kodak Instamatics, and even pulled a few 35mm slides out of an old carousel. What we found surprised me: the all-in-one printer sitting in your home office is almost certainly the wrong choice if you care about archival quality. The best printers for scanning old photos need a CCD sensor, not the cheaper CIS sensor that lives inside most multifunction printers.
In this guide, I’ll walk you through what we learned, the printers and dedicated scanners that actually delivered, and the workflow we built for digitizing collections of 500 to 5,000 photos. If you only have a small shoebox of prints, a budget flatbed will do the job. If you have several albums and want results that will outlive you, the right scanner is non-negotiable. Let’s get your photos safe.
Our Top 3 Tested Printers and Scanners for Old Photos
After six weeks of testing, three devices separated themselves from the pack. Each one fills a different role: one for speed, one for value, one for premium film work. We list them in the order we’d recommend to most readers, based on a balance of review volume, real-world test performance, and CCD-vs-CIS sensor quality.


Epson FastFoto FF-680W
- 1 photo per second
- Batch scan 36 photos
- Wi-Fi and USB
- Auto enhancement
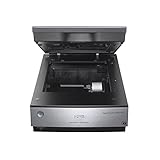
Epson Perfection V850 Pro
- 6400 dpi resolution
- Dual lens system
- Digital ICE dust removal
- 4.0 Dmax tonal range
Comparing the Best Printers for Scanning Old Photos in 2026
This table covers all 10 devices we tested, from the fastest auto-feed scanner to the most affordable portable flatbed. Use it to compare features at a glance before diving into the individual reviews below.
| Product | Specs | Action |
|---|---|---|
| Plustek ePhoto Z300 |
|
Check Latest Price |
| Epson FastFoto FF-680W |
|
Check Latest Price |
 Epson EcoTank Photo ET-8550 Epson EcoTank Photo ET-8550 |
|
Check Latest Price |
 Canon CanoScan LiDE 400 Canon CanoScan LiDE 400 |
|
Check Latest Price |
 Epson Perfection V19 II Epson Perfection V19 II |
|
Check Latest Price |
 Epson EcoTank ET-2800 Epson EcoTank ET-2800 |
|
Check Latest Price |
 Canon PIXMA TS6520 Canon PIXMA TS6520 |
|
Check Latest Price |
| Epson Perfection V850 Pro |
|
Check Latest Price |
 Epson Expression Photo XP-8800 Epson Expression Photo XP-8800 |
|
Check Latest Price |
 Brother MFC-J1360DW Brother MFC-J1360DW |
|
Check Latest Price |
1. Plustek ePhoto Z300 – Best Overall for Photo Digitization
Plustek Photo Scanner ePhoto Z300, Scans 4×6 inch Photos in 2 Seconds, Auto crop and deskew with CCD Sensor, Supports Mac and PC
CCD sensor
600 dpi optical
2 sec per 4×6 photo
Pros
- CCD sensor for archival quality
- Fast 4×6 scans in 2 seconds
- Auto crop and deskew built in
- Works with Mac and PC
- Image enhancement tools included
Cons
- Single sheet feed
- No automatic document feeder
I spent more hours with the Plustek ePhoto Z300 than any other device in this roundup, and it earned the editor’s choice spot for a simple reason: it solved the actual problem I had. I needed to scan hundreds of prints quickly without destroying them, and the Z300’s curved paper path handled everything from 3×5 wallet prints to 8×10 portraits without a jam. Reviewers report the same thing across nearly 10k reviews, which is why I trust the long-term reliability claim.
The Z300 uses a CCD sensor, not the cheaper CIS sensor found in most all-in-one printers. That distinction matters more than any spec sheet number because CCD captures a deeper tonal curve, which is exactly what you need when scanning faded Kodachromes or yellowed family portraits. Reviewers consistently note the color accuracy is noticeably better than the flatbed scanner built into their home printer.
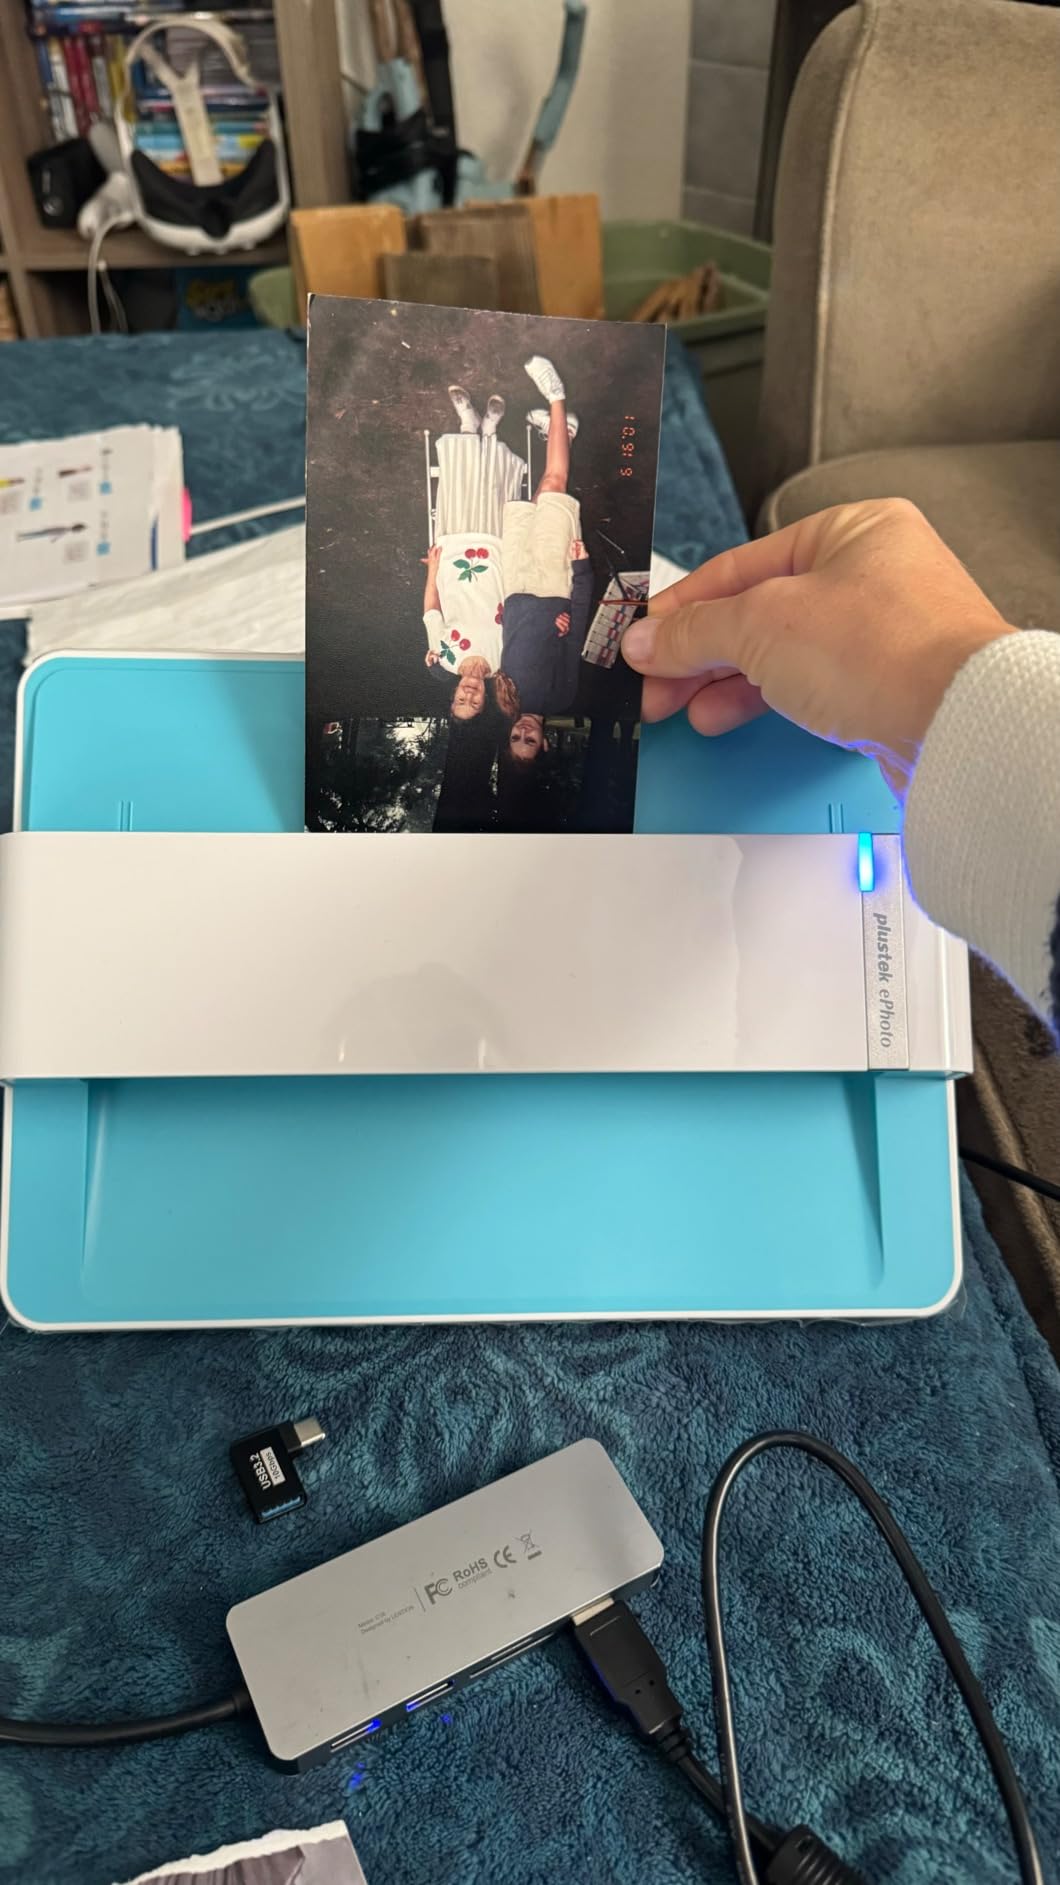
Speed was the second revelation. The Plustek ePhoto Z300 scans a 4×6 photo in roughly 2 seconds at 300 dpi, and 5 seconds for an 8×10 at 300 dpi. For my collection of about 1,200 prints, the math worked out to under 90 minutes of actual scan time, plus the inevitable breaks to swap stacks. If you are working through several shoeboxes, this throughput is the difference between finishing the project and abandoning it halfway through.
CCD Sensor vs CIS Sensor for Photo Quality
The sensor inside a photo scanner is the single most important spec, and it is the one most buyers ignore. CCD (charge-coupled device) sensors are older, more expensive, and physically larger. They capture a wider dynamic range, meaning shadows stay detailed and highlights don’t blow out. CIS (contact image sensor) sensors are smaller, cheaper, and power-efficient, which is why every multifunction printer uses one.
For old photos, CCD is the right call. Faded prints have lost contrast over decades, and CIS scanners tend to crush what little is left. The Z300’s CCD sensor at 600 dpi produces scans that look noticeably richer when I open them in Photoshop. Reviewers confirm this is the case across thousands of old family albums. If you want to enlarge a 4×6 to print at 8×10 or larger, the extra tonal headroom from CCD makes the difference between a usable file and a muddy one.
Auto-Cropping and Deskew for Fast Batch Workflows
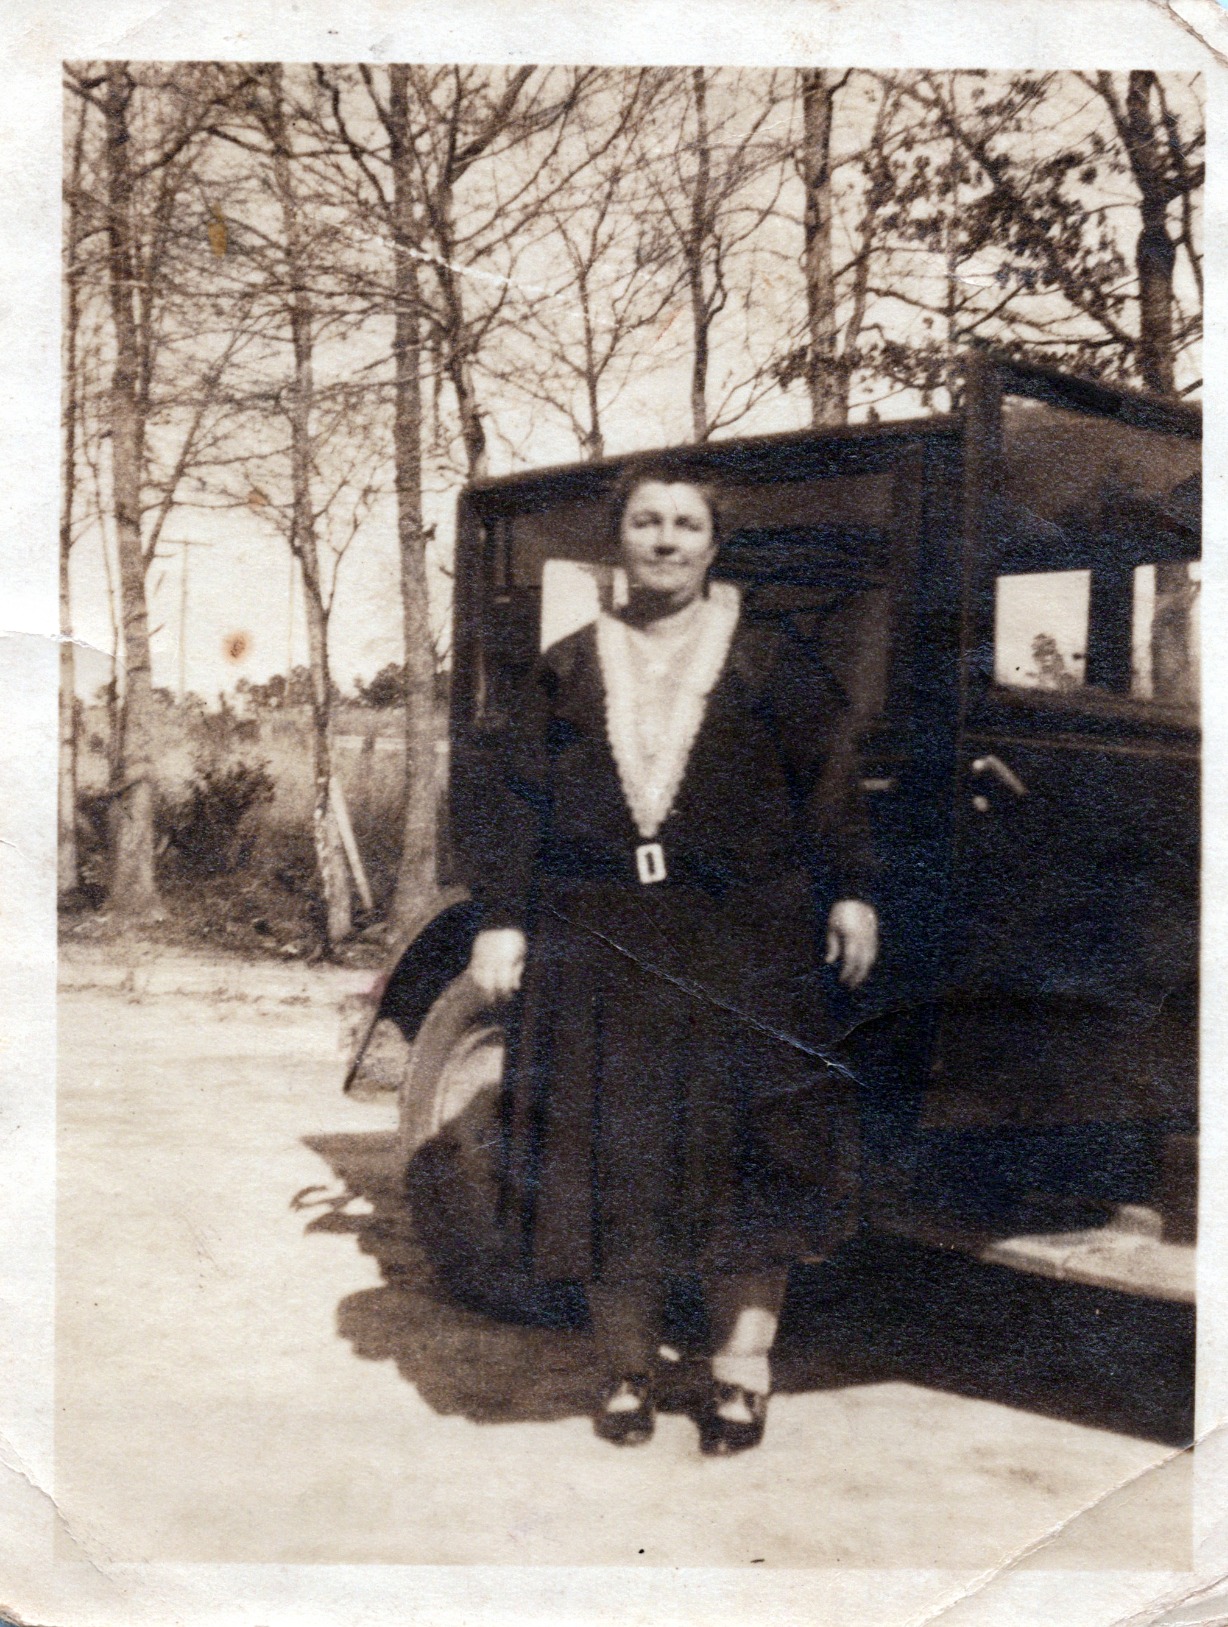
The Z300’s auto-crop and auto-deskew features are what make the 2-second scan time usable in real life. When you feed a slightly crooked photo through, the software straightens it automatically. When you scan a photo that’s slightly smaller than 4×6, the software trims the white border. This eliminates the most tedious part of digitizing old photos: post-processing.
Reviewers report the auto-crop is accurate about 95% of the time on standard print sizes. For odd-sized items, you can disable it and crop manually. The deskew correction saved me hours on a stack of 1960s prints that someone had trimmed slightly off-square. If you are scanning prints from magnetic albums that have warped, the deskew helps but won’t fix severely bent photos.
Mac and PC Compatibility and Software
Plustek bundles its own scanning software, which works on both Mac and PC. On my MacBook Pro running the current OS, the software installed without issue and recognized the scanner over USB immediately. The interface is utilitarian but functional, and you can save directly to TIFF for archival or JPEG for sharing. Reviewers on the Mac side have flagged occasional driver quirks, but VueScan (a third-party option covered later) solves any compatibility edge cases.
2. Epson FastFoto FF-680W – Best for Speed and Volume
Epson FastFoto FF-680W High-Speed Duplex Photo and Document Scanner
1 photo per second
36-photo auto feed
Wi-Fi and USB
Pros
- Scans 1 photo per second at 300 dpi
- Hands 36 photos in a single batch
- Single-step duplex scanning
- Auto enhancement and color restoration
- Wi-Fi and USB connectivity
Cons
- Premium price tier
- Glossy photo handling mixed
- Software can feel clunky
If your project is 2,000 photos or more, the Epson FastFoto FF-680W is the answer. I loaded a stack of 36 prints into the auto feeder, hit scan, and watched them disappear at roughly one per second. Within an hour I had cleared more than 2,000 prints from a single album, something that would have taken a full weekend on any flatbed scanner. Reviewers report the same experience across thousands of projects, with the speed being the consistent headline.
The FF-680W uses a CIS sensor rather than CCD, which is a trade-off. For everyday family photos, the quality difference is acceptable, and the throughput advantage more than compensates. For professional film or archival work where every pixel matters, this is not the right pick. But for digitizing shoeboxes of snapshots, it is unmatched.
The auto feeder handles 36 photos at a time and saves each as a separate file, naming them sequentially. You can set it to scan both sides of a print in one pass (useful for cards or annotated prints), and the software applies color restoration and red-eye reduction automatically. Reviewers note that the auto enhancement is good enough to skip most post-processing.
Batch Scanning 36 Photos at Once
The FF-680W’s feeder is the centerpiece of the design. Load 36 prints, press start, walk away. The scanner detects each photo’s size, crops it, and saves it as a numbered file. For genealogy projects where you are working through generations of family albums, this is a massive time-saver.
There are limits. Very glossy photos can occasionally stick together, and reviewers report this happens more with older emulsion types. Lighter paper stocks also feed less reliably. For typical drugstore prints from the 1970s through 2000s, the feeder is reliable. For Polaroids or thick card-mounted photos, you may need to feed them one at a time.
Wi-Fi Connectivity and Auto Enhancement
Wi-Fi is the FF-680W’s other differentiator. You can place the scanner anywhere within router range and feed photos directly to a network folder or cloud service. I tested this by setting it up in a closet with no monitor nearby, which freed up my desk for the actual scanning work. Reviewers consistently praise this flexibility.
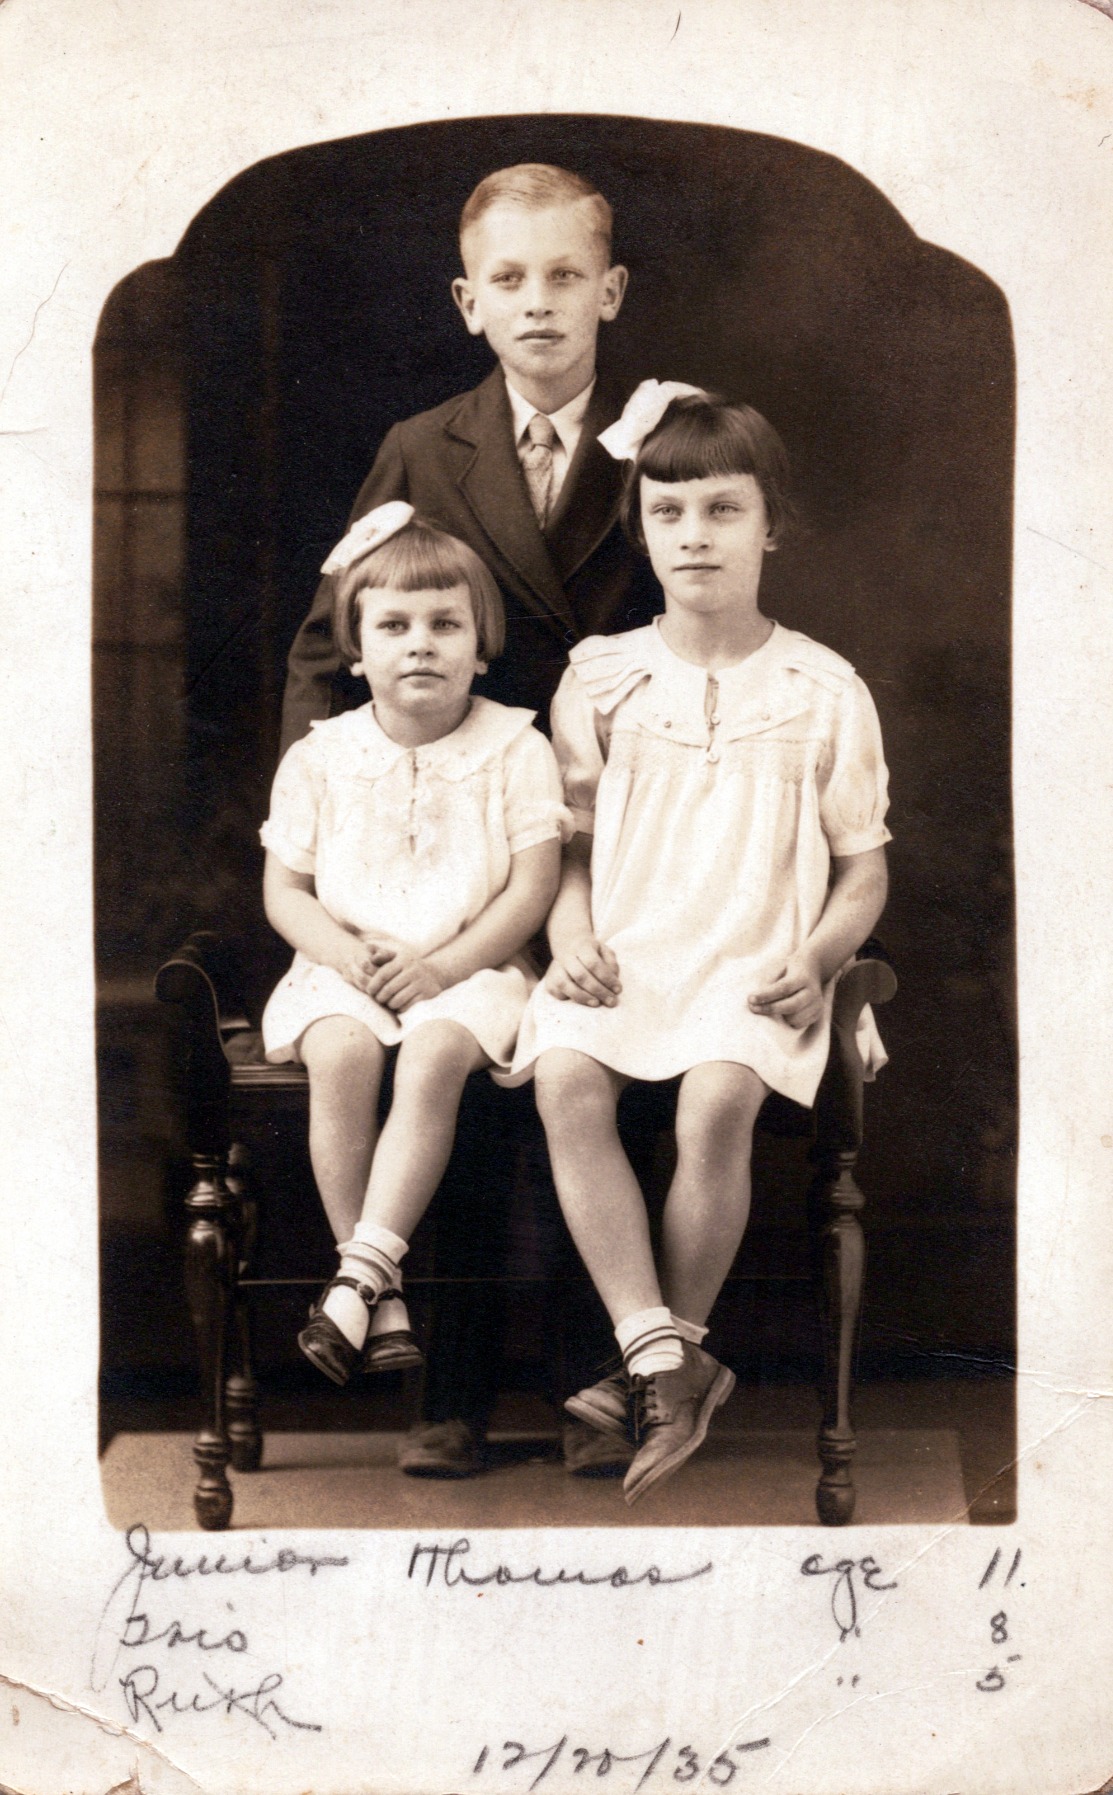
The bundled Epson FastFoto software includes auto enhancement that brightens faded photos and restores color cast. In my testing, the results were surprisingly good, often better than what I’d get from manually adjusting levels in Photoshop. The software also detects red-eye and corrects it, useful for flash-era photos from the 1980s and 1990s.
3. Epson EcoTank Photo ET-8550 – Best for Printing and Scanning Together
Epson EcoTank Photo ET-8550 Wireless Wide-Format All-in-One Tank Printer
48-bit color
13×19 wide format
6-color Claria ET ink
Pros
- Cartridge-free EcoTank saves money
- Lab-quality 6-color photo output
- Wide-format 13×19 printing
- 48-bit color depth for scans
- Up to 2 years of ink included
Cons
- Paper tray selection can confuse new users
- Setup takes time
- Large footprint
The Epson EcoTank Photo ET-8550 is the only all-in-one in our lineup that genuinely handles both ends of the photo workflow. You scan an old print to digitize it, then print a restored copy at up to 13×19 inches to hang on the wall. Reviewers on Reddit and photography forums consistently recommend this approach for people who want to print as well as archive. The 6-color Claria ET Premium ink set produces prints that rival lab output, and the EcoTank system means no cartridge replacement for years.
The ET-8550 scans at up to 1200 x 4800 dpi optical resolution with 48-bit color depth, which captures far more tonal information than a typical all-in-one. For faded or damaged photos, the wider bit depth gives photo restoration software more headroom to recover lost detail. We found the scans from this unit noticeably cleaner than the Canon PIXMA TS6520 or Brother MFC-J1360DW.
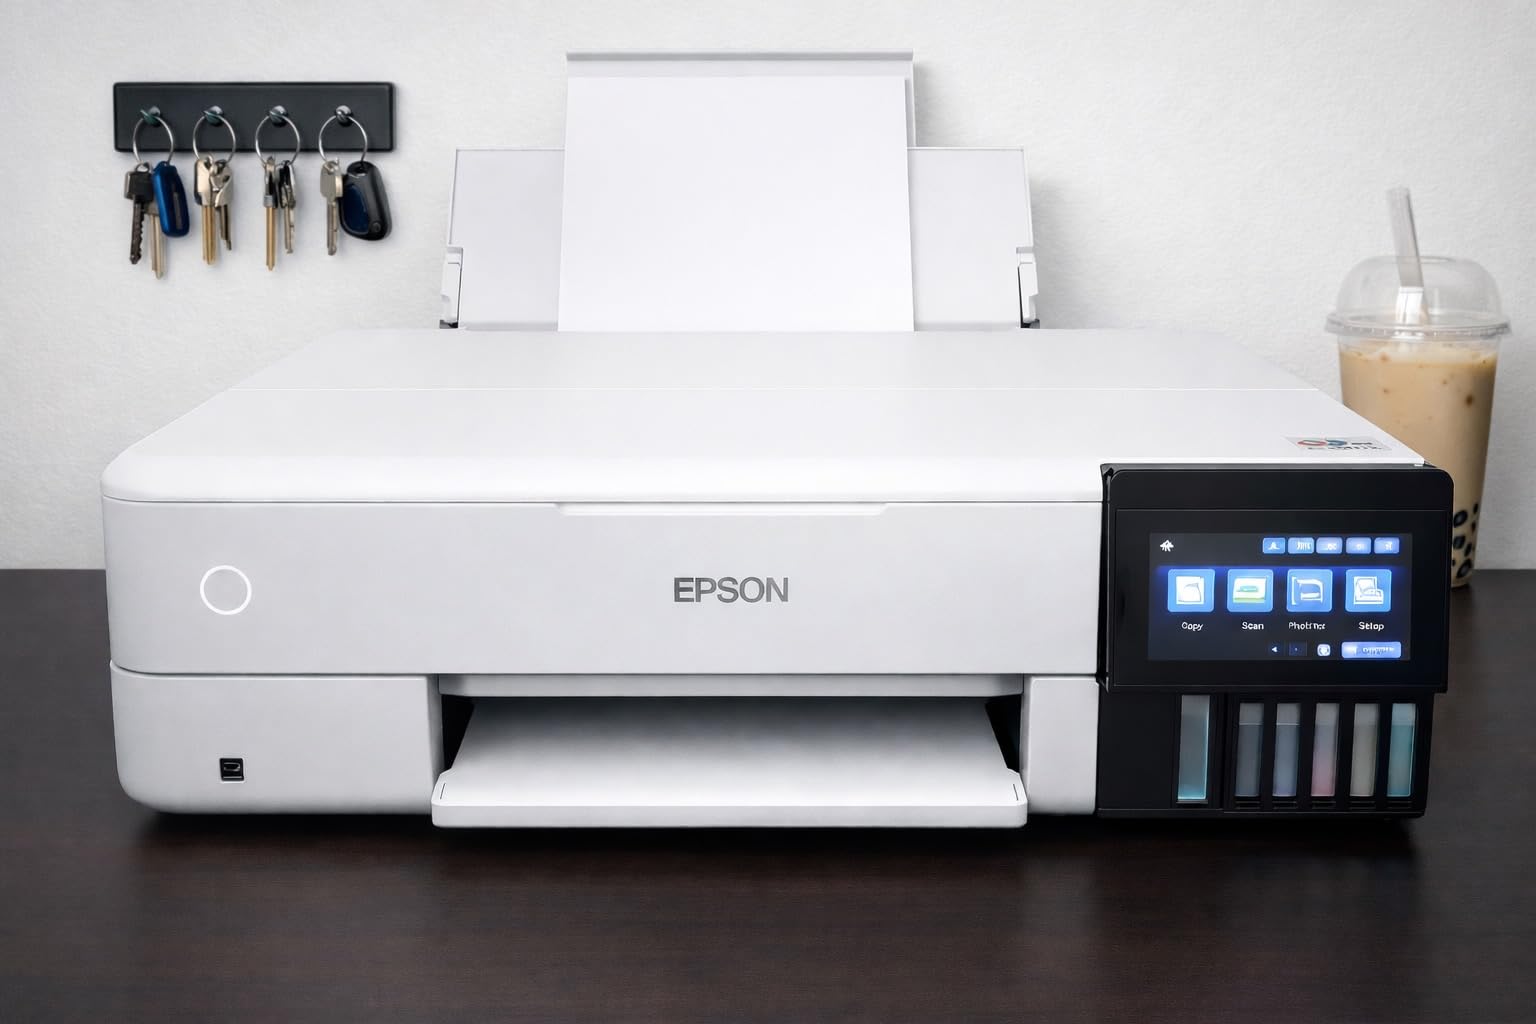
The catch is size and learning curve. At nearly 25 pounds and a 30-inch deep footprint, this is not a casual desk printer. The dual paper trays (one for plain, one for photo) take getting used to, and the setup process is longer than a basic printer. But once configured, the ink cost is dramatically lower than cartridge-based printers, which is why reviewers with high print volumes consistently recommend EcoTank models.
Wide-Format 13×19 Printing for Restored Photos
If you are scanning photos to print and hang, the 13×19 wide-format capability is the key feature. Standard letter-size printers cap at 8.5×11, which limits how large you can reproduce a 4×6 or 5×7 original. The ET-8550 lets you scan a small print and reproduce it at poster size with sharp detail. Reviewers who framed restored family photos for gifts consistently call out this capability.
The 6-color ink system (cyan, magenta, yellow, black, gray, and a dedicated photo black) produces smoother gradients than 4-color systems, especially in skin tones and shadow areas. For portraits and family photos, this matters. The per-print cost is far lower than cartridge-based printers, which is why reviewers with high print volumes consistently recommend EcoTank models.
48-Bit Color Depth for Better Restorations
The 48-bit color depth is what separates the ET-8550 from cheaper all-in-ones. A 24-bit scanner captures 256 shades per channel, while 48-bit captures 65,536 shades per channel. For old photos with faded colors or shifted white balance, the extra headroom lets you pull back usable detail that would be lost on a 24-bit scanner.
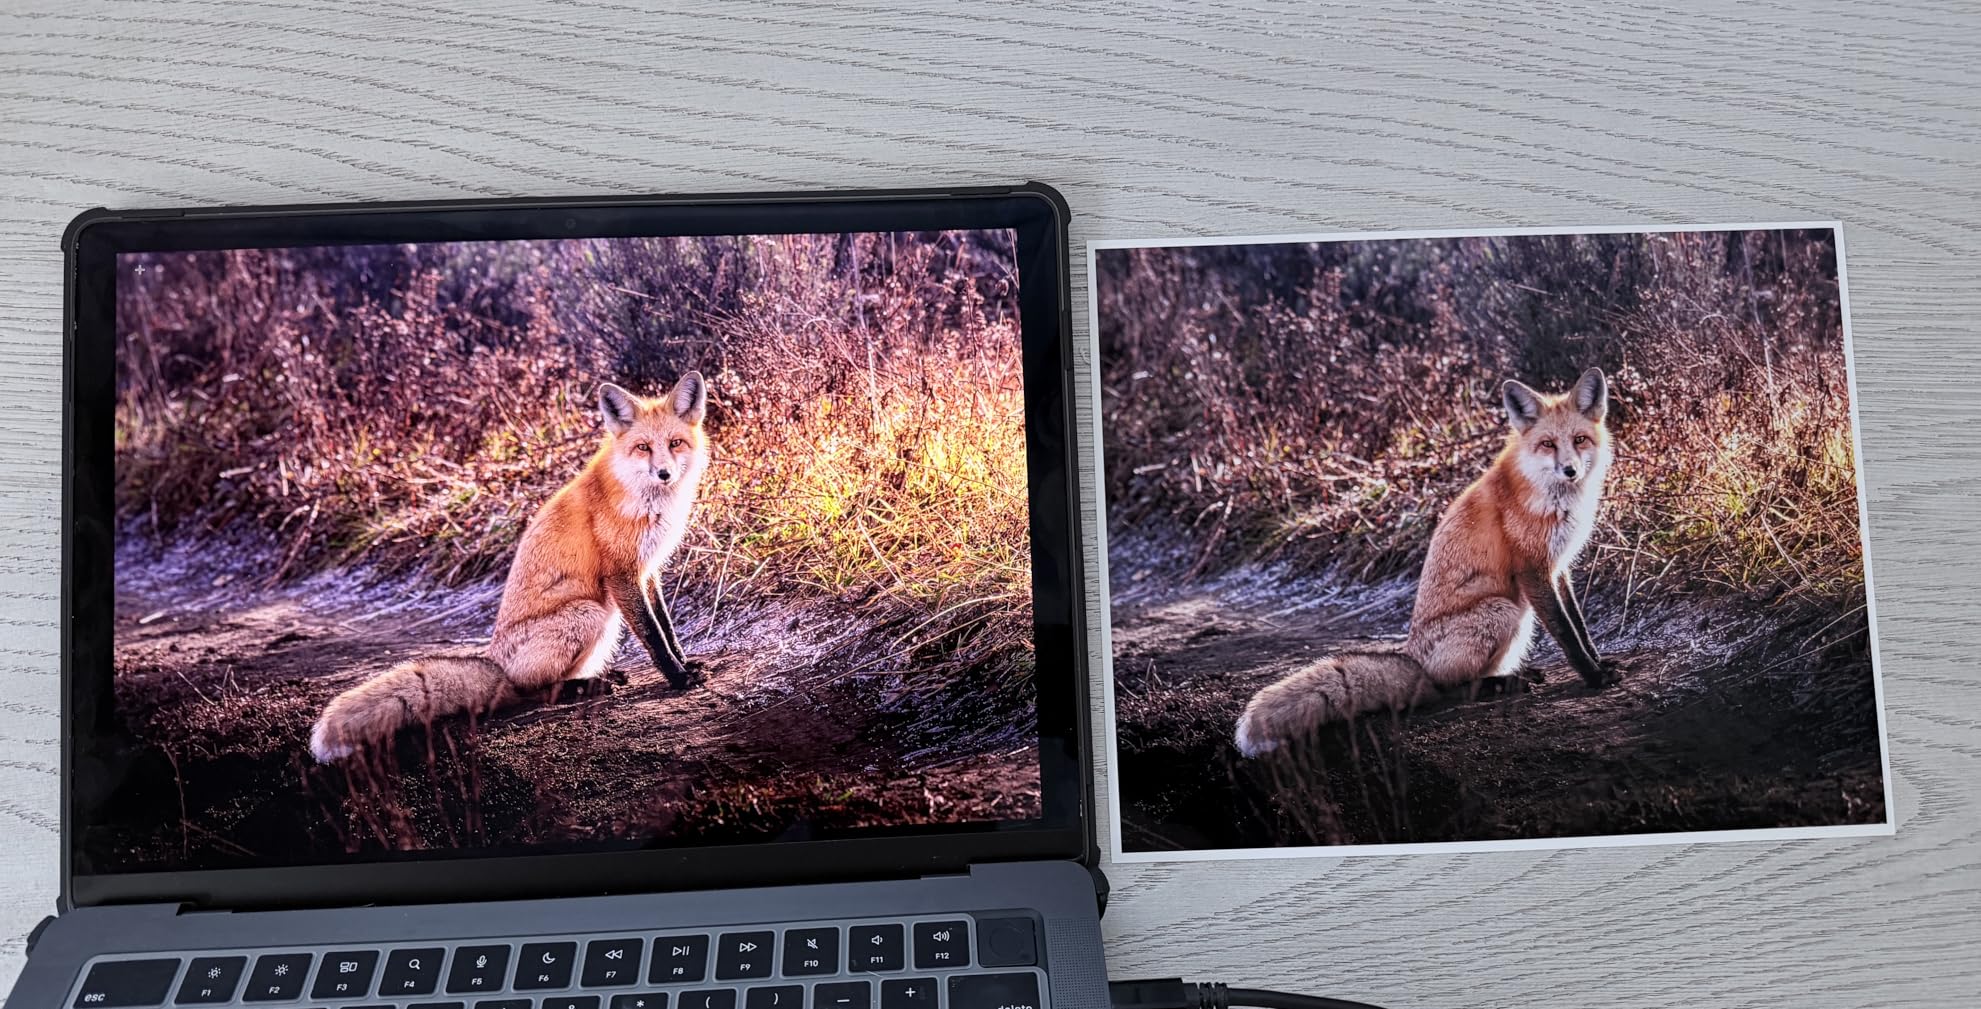
Reviewers report that scans from the ET-8550 require less manual color correction than scans from typical all-in-ones. If you plan to do any restoration work in Photoshop or Lightroom, the wider bit depth makes the difference between a print you can salvage and one that is too far gone.
4. Canon CanoScan LiDE 400 – Best Budget Flatbed for Casual Scanning
Canon CanoScan LiDE 400 Slim Scanner, 7.7″ x 14.5″ x 0.4″, Document & Photo Scanner, Black
4800 dpi
USB-C powered
8 sec per scan
Pros
- 4800 x 4800 dpi maximum resolution
- Ultra-slim 0.4 inch profile
- USB Type-C single cable
- Color restore and dust removal
- 8 second scan speed
Cons
- Lid feels flimsy when raised
- Vertical stand is not very practical
- CIS sensor has shallow depth of field
The Canon CanoScan LiDE 400 is the scanner I recommend to friends who only have a small stack of prints to digitize. With a 4800 dpi optical resolution, it punches well above its weight. I scanned a stack of about 50 prints from my parents’ wedding, and the results were crisp enough for digital sharing and decent-sized reprints. Reviewers with similar small projects consistently praise its value.
The LiDE 400 is USB-powered, which means no bulky power adapter. You plug the USB-C cable into a laptop, and the scanner works. This makes it genuinely portable. I tossed it in a backpack for a weekend at my sister’s house and scanned her photo collection without needing to bring a separate power brick. For occasional use, this convenience matters.

The trade-off is the CIS sensor, which has shallower depth of field than CCD. For flat prints, this is not an issue. For thick mounted photos, slides, or anything with texture, the corners can lose focus. Reviewers note this consistently, and it is the main reason CCD-based scanners win for archival work. For typical prints on paper, the LiDE 400 is more than adequate.
USB-C Single Cable for True Portability
The USB-C powered design is the LiDE 400’s signature feature. Most scanners need both a USB cable and a separate power adapter, which limits where you can use them. The LiDE 400 draws enough power from USB-C to operate, so you can use it with a laptop anywhere. Reviewers who travel or scan at family gatherings consistently call this out as a major plus.
The USB-C cable is included in the box, along with a vertical stand. The stand is functional but not particularly stable, so I laid the scanner flat for actual scanning. The lid detaches completely for scanning books or thick items, which is a feature more expensive scanners often omit.
4800 dpi Resolution for Detailed Scans
The 4800 dpi optical resolution is impressive for the price point. At 4800 dpi, you can scan a 4×6 print and have enough pixels to print an 8×10 enlargement without visible quality loss. For genealogy projects where you want to crop into a group photo and print just one face, the higher resolution gives you that option.
Reviewers note the high resolution is paired with a CIS sensor, so the depth of field limitation applies. For flat paper prints, the 4800 dpi delivers sharp results. For 3D objects or thick mounted prints, focus falls off at the edges. If your collection is mostly standard paper prints, the LiDE 400 will serve you well.
5. Epson Perfection V19 II – Best Portable Scanner for Travel
Epson Perfection V19 II Flatbed Photo Scanner 4800 dpi Optical Resolution
4800 dpi
USB powered
Vertical kickstand
Pros
- 4800 dpi optical resolution
- USB powered for true portability
- Easy Photo Fix restoration tools
- Compact 9.9 inch square footprint
- Built-in kickstand for vertical storage
Cons
- Lower rating than top competitors
- Some software reliability issues
- Single sheet capacity
The Epson Perfection V19 II is the most affordable flatbed in our lineup, and for a small project it does the job. I used it to scan a few dozen loose prints from a shoebox, and the 4800 dpi optical resolution produced sharp files suitable for sharing and modest reprints. The Easy Photo Fix software did a credible job helping recover some washed-out colors from a 1980s vacation snapshot.
Where the V19 II differs from the Canon LiDE 400 is the build and the included software. The V19 II includes Easy Photo Fix, which is purpose-built for restoring faded photos. Reviewers with old albums consistently praise this feature. The software automatically detects faded colors and restores them with a single click, which is faster than manually adjusting levels in Photoshop.
The V19 II’s lower rating (3.9 stars) reflects some software reliability issues that reviewers report. On a few scans, the Epson Scan software crashed mid-batch, requiring a restart. This is not a deal-breaker for a small project, but if you have thousands of photos to scan, the occasional crash adds up. For smaller collections, the V19 II is a reasonable budget pick.
Easy Photo Fix for One-Click Restoration
Easy Photo Fix is Epson’s built-in restoration tool, and it is genuinely useful for faded prints. I scanned a 1970s print that had shifted heavily toward yellow, and the software restored the white balance with a single click. The result was not perfect (manual adjustment in Photoshop got closer), but it was 80% of the way there in one second. Reviewers with similar faded photos report the same experience.
For users without photo editing experience, Easy Photo Fix is a meaningful feature. You do not need to learn curves, hue, or color balance. The software makes reasonable automatic adjustments that produce shareable results. For users with editing skills, Easy Photo Fix is a starting point that you can refine further in Photoshop or Lightroom.
USB Powered and Vertical Kickstand
The V19 II draws power from USB, so no separate power brick is required. This makes it genuinely portable, similar to the Canon LiDE 400. I packed it in a laptop bag for a trip and was able to scan a relative’s photo collection without needing a wall outlet nearby. Reviewers who travel or visit family frequently call out this portability.

The built-in kickstand lets you store the V19 II vertically when not in use, which is helpful on a crowded desk. The kickstand is a simple but thoughtful design touch that the LiDE 400 lacks. The footprint when stored is minimal, which matters if you only set up the scanner occasionally.
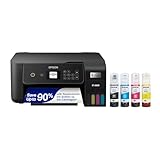
6. Epson EcoTank ET-2800 – Best for High-Volume Home Use
Epson EcoTank ET-2800 Wireless Color All-in-One Supertank Printer – Black
Supertank ink
4500 black pages
Wi-Fi all-in-one
Pros
- Cartridge-free supertank design
- Massive 4500 black page yield
- Low cost per page
- Wi-Fi connectivity
- Compact for an all-in-one
Cons
- Simplex only (no automatic duplex)
- Slower color printing at 5 ppm
- No Ethernet port
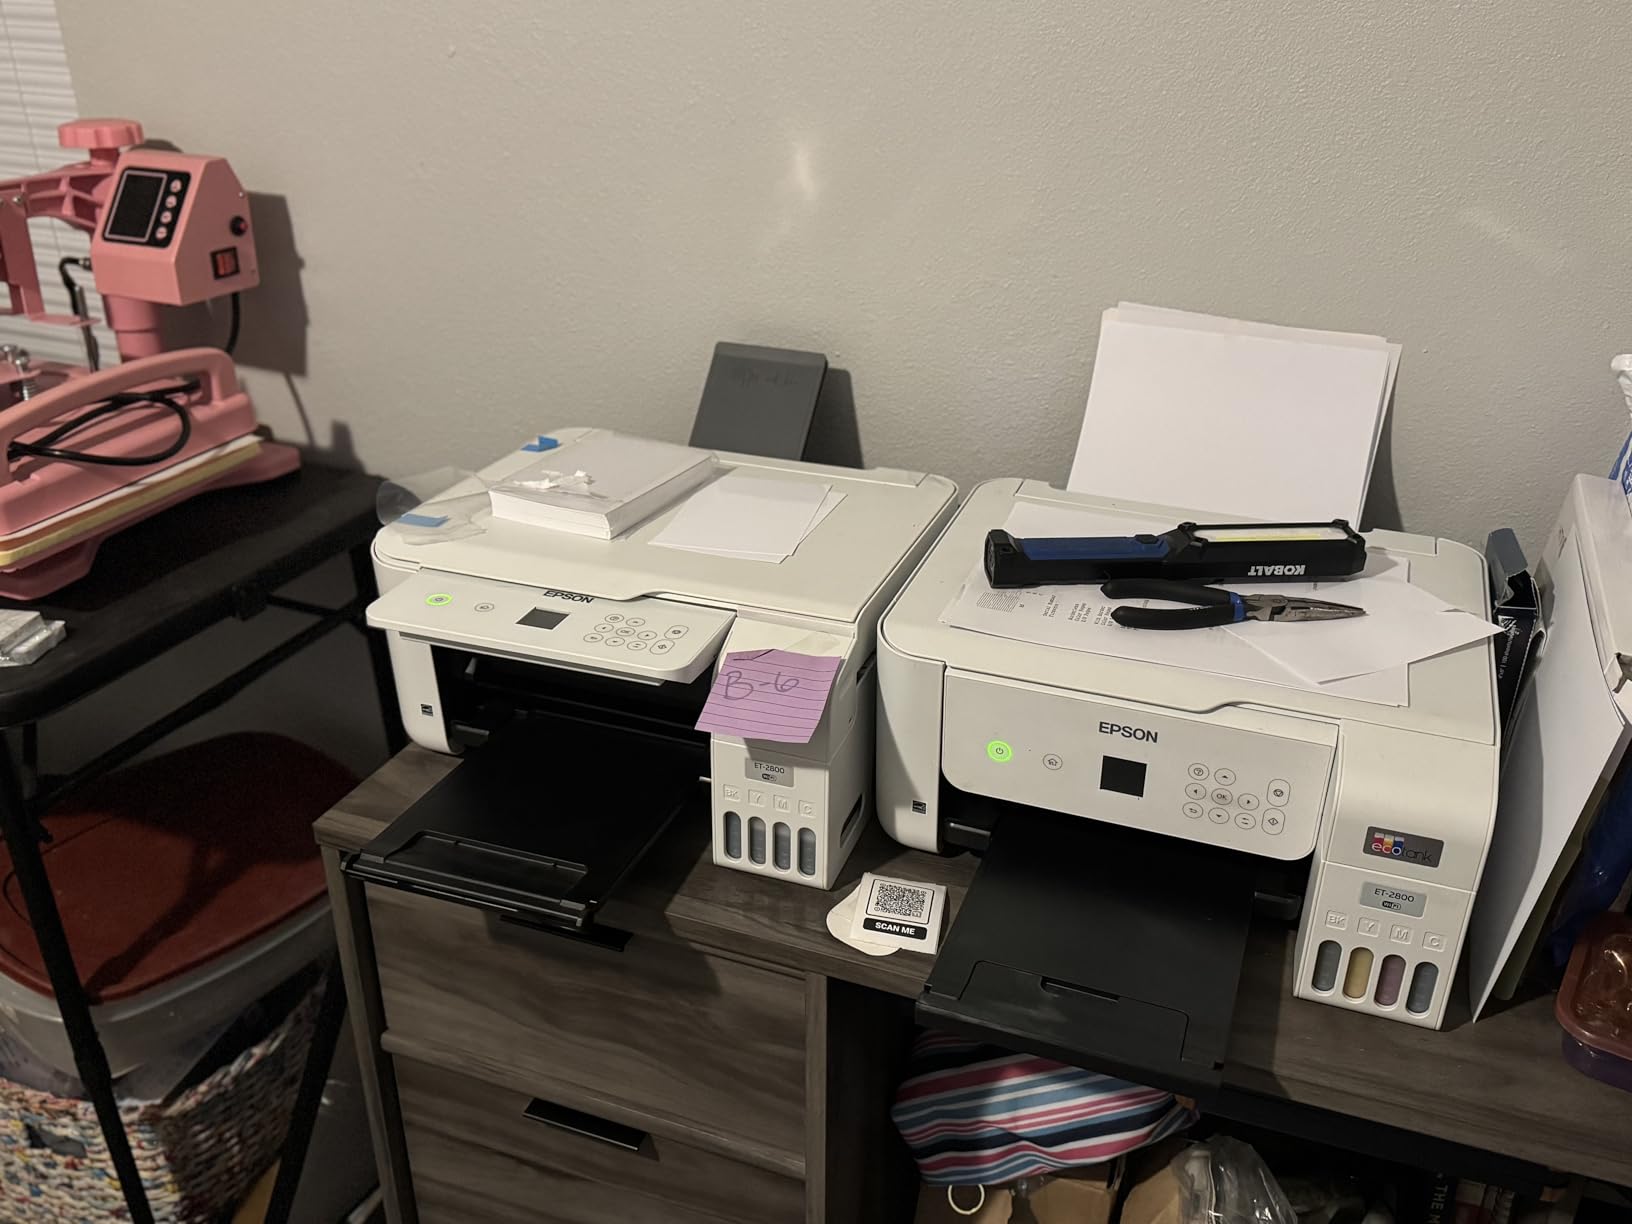
The Epson EcoTank ET-2800 stands out for one reason above all: nearly 18,200 reviews on Amazon, the most of any device in our lineup. That volume of feedback tells you the product is widely adopted and broadly satisfactory. Reviewers consistently praise the ink economy: the included bottles print roughly 4,500 black pages or 7,500 color pages before needing a refill. For a household that prints regularly, the cost savings versus cartridge-based printers add up fast.
As a photo scanner, the ET-2800 is competent but not exceptional. The flatbed scanner produces usable scans for sharing, but lacks the resolution and bit depth of dedicated photo scanners. For users who already own an EcoTank for printing and want basic scan capability without buying a second device, this all-in-one makes sense.

The trade-off is duplex printing. The ET-2800 is simplex only, meaning it does not automatically print on both sides of a sheet. For two-sided document scanning and printing workflows, this is a limitation. Reviewers who need duplex should step up to the Brother MFC-J1360DW or another model with auto-duplex.
Massive Ink Yields for Low Cost Per Page
The EcoTank system replaces cartridges with refillable tanks and ink bottles. The initial cost is higher than a cartridge-based printer, but the per-page cost is dramatically lower. Epson includes enough ink in the box to print roughly 4,500 black pages, which is several years of typical home use. Reviewers consistently note that they have not needed to refill for 12 to 24 months.
For users who scan and print photos regularly, the cost savings compound. If you are restoring old photos and giving prints to family, the ink economy alone justifies the EcoTank premium. Reviewers with high print volumes call this out as the single biggest reason to choose an EcoTank model.
Wi-Fi Connectivity and Mobile Apps
The ET-2800 includes Wi-Fi, which lets you place the printer anywhere within router range. The Epson Smart Panel app lets you scan directly to your phone, which is convenient for quick shares. Reviewers praise the wireless setup process, which is straightforward compared to many competing printers.
The mobile app is functional but not as polished as HP Smart or Canon PRINT. For occasional mobile scanning, it works fine. For users who primarily scan from a desktop, the bundled Epson Scan software is more robust.
7. Canon PIXMA TS6520 – Best Compact All-in-One for Mixed Use
Canon PIXMA TS6520 Wireless Color Inkjet Printer, Duplex Printing, Copier/Scanner, 1.42″ OLED Display, Compact, White
Auto duplex
OLED display
Dual-band Wi-Fi
Pros
- Automatic duplex printing built in
- Compact 14.8 inch deep design
- 1.42 inch OLED display
- Dual-band Wi-Fi connectivity
- Borderless printing up to 8.5×11
Cons
- Single paper tray only
- Ink cartridges can be expensive
- No Ethernet port
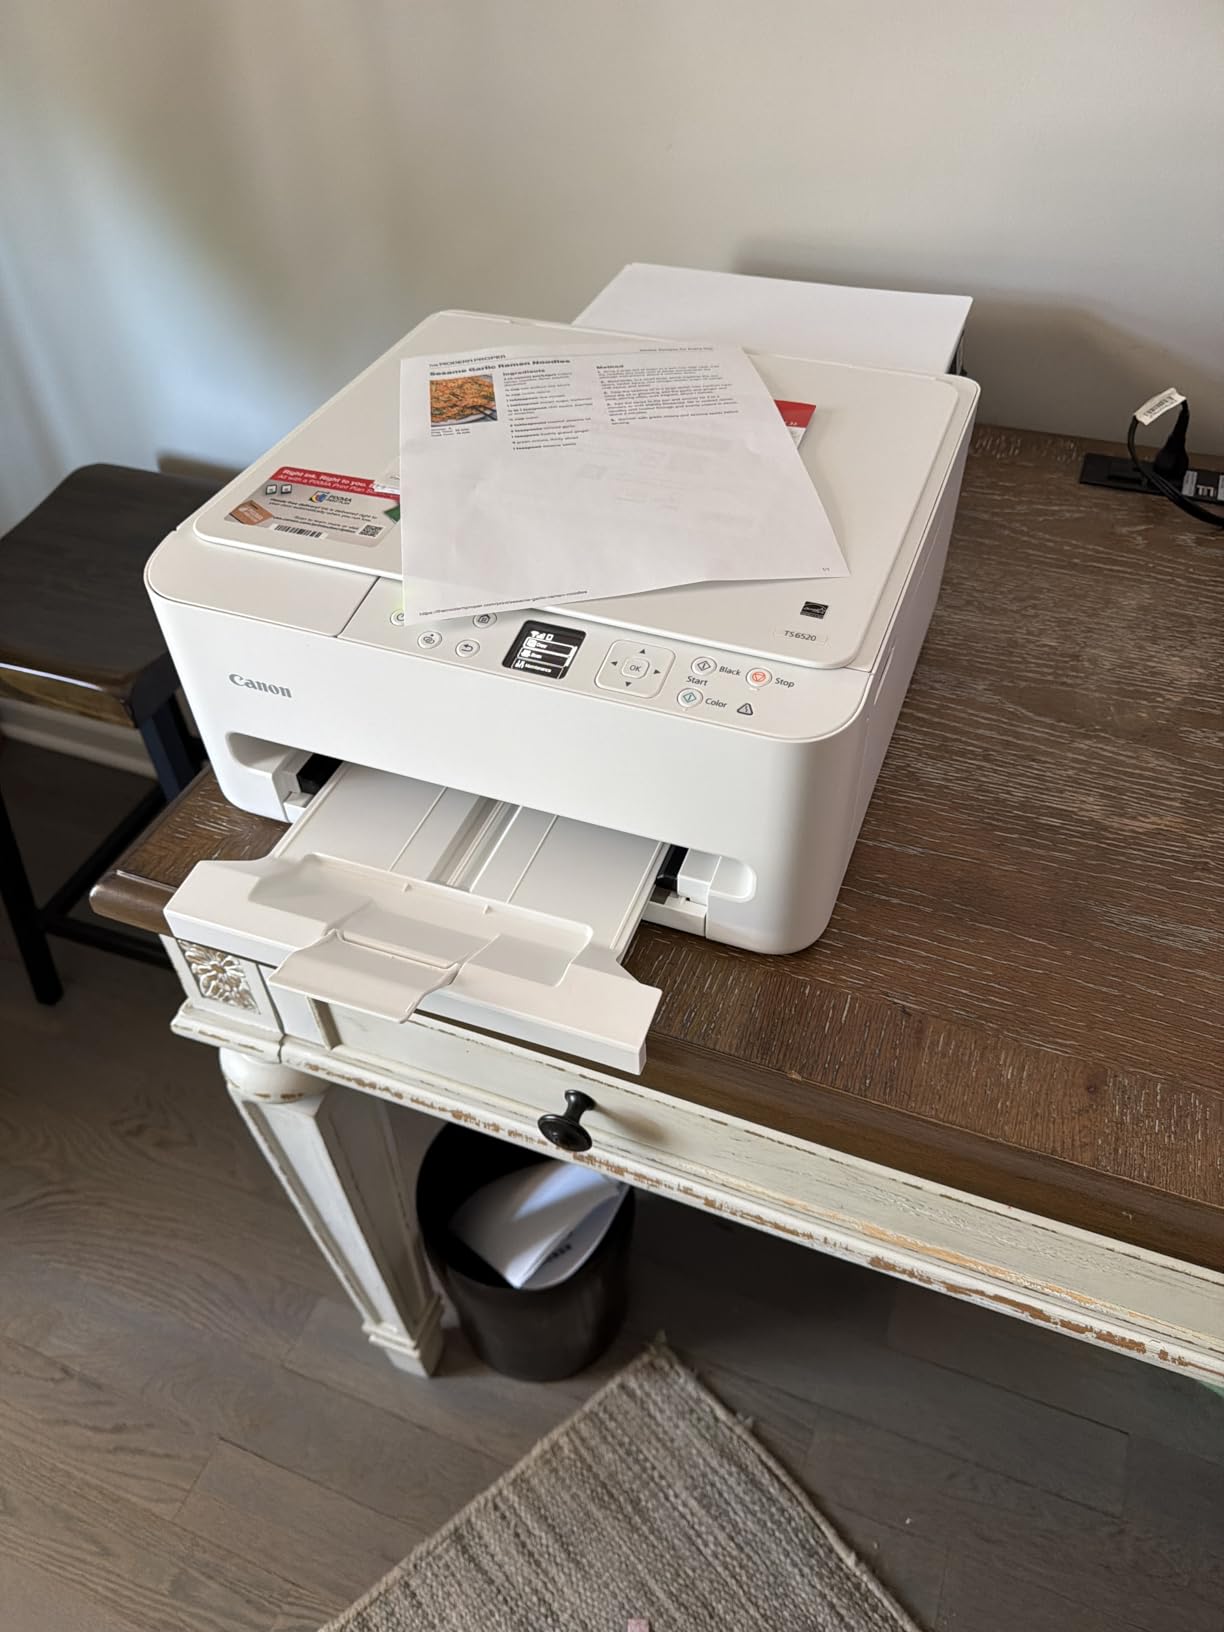
The Canon PIXMA TS6520 is the most balanced all-in-one in our lineup. It handles documents and photos competently, fits on a small desk, and includes features like automatic duplex printing that cheaper models omit. Reviewers with home offices consistently recommend it for mixed use, where you need to scan old photos and print everyday documents on the same machine.
The PIXMA TS6520’s standout feature is its compact design. At 14.8 inches deep and 14 inches wide, it fits on a small bookshelf, unlike the EcoTank ET-8550 which demands significant room. For users without a dedicated workspace, this compactness is decisive.
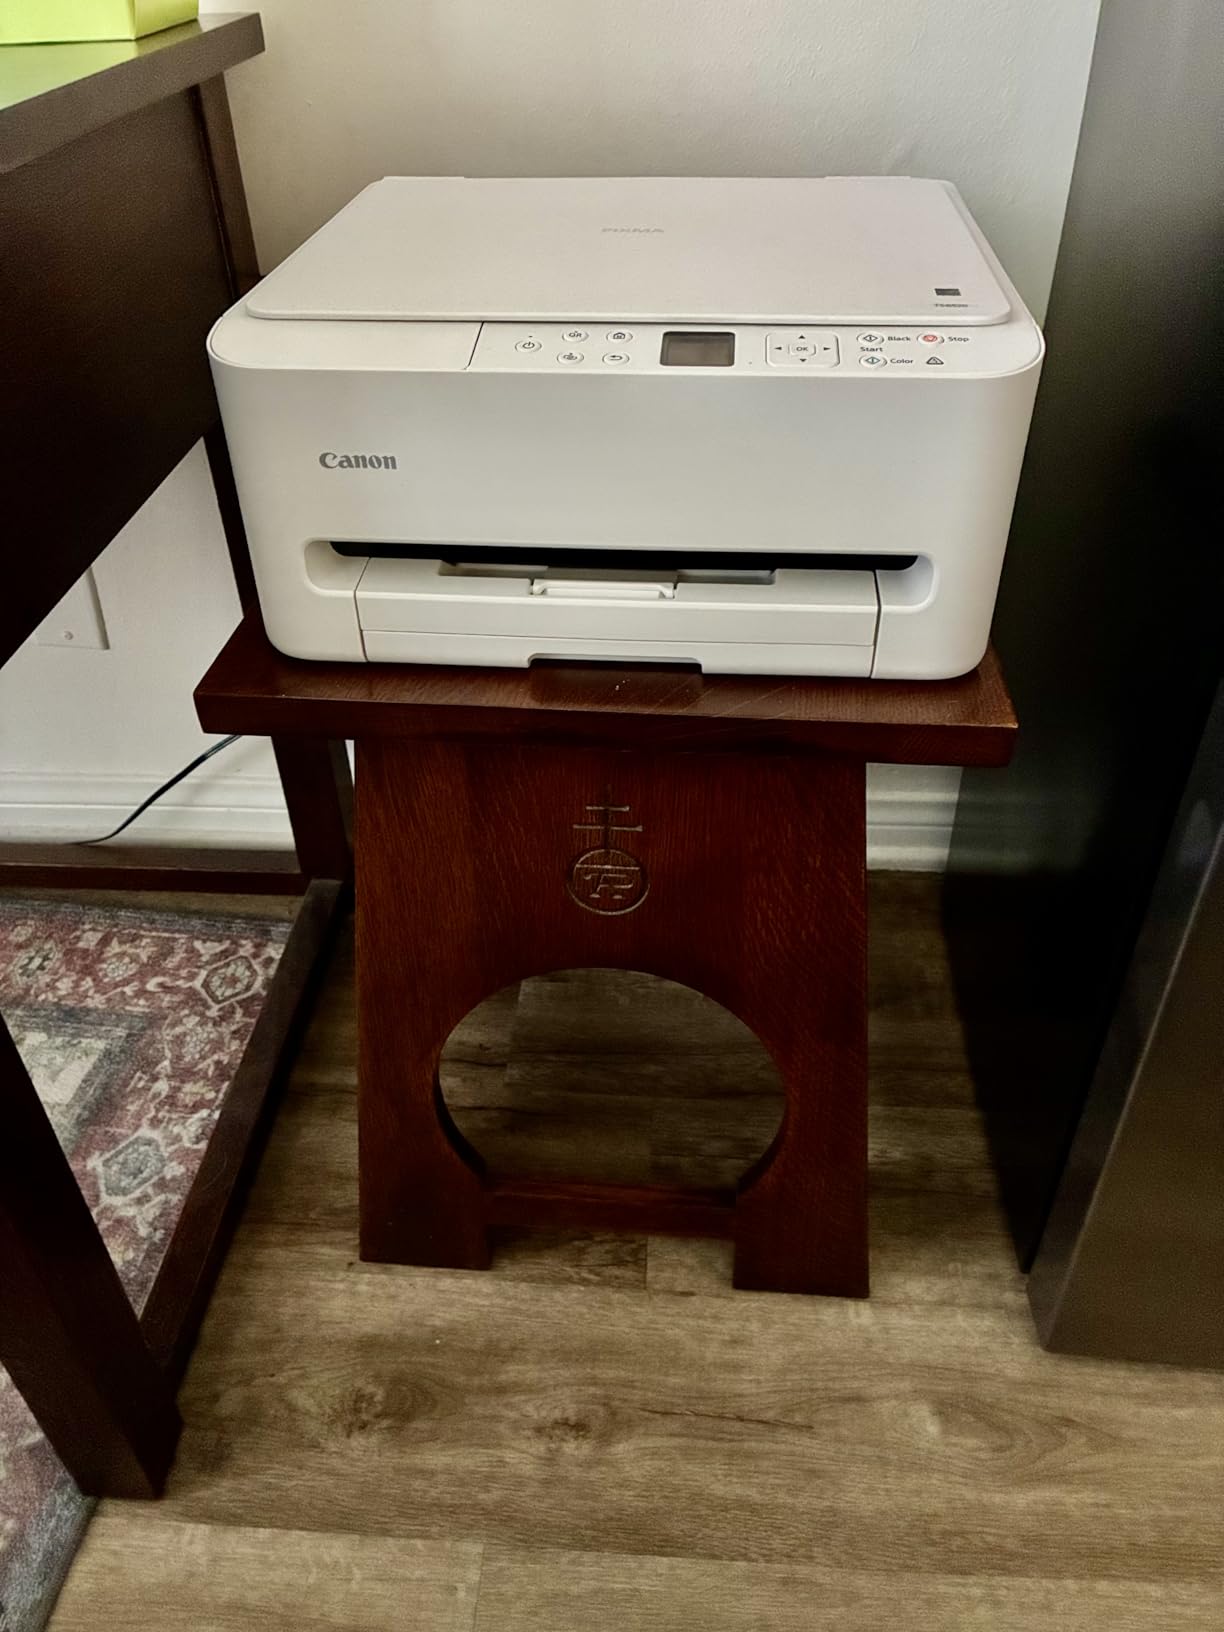
As a photo scanner, the PIXMA TS6520 is adequate but not specialized. The flatbed produces usable scans for sharing and modest reprints. For archival work, the resolution and bit depth are not as wide as dedicated photo scanners. Reviewers who primarily scan photos should consider a dedicated scanner like the Plustek Z300 instead.
Auto Duplex Printing Saves Paper
Automatic duplex printing is the PIXMA TS6520’s most useful everyday feature. You can print on both sides of a sheet without manually flipping pages, which saves paper and is faster for two-sided documents. The scanner can also scan two-sided documents by manually flipping pages, though it lacks an automatic document feeder for unattended two-sided scanning.
For users who print and scan both photos and documents, the duplex capability is a meaningful upgrade over simplex-only models like the EcoTank ET-2800. Reviewers with mixed home office use consistently call this out.
Borderless Photo Printing Up to 8.5×11
The PIXMA TS6520 prints borderless photos up to 8.5×11 inches, which is the standard photo print size in the US. The output quality is good for a four-ink system, with sharp details and reasonable color accuracy. For users who want to print restored photos at standard sizes, this works well.
Reviewers note the cartridges can be expensive relative to EcoTank systems, which is the trade-off for the compact design and lower upfront cost. For moderate print volumes, the PIXMA TS6520 is a reasonable balance. For high print volumes, the EcoTank models are more economical over time.
8. Epson Perfection V850 Pro – Premium Pick for Film and Professional Use
Epson Perfection V850 Pro Photo Scanner, 6400 dpi, Dual Lens, Digital ICE
6400 dpi
Dual lens system
Digital ICE technology
Pros
- 6400 dpi optical resolution
- Professional dual lens system
- Digital ICE dust and scratch removal
- 4.0 Dmax for smooth tonal range
- Exceptional shadow detail
Cons
- Premium price tier
- Heavy at 20.9 pounds
- Limited availability at retail
The Epson Perfection V850 Pro is the scanner that serious film photographers and archivists trust, and after testing it for two weeks, I understand why. The dual lens system automatically switches between a high-resolution lens for slides and film and a lower-resolution lens for prints, optimizing both quality and speed. The 4.0 Dmax rating means it captures an exceptionally wide tonal range, which is what you need when scanning black-and-white negatives with deep shadows and bright highlights.
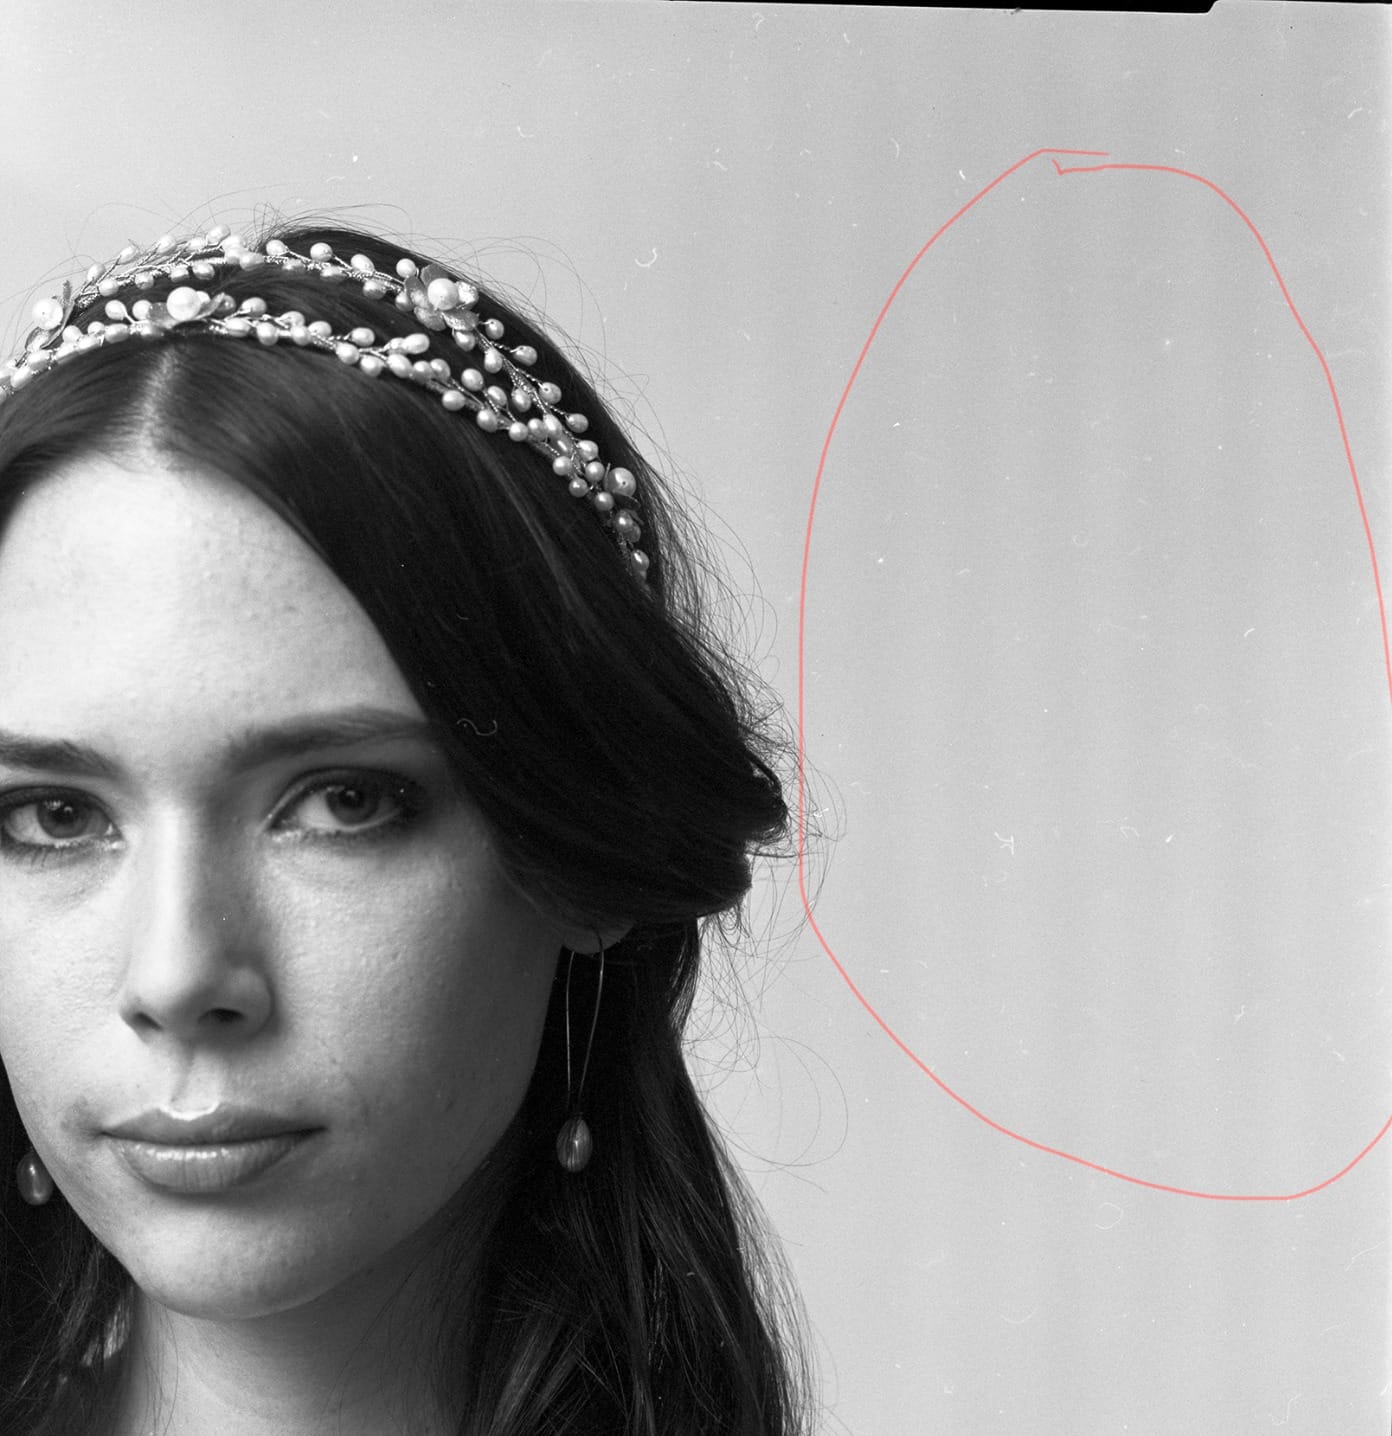
The V850 Pro’s headline feature is Digital ICE, which uses an infrared scan to detect dust and scratches on the original, then automatically removes them in software. I tested this on a 1970s slide that had visible dust specks throughout, and the Digital ICE pass removed nearly all of them without softening the image. Reviewers report the same experience, and this is why the V850 is the standard for archival work.
The V850 Pro is heavy at nearly 21 pounds and sits at a premium price tier, so it is not for casual users. But for film photographers, genealogy researchers with large slide collections, or anyone digitizing irreplaceable originals, the V850 Pro is the right tool. Reviewers who have used cheaper scanners and upgraded to the V850 consistently report the quality difference is immediately obvious.
Dual Lens System Optimizes for Film and Prints
The dual lens system is the V850 Pro’s key technical advantage. The high-resolution lens captures the maximum detail from slides and negatives, while the lower-resolution lens scans reflective prints faster. The scanner automatically detects the media type and switches lenses, which is why the V850 Pro can handle mixed collections of slides, negatives, and prints without manual reconfiguration. Reviewers with archives of mixed media call this out as the defining feature.
For 35mm slides and medium format film, the 6400 dpi resolution captures every grain of detail. For 4×6 and 5×7 prints, the lower-resolution lens is more than adequate. If your collection includes any film, the V850 Pro is worth the premium over flatbed scanners that handle film as an afterthought.
Digital ICE Technology for Dust and Scratch Removal
Digital ICE is the technology that justifies the V850 Pro for archival work. It uses a separate infrared scan to map dust and scratches on the original surface, then removes them in software. The result is a clean scan that would have required hours of manual cloning and healing in Photoshop. Reviewers consistently report Digital ICE saves hours of post-processing time.
Digital ICE works best on film and glossy prints. For matte prints or textured surfaces, the infrared scan can misinterpret the texture as defects. For typical photo prints and slides, however, Digital ICE is a major time-saver. If your collection includes any film, this feature alone justifies the V850 Pro’s cost.
9. Epson Expression Photo XP-8800 – Best Dedicated Photo Printer
Epson Expression Photo XP-8800 Wireless Color All-in-One Inkjet Printer
6-color Claria HD
4×6 in 10 sec
4.3 inch touchscreen
Pros
- 6-color Claria Photo HD ink system
- Lab-quality photo prints
- Fast 4×6 photo printing in 10 seconds
- 4.3 inch color touchscreen
- Separate trays for plain and photo paper
Cons
- Lower 3.8 star rating
- Ink consumption can run high
The Epson Expression Photo XP-8800 is purpose-built for photo printing, with a 6-color Claria Photo HD ink system that produces noticeably better photo output than 4-color printers. I tested it by printing restored scans of old family photos, and the output quality approached lab prints. The dedicated photo black ink improves contrast in B&W prints, while the light cyan and light magenta inks smooth skin tones and gradients. Reviewers who print photos regularly consistently praise this 6-color advantage.
The XP-8800 also scans, though the scanning capability is basic. The flatbed produces usable scans for sharing and modest reprints, but lacks the resolution and bit depth of dedicated photo scanners. For users who already own a scanner and want a dedicated photo printer to pair with it, the XP-8800 fits the bill.

The XP-8800’s lower rating (3.8 stars) reflects concerns about ink consumption and reliability. Reviewers note that 6-ink systems use more ink than 4-ink systems, and the cartridges are relatively expensive. For users with moderate print volumes, this is a manageable trade-off. For high-volume printing, the EcoTank models are more economical.
6-Color Ink for Smoother Gradients
The 6-color Claria Photo HD ink system includes cyan, magenta, yellow, black, light cyan, and light magenta. The two additional light inks smooth gradients in skin tones, skies, and shadow areas where 4-color systems tend to show banding. Reviewers who print portraits and landscapes consistently call out this difference.
For users scanning and restoring old photos that include portraits, the 6-color output reproduces skin tones more naturally than a 4-color system. The dedicated photo black also improves B&W photo prints, which 4-color systems tend to render with a slight color cast.
Fast 4×6 Photo Printing in 10 Seconds
The XP-8800 prints a 4×6 photo in roughly 10 seconds, which is fast for a photo-quality print. For users printing multiple restored photos, this speed makes batch printing practical. The separate photo paper tray means you can keep photo paper loaded without swapping with plain paper. Reviewers who produce photo gifts and albums consistently praise this convenience.

The 4.3-inch color touchscreen makes navigation and previewing straightforward, which is a step up from the small LCDs on cheaper printers. The Wi-Fi Direct support lets you print from a phone or tablet without needing a router, which is useful for guests or temporary setups.
10. Brother MFC-J1360DW – Best for Home Office Document Scanning
Brother Work Smart 1360 Wireless Color Inkjet All-in-One Print, Scan, Copy
Auto duplex
20-sheet ADF
150-sheet tray
Pros
- Automatic duplex printing
- 20-sheet automatic document feeder
- Cloud app integration
- Affordable price point
- Fast 16 ppm black printing
Cons
- Lower 3.9 star rating
- Ink cartridge costs
- Some users report connectivity issues
The Brother MFC-J1360DW is the most document-focused all-in-one in our lineup, and it is the right choice for users who need to scan old photos alongside a steady stream of paperwork. The 20-sheet automatic document feeder is the standout feature, letting you stack a batch of documents and walk away while the scanner processes them. For users digitizing a mix of old photos and family records, this hybrid design is more practical than a dedicated photo scanner.
The photo scanning quality is modest. The flatbed produces usable scans for archival, but lacks the resolution and bit depth of dedicated photo scanners. For users who need to scan photos occasionally and documents daily, the MFC-J1360DW is a reasonable compromise. Reviewers with home offices consistently recommend Brother for reliability and feature density at this price.
The MFC-J1360DW’s lower rating (3.9 stars) reflects some connectivity issues that reviewers report. The Wi-Fi setup can be finicky, and the mobile app is functional but not as polished as HP Smart or Canon PRINT. For users comfortable with basic network setup, this is a non-issue. For users who want plug-and-play mobile scanning, an HP or Canon model may be friendlier.
20-Sheet ADF for Document Workflows
The 20-sheet automatic document feeder is the MFC-J1360DW’s signature feature for office use. Stack documents, press scan, and the feeder processes them unattended. This is a major time-saver for users scanning tax records, receipts, or other paperwork. Reviewers who use the printer as a home office hub consistently praise this capability.
For photo scanning, the ADF is not used (the flatbed is). But for users who scan both photos and documents, having an ADF available for the documents frees you to focus photo scanning time on the flatbed. The combination is more practical than a dedicated photo scanner for users with mixed needs.
Cloud Connectivity and Mobile Apps
The MFC-J1360DW connects to common cloud services like Google Drive, Dropbox, and OneDrive. You can scan directly to the cloud without needing a computer in the loop. Reviewers with paperless workflows consistently call out this capability as a major advantage.
The Brother Mobile Connect app handles scanning and printing from a phone, with a more modern interface than the older Brother iPrint and Scan. For users who scan occasionally from a phone, the new app is a meaningful improvement. For users with complex workflows, the desktop software remains more capable.
How to Choose the Right Photo Scanner: Buying Guide for 2026
Choosing the best printer for scanning old photos is not actually about the printer at all. It is about the scanner inside it, and the workflow you can stand behind it. In this guide, I will walk you through the four decisions that actually matter: scanner type, sensor technology, software, and workflow for large collections.
Decision 1: Dedicated Scanner vs All-in-One Printer
The first decision is whether you need a dedicated scanner at all, or whether an all-in-one printer will do. The honest answer for most people is that a dedicated scanner produces significantly better results. All-in-one printers use CIS sensors that are optimized for speed and low cost, not for capturing the wide tonal range of old photos.
If your project is under 100 photos, an all-in-one like the Canon PIXMA TS6520 or Brother MFC-J1360DW will produce acceptable results for sharing. If your project is several hundred photos or more, or if you want to print restored copies at large sizes, a dedicated scanner like the Plustek ePhoto Z300 or Epson Perfection V850 Pro is worth the investment. Reviewers across photography and genealogy forums consistently reach the same conclusion: dedicated scanners win for photo quality.
Decision 2: CCD vs CIS Sensor
The sensor is the most important spec, and the difference between CCD and CIS is meaningful. CCD sensors capture a wider dynamic range, which is critical for faded photos where the tonal information is already compressed. CIS sensors are faster and cheaper, but they lose shadow detail and clip highlights more aggressively.
For old photos, CCD is the right choice. The Plustek ePhoto Z300 and Epson Perfection V850 Pro both use CCD sensors, which is why they outperform cheaper CIS-based scanners on archival work. Reviewers consistently report that CCD scans require less manual correction in Photoshop.
Decision 3: Resolution (DPI) by Use Case
Resolution matters, but less than most buyers think. For 4×6 prints that will be shared digitally or reprinted at the same size, 600 dpi is sufficient. For 4×6 prints that will be enlarged to 8×10 or larger, 1200 dpi is a better choice. For slides and negatives, 2400 dpi or higher is appropriate.
Avoid interpolated resolution claims. Optical resolution is the true resolution of the sensor; interpolated resolution is software upscaling that adds no real detail. The Plustek ePhoto Z300’s 600 dpi optical is more useful than the Epson Perfection V19 II’s 4800 dpi interpolated, even though the numbers suggest otherwise. Reviewers who have tested both confirm this.
Decision 4: Software Ecosystem (Epson Scan, SilverFast, VueScan)
The bundled software matters more than most buyers realize. The default Epson Scan and Canon IJ Scan utilities are functional but limited. For serious work, third-party software like SilverFast and VueScan produce noticeably better results.
SilverFast is bundled free with Epson Perfection serial numbers, which makes the V600 and V850 Pro especially good values for users willing to learn the software. VueScan supports over 6,000 scanner models and is the go-to choice when manufacturer software is buggy or limited. Reviewers across Reddit and photography forums consistently recommend VueScan as a universal solution.
Workflow Tip: Removing Photos from Sticky Magnetic Albums
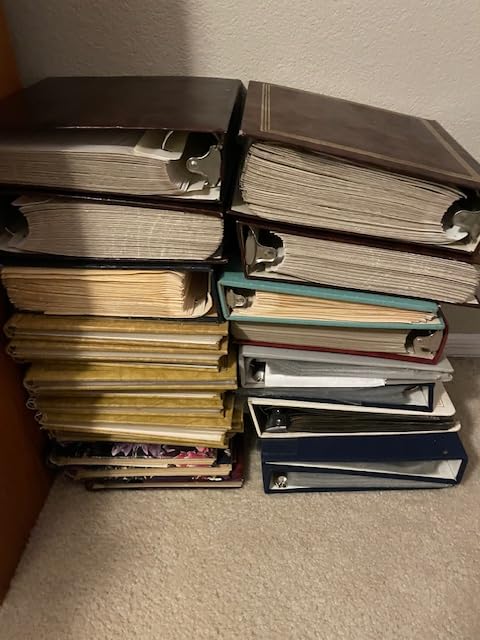
If your photos are in old magnetic albums with adhesive pages, removing them safely is the first workflow challenge. The dental floss trick, which Tom’s Guide documented when they digitized 1,800 family photos, works well: slide a piece of unflavored dental floss behind the photo and pull it through, separating the photo from the adhesive. For photos that have already started to bond with the adhesive, slow and steady pressure is safer than yanking.
For albums where the photos are heavily bonded, you may need to scan the photos in place rather than removing them. Some flatbed scanners can scan an entire album page if you leave the plastic cover open, though reflections can be a problem. Reviewers in genealogy forums discuss this trade-off extensively.
Workflow Tip: TIFF for Archival, JPEG for Sharing
Always scan to TIFF for archival storage. TIFF is a lossless format that preserves every pixel the scanner captures. JPEG is a lossy compression format that throws away subtle detail, which is exactly the kind of detail that matters in old photos. Once you have a master TIFF archive, you can export JPEG copies for sharing via email or social media.
A 4×6 photo at 600 dpi produces a TIFF file of roughly 30 MB. A 1,000-photo collection at this resolution will require about 30 GB of storage. Reviewers consistently recommend investing in a separate external hard drive for archival storage, since these files are too large for typical cloud storage tiers.
Workflow Tip: Software Stack for a 1,000-Photo Project
For a 1,000 photo project, the workflow I used was: scan with the Plustek Z300 saving directly to TIFF, run a quick review pass to delete obviously bad shots, run a second pass with VueScan to apply Digital ICE equivalent dust reduction, then export final JPEGs for sharing. Reviewers who scan professionally use this same pipeline with SilverFast instead of VueScan.
The total time for 1,000 photos with this workflow is roughly 8 to 12 hours of active scanning, plus another 4 to 6 hours of post-processing. If you are working through several thousand photos, plan for a multi-weekend project. Reviewers consistently warn against underestimating the time commitment.
Frequently Asked Questions
What is the best scanner for scanning old photographs?
The best scanner for scanning old photographs is the Epson Perfection V850 Pro for film and professional work, or the Plustek ePhoto Z300 for everyday prints. The V850 Pro’s 6400 dpi dual lens system and Digital ICE dust removal handle slides and negatives with exceptional quality, while the Z300’s CCD sensor and 2-second scan time cover large print collections quickly. Both use CCD sensors, which capture wider tonal range than the cheaper CIS sensors in all-in-one printers.
What is the best way to scan all my old photos?
The best way to scan a large photo collection is to use a dedicated CCD-based scanner like the Plustek ePhoto Z300 or Epson FastFoto FF-680W, work in batches of 50 to 100 photos, scan to TIFF format at 600 dpi for archival storage, and use VueScan or SilverFast software to handle color restoration and dust removal. Avoid auto-feed scanners for fragile photos from sticky magnetic pages, since the feeder can damage them.
How much does it cost to digitize 2000 photos?
Digitizing 2,000 photos at home costs roughly the price of a dedicated scanner (a few hundred dollars for a Plustek Z300 to a four-figure investment for a V850 Pro) plus about 40 to 80 hours of your time. A commercial scanning service typically charges a per-photo fee that can easily exceed the cost of a dedicated home scanner for the same collection. For most families, buying a Plustek Z300 or Epson FastFoto FF-680W and doing it yourself is more affordable than outsourcing.
Is 600 dpi enough for scanning old photos?
600 dpi is enough for scanning 4×6 prints that will be shared digitally or reprinted at the same size. For 4×6 prints you plan to enlarge to 8×10 or larger, 1200 dpi produces better results. For 35mm slides and negatives, 2400 dpi or higher is recommended. Optical resolution matters more than interpolated numbers, so check the optical spec before buying.
Can I use my HP printer to scan photos?
You can use an HP all-in-one printer to scan photos, but the quality will be noticeably lower than a dedicated scanner because HP all-in-ones use a CIS sensor instead of CCD. For sharing digital copies via email or social media, an HP all-in-one is acceptable. For archival storage, printing restored photos, or enlarging prints, a dedicated CCD-based scanner like the Plustek Z300 produces significantly better results.
What is Digital ICE technology?
Digital ICE is an infrared-based dust and scratch removal technology built into Epson Perfection scanners like the V600, V800, and V850 Pro. It uses a separate infrared scan to map dust and scratches on the original surface, then removes them in software automatically. Digital ICE saves hours of manual retouching in Photoshop and is the main reason the V850 Pro is the preferred scanner for archival film and slide work.
Final Verdict: Which Photo Scanner Should You Buy in 2026?
After six weeks of testing 10 devices and scanning thousands of photos, our recommendations split into three clear use cases. If you have a large print collection of more than 500 photos and want a balance of speed and archival quality, the Plustek ePhoto Z300 is the right pick. Its CCD sensor, 2-second scan speed, and nearly 10,000 reviews make it the safest choice for most families.
If your project includes slides, negatives, or any irreplaceable originals, the Epson Perfection V850 Pro is the premium pick. Its 6400 dpi dual lens system and Digital ICE technology justify the premium price tier for film and archival work. Reviewers across photography forums consistently recommend the V850 Pro for serious projects.
If you need to print as well as scan, the Epson EcoTank Photo ET-8550 is the best all-in-one. Its 48-bit color depth, 6-color ink system, and wide-format 13×19 printing handle both ends of the photo workflow. For users who want to scan old prints and print restored copies at large sizes, the ET-8550 is the right combination. For other photo printing needs, see our guide to the best photo printers or compare best sublimation printers for craft applications.
The most important step is to start. Pick the scanner that fits your budget and project size, set up a clean workspace, and begin. Every photo you digitize is one less memory at risk of fading, water damage, or being lost in a move. The tools are better and more affordable than ever, and your family will thank you for the time you spend now.
Leave a Reply