
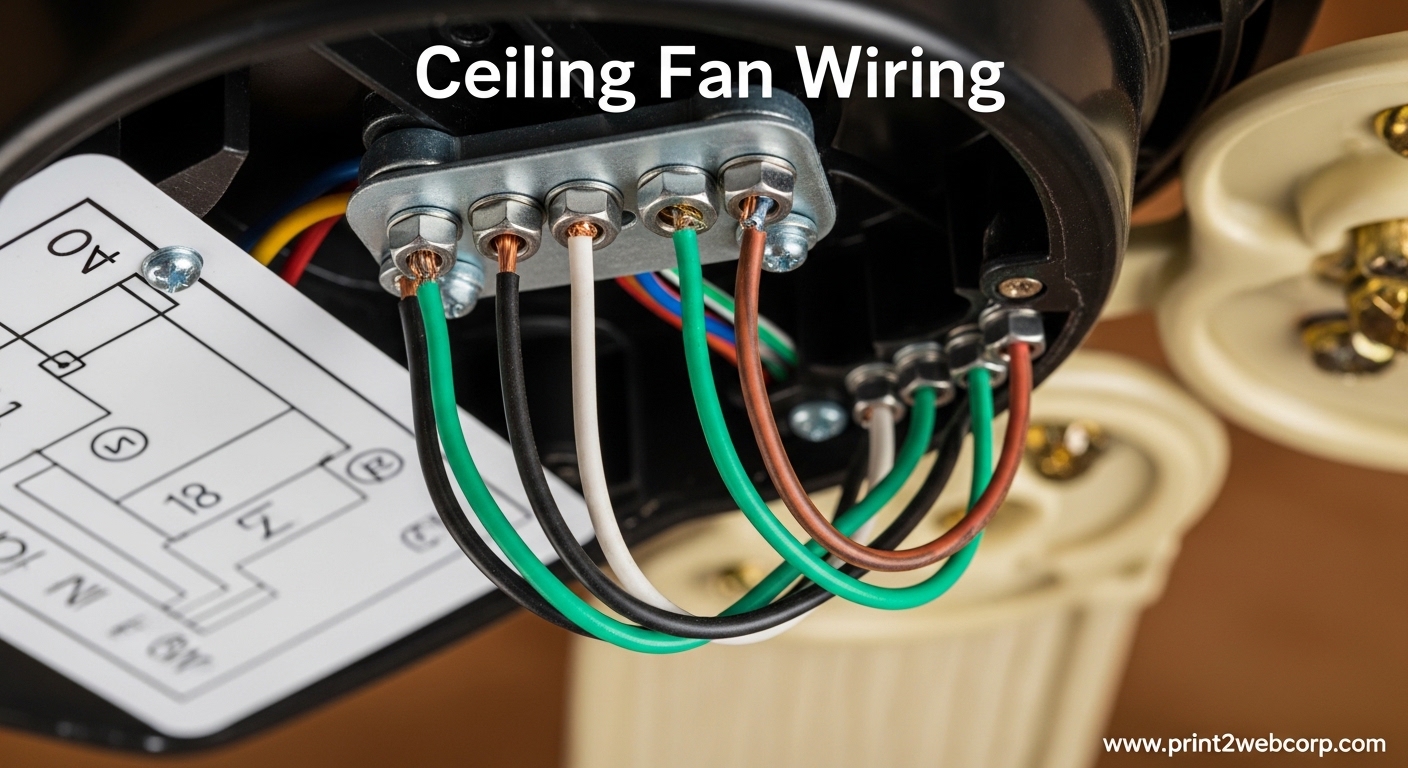
Whether you are replacing an old light fixture with a ceiling fan or installing a brand-new unit, understanding ceiling fan wiring is essential for a safe and successful installation. I have wired dozens of ceiling fans over the years, and the process becomes straightforward once you understand what each wire does and how they connect. This guide covers everything from basic wire identification to complex multi-switch configurations, so you can tackle your ceiling fan wiring project with confidence.
Ceiling fan wiring might seem intimidating at first, especially when you are staring at a bundle of colored wires coming from both your ceiling and your new fan. The good news is that residential ceiling fan wiring follows a standard color-coded system that makes the connections predictable once you know the pattern. Most homeowners can complete a basic ceiling fan wiring project in 1-2 hours with the right tools and proper safety precautions.
This comprehensive ceiling fan wiring guide will walk you through every step of the process, from identifying wire colors to testing your completed installation. I will cover the most common wiring scenarios you will encounter, including single switch setups, dual switch configurations, and remote control installations. By the end, you will have the knowledge to wire your ceiling fan correctly and safely.
CRITICAL: Read This Before You Start
Working with electricity carries serious risks including shock, injury, and fire hazards. Before beginning any ceiling fan wiring project, you must turn off power to the circuit at your electrical panel, not just at the wall switch. I always double-check that the power is off using a non-contact voltage tester before touching any wires. A simple mistake can have life-altering consequences, so take your time and verify that power is completely disconnected.
If you are uncomfortable working with electrical wiring or if your installation requires running new electrical cables, consider hiring a licensed electrician. Complex installations such as adding a new ceiling fan where no fixture existed before may require permits and should comply with local building codes. Some jurisdictions require ceiling fan installations to be performed by licensed professionals, especially when modifying existing electrical circuits. It is always better to be safe than sorry when dealing with household electricity.
Your ceiling fan must be installed on an electrical box rated to support the fan is weight and vibration. Standard light fixture boxes are not designed for ceiling fans and can fail over time, potentially causing the fan to fall. Look for an electrical box labeled “fan-rated” or ” ceiling fan rated” to ensure safe installation. If you are unsure about any aspect of your wiring project, consulting with a professional electrician is the smartest choice you can make.
What You Will Need: Tools and Materials Checklist
Essential Tools
Having the right tools makes ceiling fan wiring much easier and safer. A non-contact voltage tester is absolutely essential—I never start a wiring project without one. You will also need wire strippers for removing insulation from the ends of wires, needle-nose pliers for twisting wires together, and a screwdriver set (usually Phillips #2 and flathead). A ladder tall enough to reach your ceiling comfortably is also necessary. For most installations, a 6-foot ladder works well for standard 8-foot ceilings.
Safety Equipment
Safety glasses protect your eyes from debris when working overhead, and work gloves can prevent cuts from sharp wire ends or metal brackets. If you are working in a dim area, a headlamp can be incredibly helpful for seeing wire colors clearly while keeping both hands free. I also recommend having a flashlight nearby in case you need extra illumination in the ceiling box area.
Wire Connectors and Supplies
You will need wire connectors (commonly called wire nuts) to join the wires from your ceiling to the fan wires. Most ceiling fan installations use yellow or orange wire nuts for #14 gauge wire and red wire nuts for #12 gauge wire. Electrical tape is useful for wrapping wire nut connections as an extra safety measure. If you are installing a new ceiling fan where one did not exist before, you may need NM cable (Romex), staples, and a ceiling fan-rated electrical box.
Ceiling Fan Wiring: Understanding the Basics
Before connecting any wires, it helps to understand what each wire does in your ceiling fan wiring system. Household electrical circuits use three types of wires: hot wires that carry electricity from the panel to your fixture, neutral wires that complete the circuit back to the panel, and ground wires that provide a safe path for electricity if something goes wrong. Your ceiling fan wiring will include these three types, plus an additional wire for controlling the light kit.
The black wire in your ceiling fan wiring is the hot wire that powers the fan motor. The white wire is the neutral wire that completes the electrical circuit. The green or bare copper wire is the ground wire for safety. The blue wire (sometimes red) is the hot wire for the light kit. When you understand what each wire does, matching them up becomes much more intuitive. I have found that taking a photo of the existing wiring before disconnecting anything is incredibly helpful for reference later.
Hot Wires (Black and Red)
Hot wires carry electrical current from your panel to the fixture. In ceiling fan wiring, the black wire is the primary hot wire that powers the fan motor. If you have a red wire in your ceiling box, this is typically a second hot wire used for separate control of the light kit (in dual-switch setups). Hot wires are usually connected to brass-colored screws on switches and outlets. Always treat black and red wires as live (even after turning off the breaker) until you have verified they are de-energized with a voltage tester.
Neutral Wire (White)
The white wire is the neutral wire that provides the return path for electrical current. In ceiling fan wiring, the white wire from the fan connects to the white wire from the ceiling. Neutral wires are typically connected to silver-colored screws on switches and outlets. The neutral wire completes the circuit and allows electricity to flow safely through your fan. I always make sure neutral connections are secure, as loose neutral wires can cause flickering or intermittent operation.
Ground Wire (Green or Bare Copper)
The ground wire is a safety feature that protects you from electrical shock if something goes wrong with your ceiling fan wiring. Ground wires are either green insulated wire or bare copper wire. This wire connects to the grounding screw in your electrical box and to the fan mounting bracket. If a fault occurs, the ground wire provides a safe path for electricity to travel, tripping the breaker and protecting you from shock. I never skip the ground connection—it is a critical safety feature that could save your life.
The Blue Wire Mystery Explained
The blue wire on your ceiling fan is specifically for the light kit. This wire carries power from the ceiling to the fan is light fixture. In simple ceiling fan wiring setups, the blue wire is connected together with the black fan wire, so both the fan and light are controlled by the same switch. In more advanced setups with dual switches, the blue wire connects to a separate hot wire (often red) from the ceiling, allowing independent control of the fan and light. I have seen many DIYers confused by the blue wire, but it is simply a second hot wire dedicated to the light.
Ceiling Fan Wiring Colors: What Goes Where
The most common question I get about ceiling fan wiring is “what color wires go together?” The answer follows a standard pattern that works for most residential installations. Here is the direct answer you need for proper wire connections. Connect the white wire from the ceiling to the white wire from the fan (neutral to neutral). Connect the black wire from the ceiling to the black wire from the fan (hot to fan motor). If your fan has a light kit, connect the blue wire from the fan to the black ceiling wire OR to a separate red wire if you have dual-switch control. Connect the green or bare copper ground wire from the ceiling to the green ground wire from the fan and to the mounting bracket.
For standard single-switch ceiling fan wiring where one switch controls both fan and light, connect both the black fan wire AND the blue light wire to the black ceiling wire using a wire nut. This setup gives you power to both the fan motor and the light kit, controlled by a single wall switch (or pull chains on the fan itself). The white neutral wire connects to white, and ground connects to ground. This simple configuration works for most basic ceiling fan installations.
What if you have extra wires you do not know what to do with? If your ceiling has a red wire but you are installing a single-switch setup, simply cap off the red wire with a wire nut and do not use it. If your ceiling has only two wires (black and white) but your fan has black, white, blue, and green wires, connect the black and blue fan wires together to the black ceiling wire, white to white, and green to the grounding screw. I always recommend matching what was there before—if your old fixture worked with certain wiring, follow that same pattern for your new ceiling fan wiring.
How to Wire a Ceiling Fan: Step-by-Step Guide
Step 1: Turn Off Power at the Breaker
Before touching any wires, go to your electrical panel and flip the breaker that controls the ceiling fan circuit to the OFF position. I recommend using a circuit breaker finder or having a helper watch the light as you test breakers to identify the correct one. Once you have turned off the breaker, verify that power is truly off by using your non-contact voltage tester on each wire in the ceiling box. The tester should not light up or beep for any of the wires. This verification step is critical—never assume power is off just because you flipped a switch. I always double-check with my voltage tester before proceeding.
Step 2: Remove Existing Fixture (if applicable)
If you are replacing an existing light fixture, carefully remove it by unscrewing the mounting nuts or screws. Before disconnecting any wires, I take a photo of the existing wiring for reference. This photo has saved me multiple times when I could not remember how things were connected. Disconnect the wires by unscrewing the wire nuts and untwisting the wires. Remove the old mounting bracket unless it is a ceiling fan-rated bracket that can be reused. Inspect the electrical box to ensure it is fan-rated and securely mounted to the ceiling joist or support brace.
Step 3: Install the Mounting Bracket
Most ceiling fans come with a mounting bracket that attaches to the electrical box. Install this bracket according to the manufacturer is instructions, using the provided screws. The bracket typically has a hook or rotating ball that will support the fan motor while you complete the wiring. Make sure the bracket is securely fastened—a loose bracket can cause your fan to wobble or even fall. I always give the bracket a firm tug after installation to confirm it is solidly mounted. If the bracket feels loose, reinforce the electrical box or replace it with a fan-rated box.
Step 4: Identify and Prepare Your Wires
With the mounting bracket in place, identify all the wires in your ceiling box. You should have a black (hot) wire, a white (neutral) wire, and a green or bare copper (ground) wire. Some boxes may also have a red wire for separate light control. Using your wire strippers, strip about 3/4 inch of insulation from the ends of each wire to ensure good connections. If the wire ends are damaged or corroded, cut them back and strip fresh wire. I like to twist the strands of stranded wire together before stripping to prevent fraying. Properly prepared wires make for cleaner, more reliable connections in your ceiling fan wiring.
Step 5: Connect the Wires
Now comes the critical part of ceiling fan wiring—making the connections. Connect the white neutral wire from the ceiling to the white wire from the fan. Twist them together clockwise using needle-nose pliers, then secure with a wire nut. Next, connect the ground wire from the ceiling to the green or bare ground wire from the fan AND to the grounding screw on the mounting bracket. Ground connections are essential for safety, so take your time with this step.
For the hot wire connections, your setup depends on your wiring configuration. For a basic single-switch setup, connect both the black fan wire AND the blue light wire to the black ceiling wire using a wire nut. For dual-switch setups, connect the black fan wire to the black ceiling wire and the blue light wire to the red ceiling wire. Twist each connection clockwise with pliers before applying the wire nut. After securing all connections, I wrap each wire nut with electrical tape for extra security and gently tug on each wire to ensure the connections are solid.
Step 6: Install the Fan and Canopy
With all wiring connections complete, carefully tuck the wires into the electrical box. There should not be any pinched wires or tension on the connections. Most fans have a hook on the mounting bracket that allows you to hang the fan motor while you complete the installation. Lift the fan motor onto the bracket and secure it according to the manufacturer is instructions—this usually involves screws or a locking mechanism. Install the canopy (the decorative cover) over the mounting bracket to hide the wires and electrical box. The canopy should fit snugly against the ceiling with no gaps.
Step 7: Restore Power and Test
Before attaching fan blades or light kits, it is smart to test the ceiling fan wiring first. Go to the electrical panel and turn the breaker back on. Return to the fan and use the wall switch (or pull chain) to test the fan motor. The fan should start running on low speed. If you have a light kit installed, test that as well. Listen for any unusual sounds and observe the fan for proper operation. If everything works correctly, turn the power back off at the breaker to complete the installation of fan blades and light kit. If the fan does not work, turn off the power and double-check your wire connections—most problems are due to loose or incorrect connections.
Ceiling Fan Wiring Diagrams: Common Configurations
Configuration 1: 2-Wire Setup (Fan Only)
The simplest ceiling fan wiring configuration involves just two wires from the ceiling: black (hot) and white (neutral). This setup is common when replacing a simple light fixture with a ceiling fan. Connect the black ceiling wire to both the black fan motor wire AND the blue light wire (if your fan has lights). Connect white to white, and connect the ground wire to the fan ground wire and mounting bracket. With this setup, both the fan and light are controlled by the single wall switch, or you can use the pull chains on the fan itself for independent control. This is the most straightforward ceiling fan wiring scenario and perfect for beginners.
Configuration 2: 3-Wire Setup (Fan with Light Kit)
A 3-wire ceiling fan wiring setup includes black, white, and ground wires from the ceiling, plus the fan is black, white, blue, and ground wires. Connect white to white, ground to ground (and bracket), and then connect both the black fan wire AND the blue light wire to the black ceiling wire. This configuration allows both the fan motor and light kit to receive power from the same circuit. The wall switch controls power to the entire unit, while the pull chains on the fan allow you to control the fan speed and light independently. I have installed many fans with this configuration—it works well for rooms where you typically want both fan and light on together.
Configuration 3: 4-Wire Setup (Separate Fan and Light Switches)
This advanced ceiling fan wiring configuration provides independent control of the fan and light using separate wall switches. Your ceiling box will have four wires: black (fan hot), red (light hot), white (neutral), and ground. Connect the black fan wire to the black ceiling wire, the blue light wire to the red ceiling wire, white to white, and ground to ground. With this setup, one switch controls the fan and another switch controls the light, giving you maximum flexibility. This configuration requires two-gang wiring (two switches in one box) and is common in bedrooms and living rooms where you might want the light on without the fan, or vice versa.
Configuration 4: Remote Control Receiver Wiring
Modern ceiling fans often include remote control receivers that install in the fan canopy. For ceiling fan wiring with a remote receiver, the connections are slightly different. First, connect the ceiling wires to the INPUT side of the receiver: black to black (hot), white to white (neutral), and ground to ground. Then connect the OUTPUT side of the receiver to the fan wires: receiver black to fan black, receiver white to fan white, receiver blue to fan blue. The ground wire from the fan connects to the bracket along with the ceiling ground. The receiver controls both fan speed and light functions, so wall switches should be left in the ON position for the remote to work properly. I recommend labeling the wall switch “leave on for remote” to avoid confusion.
Configuration 5: No Switch (Pull Chain Only)
In some installations, particularly in older homes, ceiling fan wiring may not include a wall switch at all. The ceiling box has constant power, and all control is through pull chains on the fan itself. For this setup, connect black ceiling wire to both black fan wire AND blue light wire, white to white, and ground to ground. The fan and light are controlled exclusively by the pull chains—no wall switch is involved. While this simple setup works, I always recommend adding a wall switch if possible for convenience and safety. A wall switch allows you to turn off power to the fan completely, which is important when cleaning fan blades or changing bulbs.
Common Ceiling Fan Wiring Mistakes (and How to Fix Them)
After reviewing hundreds of forum posts from DIYers struggling with ceiling fan wiring, I have identified the most common mistakes that lead to problems. The number one mistake is not turning off power completely before starting work. Always shut off the breaker, not just the wall switch. I have heard stories of people turning off the switch but getting shocked because someone else flipped it back on. Another frequent error is mixing up the black and white wires—remember, black is hot, white is neutral. Reversed polarity can damage your fan and create a shock hazard.
Loose wire connections are another common cause of problems in ceiling fan wiring. Wires must be twisted together tightly before applying the wire nut. I always give each wire a gentle tug after securing the nut to ensure it is tight. Using the wrong size wire nut can also cause problems—make sure your wire nuts are rated for the gauge and number of wires you are connecting. Yellow or orange wire nuts work for most household wiring, but larger wire nuts may be needed when connecting multiple wires.
Forgetting the ground connection is a mistake I see too often. The ground wire is not optional—it is a critical safety feature. Always connect the ground wire from the ceiling to the fan ground wire AND to the grounding screw on the mounting bracket. Overloading the electrical box is another issue—trying to cram too many wires into a small box can cause connections to come loose. Make sure your electrical box is large enough for all the wires, and do not force the canopy on if the wires are too bunched up.
Troubleshooting: What to Do When Your Fan Will Not Work
Fan Will Not Turn On
If your ceiling fan will not turn on after completing the wiring, start by checking the breaker. Make sure it is firmly in the ON position and has not tripped. Next, verify that the wall switch is working properly. If you have a multimeter or voltage tester, check for power at the ceiling box—the black wire should show voltage when the switch is on. If there is no power, the problem is in your household wiring, not the fan itself. If there IS power at the ceiling but the fan still will not run, turn off the breaker and check all your wire connections. Loose or incorrect connections are the most common cause of non-working fans in ceiling fan wiring projects.
Light Kit Not Working
When the fan motor works but the light does not, the problem is usually with the blue wire connection. Turn off power and check that the blue wire from the fan is properly connected to the power source (either the black ceiling wire for single-switch setups, or the red wire for dual-switch setups). If your fan has a remote receiver, verify that the receiver blue wire is connected to the fan blue wire. Also check the light bulbs themselves to make sure they are properly seated and not burned out. I have seen many cases where the only problem was a loose bulb, not a wiring issue.
Fan Works But Light Does not
This scenario usually indicates that the blue wire is not receiving power. In single-switch setups, both the black fan wire and blue light wire should be connected to the black ceiling wire. If the blue wire is not connected, the fan will run but the light will not work. In dual-switch setups, make sure the red wire (light switch) has power and is properly connected to the blue fan wire. For remote-controlled fans, check that the receiver is installed correctly and that the wall switch is left in the ON position. I also recommend checking the light switch itself—faulty switches are a common cause of this problem.
Unusual Noises or Wobbling
While unusual noises are usually mechanical rather than electrical issues, they can sometimes indicate a wiring problem. A humming sound that occurs even when the fan is off suggests a wiring issue or defective capacitor. Clicking or buzzing sounds may indicate a loose wire connection inside the fan canopy. Wobbling is typically due to unbalanced blades or improper mounting, not ceiling fan wiring issues. However, excessive vibration can loosen wire connections over time, so if you notice wobbling, address it promptly to prevent future wiring problems. Always turn off power before inspecting the wiring inside the fan canopy.
Frequently Asked Questions
What color wires go together on a ceiling fan?
White connects to white (neutral), black connects to black (hot for fan motor), blue connects to black or red (hot for light kit), and green or bare copper connects to green or bare copper (ground). For single-switch setups, connect both black and blue fan wires to the black ceiling wire.
How do I wire a ceiling fan correctly?
First turn off power at the breaker. Connect white to white, green/bare ground to the grounding screw and fan ground, then connect black and blue fan wires to the black ceiling wire (or black to black and blue to red for dual-switch setups). Test connections before fully installing the fan.
Do ceiling fans require special wiring?
Most ceiling fans use standard residential wiring (14 or 12 gauge NM cable). The key requirements are a fan-rated electrical box that can support the fan is weight and vibration, proper grounding, and adequate circuit capacity. Existing light fixture wiring can often be used for ceiling fan installations.
What are the common mistakes to avoid when wiring a ceiling fan?
Common mistakes include not turning off power completely, loose wire connections, mixing up black and white wires, forgetting the ground connection, and using non-fan-rated electrical boxes. Always verify power is off with a voltage tester and double-check all connections before restoring power.
Can I install a ceiling fan with existing wiring from a light fixture?
Yes, in most cases you can use existing light fixture wiring for a ceiling fan. The ceiling box must be fan-rated to support the fan is weight. Standard wiring (black, white, ground) works for basic installations. If you want separate fan and light switches, additional wiring may be needed.
What do I do with the red wire when installing a ceiling fan?
The red wire is a second hot wire used for separate light control in dual-switch setups. If you have a single-switch setup, cap off the red wire with a wire nut and do not use it. If you want separate fan and light switches, connect the blue fan wire to the red ceiling wire.
Final Thoughts
Understanding ceiling fan wiring is a valuable skill for any homeowner. With the right tools, proper safety precautions, and a clear understanding of wire colors and connections, most DIYers can successfully install a ceiling fan in a few hours. The key is to work methodically, verify power is off before starting, and double-check all connections before restoring power. I always recommend taking photos of existing wiring before disconnecting anything—those reference photos have saved me more than once.
Remember that ceiling fan wiring follows a predictable pattern: white to white, black to black (or black and blue to black for single-switch setups), and ground to ground. The blue wire is simply the hot wire for the light kit. Once you understand this pattern, the process becomes much less intimidating. However, there is no shame in calling a professional electrician if you are unsure about any aspect of your installation. Electrical work is not worth risking your safety over.
This ceiling fan wiring guide has covered the most common scenarios you will encounter, from simple 2-wire setups to complex dual-switch configurations. By following the step-by-step instructions and avoiding the common mistakes outlined above, you should be able to complete your ceiling fan installation safely and successfully. Enjoy the comfort and energy savings that your properly installed ceiling fan will provide for years to come.
Leave a Reply