
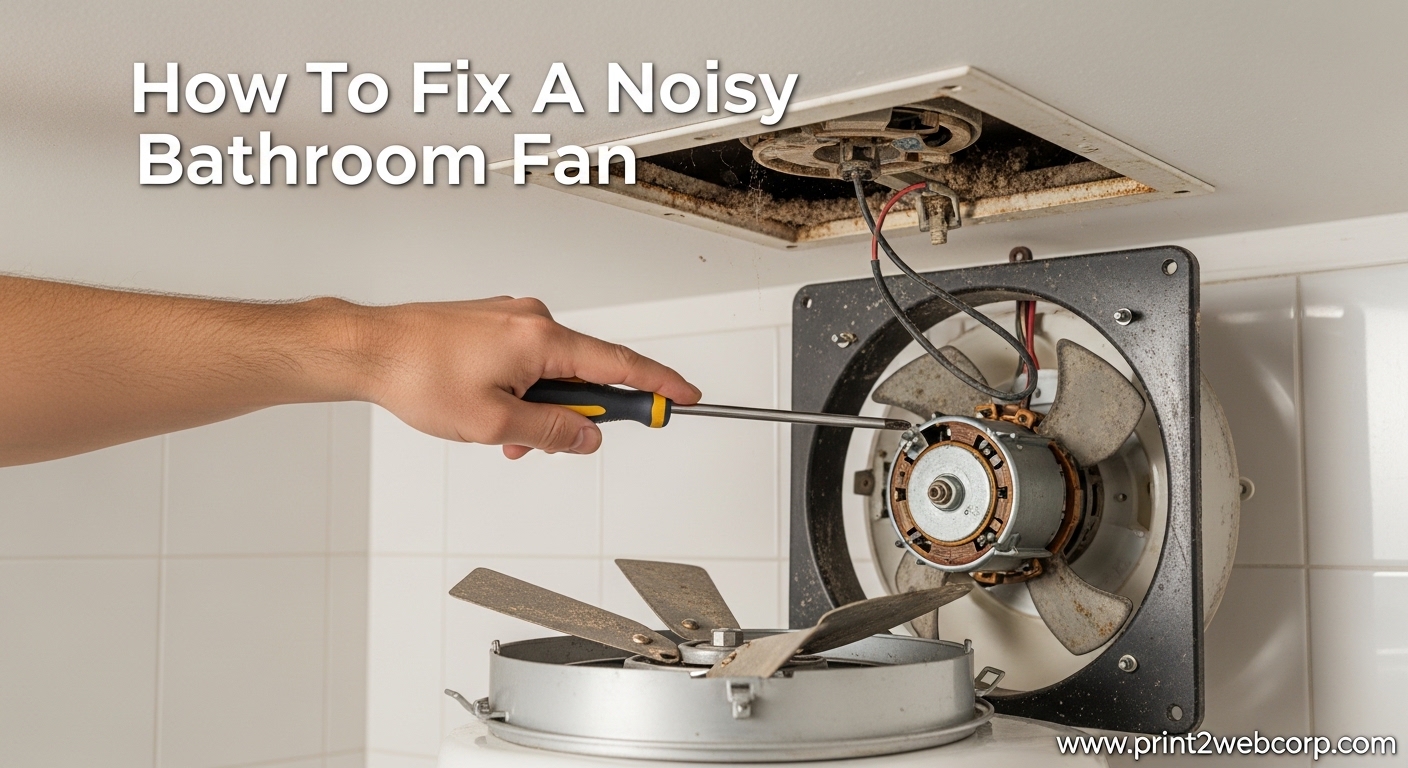
That rattling, squealing, or grinding sound coming from your bathroom fan isn’t just annoying. It’s a warning sign that your ventilation system needs attention before bigger problems develop. Learning how to fix a noisy bathroom fan can save you money on repairs and prevent moisture damage in your home.
Most bathroom fan noises have simple fixes you can handle yourself in under an hour. Dust buildup, lack of lubrication, and loose parts cause the majority of issues. I’ve helped homeowners troubleshoot dozens of bathroom exhaust fans over the years, and cleaning alone resolves about 80% of noise problems.
This guide will walk you through diagnosing the specific type of noise your fan is making and provide step-by-step instructions for the most effective fixes. You’ll also learn when a repair makes sense versus when it’s time to replace the unit entirely.
Safety First: Turn Off Power
Before you touch any part of your bathroom fan, you must cut power to the circuit. Bathroom exhaust fans are hardwired into your home’s electrical system, and working on a live fixture is extremely dangerous.
Go to your electrical panel and flip the breaker that controls your bathroom circuit. If you’re unsure which breaker it is, turn off the main breaker or use a circuit tester to verify the power is off at the fan location. Never rely solely on the wall switch, as someone could accidentally flip it back on while you’re working.
Take two minutes to confirm the power is truly off before proceeding. This is the most important step in the entire process.
Tools and Materials You’ll Need
Gathering these items before you start will make the job go smoothly:
- Screwdriver set – Both Phillips and flathead
- Step ladder – To reach the ceiling fan safely
- Vacuum with hose attachment – For removing dust buildup
- Soft brush or old toothbrush – For scrubbing blades
- Compressed air can – Optional, for hard-to-reach areas
- 3-in-One household oil or silicone lubricant – NOT WD-40
- Clean cloths or paper towels – For wiping down parts
- Circuit tester – To verify power is off
What Type of Noise Is Your Fan Making?
Identifying the specific sound your bathroom fan is making will help you pinpoint the problem faster. Different noises indicate different issues:
- Squealing or squeaking – Almost always indicates dry motor bearings that need lubrication
- Grinding or metal-on-metal sounds – Usually means worn motor bearings or a failing motor
- Rattling or vibrating – Typically caused by loose housing, loose mounting screws, or debris in the blades
- Humming without airflow – The motor is running but the fan blades aren’t spinning, often due to obstructions or a broken blade connection
- Clicking – Could be a loose fan blade hitting the housing or a faulty electrical connection
Forum users on DIY and home maintenance sites frequently report that a sudden increase in noise usually points to dust buildup or a blade assembly that has loosened from the motor shaft. If the noise has developed gradually over months or years, worn bearings are the likely culprit.
Step 1: Remove and Clean the Fan Cover
The fan cover (also called a grille) is the visible part on your ceiling. Over time, it accumulates significant dust that restricts airflow and can cause the fan to work harder, creating more noise.
For spring-clip covers: Most modern bathroom fans have covers that pull straight down slightly, then release from spring clips. Pull the cover down about 2 inches, tilt it to release the clips, and lower it completely. Some models have squeeze clips on the sides that you pinch to release.
For screw-mounted covers: Older models may have visible screws holding the cover in place. Use your screwdriver to remove them, taking care not to drop the screws as you remove the cover.
Once the cover is down, wash it in warm soapy water and let it dry completely. While it dries, you can proceed to cleaning the fan itself. A clean cover alone can make a surprising difference in noise level and airflow.
Step 2: Clean the Fan Blades and Motor Housing
This is where most of the noise-causing problems hide. Dust buildup on the blades throws them off balance, creating vibration and noise. Dust on the motor housing can cause overheating and strain the motor.
Use your vacuum with the brush attachment to remove loose dust from the fan blades and the motor housing. For stubborn buildup, use a soft brush or old toothbrush to gently scrub the blades while vacuuming up the dislodged dust.
Pay special attention to the area where the blades connect to the motor shaft. Dust tends to accumulate here and can cause the blades to slip or wobble. A compressed air can helps blow dust out of tight crevices that your vacuum can’t reach.
Reddit users in home maintenance forums consistently report that thorough cleaning resolves most squeaking and rattling noises. One user noted their fan went from sounding like a helicopter to nearly silent after a 10-minute deep clean.
Step 3: Lubricate the Motor Bearings
If cleaning didn’t solve the problem, dry motor bearings are likely the cause. Over time, the factory lubrication dries out, causing metal-on-metal contact that creates squealing or grinding noises.
Important: Do NOT use WD-40 on bathroom fan motors. WD-40 is a solvent, not a lubricant. It will clean existing grease away and provide only temporary relief before the problem returns worse than before.
Instead, use a proper lubricant like 3-in-One household oil or a silicone-based spray lubricant. These products are designed for motors and won’t damage the electrical components.
To apply the lubricant, locate the motor shaft where it enters the motor housing. Apply 2-3 drops of oil directly to the shaft where it meets the bearing. Some DIY enthusiasts recommend using a piece of wire or a coat hanger to direct the oil precisely to the bearing area. Forum users have had success with automotive products like STP oil, applied carefully with a wire applicator.
After applying the lubricant, manually spin the fan blades several times to distribute the oil throughout the bearing. Let it sit for 5-10 minutes before testing the fan.
Step 4: Check for Loose Parts and Misalignment
Vibration and rattling often come from loose components rather than the motor itself. After cleaning and lubricating, check these common problem areas:
Mounting screws: The fan housing is typically secured to the ceiling joists with screws. Over time, these can loosen from the constant vibration of the fan running. Tighten any accessible screws, being careful not to overtighten and crack the housing.
Fan blade assembly: The blade assembly attaches to the motor shaft and can become loose. Try wiggling the blades gently. If there’s play, the set screw holding the blades to the shaft may need tightening. On some models, you can simply push the blade assembly up or down on the shaft to seat it properly.
Several users on DIY forums discovered their noise problem was solved in under 2 minutes by simply pushing the motor spindle up to reseat the blade assembly. This simple fix costs nothing and takes seconds.
Housing alignment: Make sure the fan housing sits flush against the ceiling. Gaps can cause vibration and noise. If the housing has shifted, the mounting brackets may need adjustment.
Step 5: Inspect the Ductwork
Sometimes the noise isn’t coming from the fan itself but from the ductwork that carries air outside. If your bathroom exhaust duct has sharp turns, crimps, or excessive length, air turbulence can create whistling or whooshing sounds.
Visually inspect as much of the duct as you can access. Look for:
- Duct material that has collapsed or kinked
- Sharp bends that restrict airflow
- Loose connections between duct sections
- Problems with the exterior vent flap
If you suspect ductwork issues but can’t access the full run, a professional HVAC technician can inspect and repair the duct system. Properly installed ductwork should run as straight as possible with minimal turns to maximize airflow and minimize noise.
When to Repair vs. Replace Your Bathroom Fan
Not all noisy bathroom fans are worth saving. Here’s how to decide whether to repair or replace:
Repair is a good option when:
- The fan is less than 10 years old
- Cleaning and lubrication significantly reduce the noise
- The motor runs smoothly after maintenance
- The fan still moves air effectively
Replacement makes sense when:
- The motor makes grinding noises even after lubrication
- The fan is over 15 years old
- You notice reduced airflow even after cleaning
- The housing is cracked or damaged
- The motor completely fails to start
The average bathroom exhaust fan lasts 10-15 years with proper maintenance. If your fan is approaching this age and making significant noise, replacement might be more cost-effective than repeated repairs. Modern fans are also much quieter than older models, with many ultra-quiet options operating at less than 1 sone (about half the noise of a typical conversation).
Preventive Maintenance Tips
Keeping your bathroom fan running quietly requires minimal regular maintenance:
- Clean the cover monthly: A quick vacuum of the cover prevents dust buildup
- Deep clean annually: Remove the cover and clean blades thoroughly once a year
- Lubricate every 2-3 years: Apply a few drops of oil to the motor shaft as preventive maintenance
- Run longer after showers: Let the fan run 15-20 minutes after bathing to remove excess moisture
Watch for early warning signs like slight increases in noise or reduced airflow. Addressing these problems early prevents more serious damage and extends the life of your fan.
Frequently Asked Questions
How do I stop my bathroom fan from being so loud?
Start by turning off power at the breaker, then remove the cover and clean the fan blades and motor housing thoroughly with a vacuum and brush. Most noise comes from dust buildup or dry motor bearings. After cleaning, apply 2-3 drops of 3-in-One oil to the motor shaft where it enters the housing, not WD-40. Check that all mounting screws are tight and the fan blade assembly is secure on the shaft. These steps fix 80% of bathroom fan noise issues.
Can you spray WD-40 on a bathroom fan?
No, you should not use WD-40 on bathroom fan motors. WD-40 is primarily a solvent and cleaner, not a lubricant. It will temporarily reduce friction but then evaporate, leaving the bearing even drier than before. For bathroom fan motors, use a proper lubricant like 3-in-One household oil, silicone spray, or a lightweight machine oil designed for small motors. These lubricants stay in place and provide lasting protection for the bearings.
Why does my bathroom fan sound like its grinding?
A grinding noise typically indicates worn motor bearings or a failing motor. The metal-on-metal sound occurs when the bearing surfaces have degraded and are no longer spinning smoothly. Sometimes grinding can also come from a foreign object stuck in the fan blades or a blade that has become loose and is rubbing against the housing. If lubricating the motor shaft doesn’t eliminate the grinding sound, the motor may need replacement. In fans over 10 years old, replacing the entire unit is often more cost-effective than replacing just the motor.
What is the average lifespan of a bathroom exhaust fan?
The average bathroom exhaust fan lasts 10-15 years with proper maintenance. Budget models may fail sooner, around 8-10 years, while higher-quality fans from reputable brands can last 20 years or more. Regular cleaning and lubrication every 2-3 years significantly extends fan life. Signs your fan is nearing the end of its lifespan include increasing noise levels, reduced airflow, motor humming without blade movement, or the motor failing to start. If your fan is over 15 years old and making grinding noises, replacement is typically the best option.
Is a noisy bathroom fan dangerous?
A noisy bathroom fan isn’t immediately dangerous, but it indicates problems that could become hazards if ignored. The noise often means reduced ventilation efficiency, which allows moisture to accumulate and promotes mold growth. Electrical issues causing the noise could potentially create fire hazards in extreme cases. Most importantly, a failing fan may stop working completely, leading to moisture damage, poor indoor air quality, and potential structural problems in your home. Addressing fan noise promptly prevents these issues from developing into more serious problems.
Conclusion
Learning how to fix a noisy bathroom fan is a valuable DIY skill that most homeowners can handle with basic tools and an hour of time. The vast majority of fan noise issues stem from dust buildup, lack of lubrication, or loose components. All of these problems have simple solutions that don’t require professional help.
Start with the easiest fixes first: clean the cover, vacuum the blades, and apply lubricant to the motor shaft. If these steps don’t resolve the issue, check for loose mounting screws and inspect the ductwork for problems. Only consider replacement if your fan is approaching 15 years old or if the motor shows signs of serious failure.
Regular preventive maintenance keeps your fan running quietly and efficiently for years. A well-functioning bathroom fan protects your home from moisture damage, improves air quality, and prevents mold growth. The small investment of time in maintenance pays off in extended fan life and a quieter, healthier bathroom environment.
Leave a Reply