
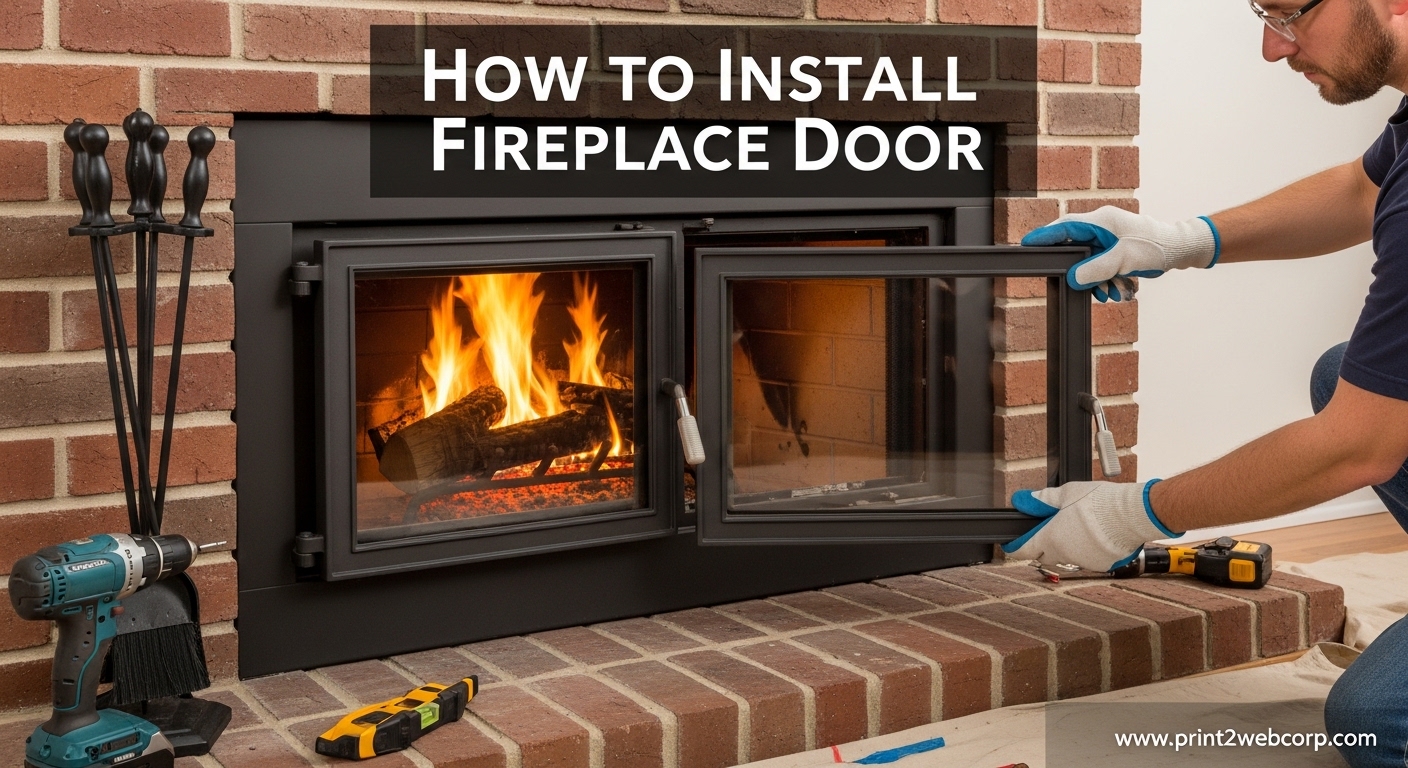
Yes, you can install fireplace doors yourself as a DIY project. Most homeowners complete the installation in 1-2 hours using basic tools like a drill, screwdriver, and level. The process is straightforward and similar to hanging a cabinet door or picture frame. I’ve installed dozens of fireplace doors over the years, and with the right preparation and patience, anyone can tackle this project successfully.
This guide on how to install fireplace door covers everything you need to know, from identifying your fireplace type to troubleshooting common issues. Whether you have a masonry brick fireplace or a prefabricated zero-clearance model, I’ll walk you through each step of the installation process.
Can You Install Fireplace Doors Yourself?
Installing fireplace doors is definitely a DIY-friendly project. Based on my experience and countless homeowner reports from forums, the difficulty level is moderate and requires only basic tools. The key is understanding your fireplace type and having the right hardware.
Most door kits come with all necessary mounting hardware and clear instructions. The main challenges involve drilling into masonry and aligning the frame properly. With careful measurement and attention to detail, you can achieve professional-looking results.
Tools and Materials Needed
Essential Tools
Before starting your fireplace door installation, gather these tools:
- Power drill – Corded or cordless with variable speed
- Masonry drill bit – 5/16 inch size for drilling into brick
- Phillips screwdriver – For tightening mounting screws
- Level – 2-foot level for checking frame alignment
- Tape measure – For accurate measurements
- Safety goggles – Essential when drilling into masonry
- Dust mask – Protect yourself from brick dust
- C-clamps – Optional but helpful for holding frame in place
- Hammer – For tapping anchors into place
- Ratchet wrench – Some models use nuts instead of screws
Materials Included with Most Door Kits
- Fireplace door frame assembly
- Glass or metal doors with hinges attached
- Lintel clamps or mounting brackets
- Lead anchors or masonry anchors
- Mounting screws (typically lag screws or sheet metal screws)
- Fiberglass insulation strip
- Installation instructions
Identifying Your Fireplace Type
Before starting installation, you need to determine whether you have a masonry fireplace or a prefabricated fireplace. This affects your installation method and the type of hardware you’ll use.
Masonry Fireplace Characteristics
Masonry fireplaces are built on-site from brick or stone. Signs you have a masonry fireplace:
- Brick or stone construction visible around the opening
- Firebox made of firebrick (yellowish bricks)
- Chimney is masonry, not metal
- Lintel bar is a steel angle iron supporting the brickwork above the opening
- Typically found in older homes (pre-1980s)
Prefabricated Fireplace Characteristics
Prefab or zero-clearance fireplaces are factory-built units installed as complete systems:
- Metal firebox with refractory panels lining the interior
- Metal chimney pipe instead of masonry
- Usually has a metal facing or surround
- More common in newer construction (post-1980s)
- Often labeled with manufacturer name like Majestic, Heatilator, or Heat & Glo
How to Install Fireplace Door: Step-by-Step Guide
Step 1: Measure Your Fireplace Opening
Accurate measurements are critical for a proper fit. Measure the width at three points (top, middle, bottom) and the height at three points (left, center, right). Use the smallest width and height measurements when selecting your door size.
Most doors fit openings up to 1/2 inch larger or smaller than the listed dimensions. If your measurements vary significantly, consider custom-sized doors or adjustable frame models.
Step 2: Prepare the Fireplace Area
Clean the fireplace face thoroughly to remove soot, dust, and debris. This ensures good contact between the frame and fireplace surface. Remove any existing doors, screens, or hardware.
Inspect the lintel bar (the steel support above the opening) for rust or damage. If the lintel is severely corroded, address this issue before proceeding with installation.
Step 3: Install the Lintel Clamps
Most fireplace doors attach to the lintel bar using clamps. Position the clamps on the lintel bar according to your kit’s instructions. Space them evenly, typically 6-8 inches from each corner.
Tighten the clamp screws just enough to hold them in place but allow for minor adjustments. The clamps will grip the lintel bar and provide attachment points for the door frame.
Step 4: Position the Door Frame
With a helper, lift the door frame assembly into position. Center it horizontally on the fireplace opening. The frame should overlap the opening evenly on both sides.
Use your level to ensure the frame is perfectly horizontal. Most frames have pre-drilled holes that align with the lintel clamps. If needed, adjust the clamp positions to match these holes.
Step 5: Mark Drilling Points (for Masonry Fireplaces)
Once the frame is positioned correctly, use your pencil to mark the drilling points through the frame’s mounting holes. These marks indicate where you’ll drill into the brick face.
For masonry installations, you’ll typically drill 4-6 holes depending on the frame size. Mark each location clearly before removing the frame.
Step 6: Drill Mounting Holes (Masonry Only)
Put on your safety goggles and dust mask. Using your 5/16 masonry drill bit, drill at each marked location. Drill perpendicular to the brick surface to a depth of about 1.75 inches.
Pro tip: Drill into the brick, not the mortar joints. Brick provides a much stronger anchor point than mortar. If your marks fall on mortar lines, adjust slightly to hit solid brick.
Clear the dust from each hole using a vacuum or compressed air. This ensures the anchors will seat properly.
Step 7: Insert Anchors (Masonry Only)
Tap the lead anchors into each drilled hole using your hammer. The anchors should sit flush with or slightly below the brick surface. Don’t force them if they don’t fit – you may need to drill slightly deeper.
Step 8: Secure the Frame
Position the frame back onto the fireplace. For masonry installations, align the frame holes with the anchors. Thread the mounting screws through the frame and into the anchors.
Tighten screws evenly, alternating sides to prevent the frame from warping. Don’t overtighten – you want the frame secure but not under stress that could crack the glass doors later.
For prefab fireplaces, use the provided sheet metal screws or self-tapping screws into the metal firebox face.
Step 9: Install the Insulation Strip
Most kits include a fiberglass insulation strip that goes behind the top of the frame. This creates a seal and prevents heat loss. Press the strip into place along the top edge before final tightening.
Step 10: Attach the Doors
With the frame secured, attach the door assemblies. Most doors use a pivot system where the top pin inserts into a receiving hole on the frame. Lower the door onto the frame, ensuring the pivot pins seat properly.
Test each door’s movement. They should open and close smoothly without binding or dragging. If needed, adjust the frame slightly or use the provided adjustment slots on the door hinges.
Step 11: Final Adjustments
Check that both doors close evenly and meet in the center. Most models have adjustable magnetic catches or latches. Position these so the doors close securely but not too tightly.
Verify the doors are level and the gap between them is consistent. Make any final adjustments to the frame or door hinges as needed.
Installing Fireplace Doors Without a Lintel Bar
Some fireplaces lack a traditional lintel bar, which can complicate installation. If your fireplace doesn’t have this steel support above the opening, you have several options:
Option 1: Surface-Mount Brackets – Some manufacturers offer brackets that screw directly into the fireplace face. These require drilling into the firebrick above the opening, which provides secure mounting without a lintel.
Option 2: Masonry Anchors – For masonry fireplaces without lintels, use heavy-duty masonry anchors drilled into the brick above the opening. Space anchors evenly and use washers to distribute the load.
Option 3: Adhesive Mounting – Some lightweight aluminum doors can be mounted using high-temperature construction adhesive. This is less secure and only suitable for decorative doors that won’t be frequently opened.
Option 4: Professional Installation – If your fireplace lacks a lintel and you’re uncomfortable with alternative mounting methods, consider hiring a professional. They can assess your specific situation and recommend the best solution.
Troubleshooting Common Installation Issues
Doors Not Closing Properly
If your doors don’t close evenly or leave gaps, check the frame alignment first. Use your level to verify the frame is horizontal. Slight frame adjustments often resolve door alignment issues.
If the frame is level but doors still don’t align properly, check the hinge mounting points. Some hinges have adjustment slots that allow minor repositioning. Loosen the hinge screws, adjust the door position, and retighten.
Gaps Between Frame and Fireplace
Small gaps are normal and will be filled with the insulation strip. However, large gaps indicate measurement or installation issues. If the gap exceeds 1/4 inch, you may need to remove the frame and reposition it.
For uneven surfaces (rough stone), use additional insulation or high-temperature caulk to fill gaps between the frame and fireplace face.
Drilling Difficulties
If your drill bit isn’t penetrating the brick, check that you’re using a masonry bit designed for brick and concrete. Standard wood or metal bits won’t work.
Apply steady pressure but don’t force the drill. Let the bit do the work. If drilling is extremely difficult, the brick may be unusually hard. In this case, try drilling in a different location or consider alternative mounting methods.
Doors Sticking or Binding
Sticking doors often result from frame warping during installation. This happens when screws are overtightened unevenly. Remove the screws, reposition the frame, and reinstall with even pressure.
Sometimes the pivot pins need lubrication. Use a high-temperature lubricant designed for fireplace applications. Never use regular grease or oil, which can create smoke and odors when the fireplace is in use.
Fireplace Door Maintenance Tips
Once installed, fireplace doors require minimal maintenance. Clean the glass regularly with fireplace glass cleaner to remove soot buildup. Avoid abrasive cleaners that can scratch the glass surface.
Check the mounting screws annually to ensure they remain tight. The expansion and contraction from heating cycles can loosen screws over time. Tighten as needed but avoid overtightening.
Lubricate door hinges and pivot points annually with high-temperature lubricant. This keeps doors operating smoothly and prevents wear on the moving parts.
Inspect the insulation seal around the frame yearly. Replace if it becomes compressed or damaged to maintain proper heat efficiency.
When to Call a Professional
While most fireplace door installations are DIY-friendly, certain situations warrant professional help:
- Your fireplace lacks a lintel bar and you’re uncomfortable with alternative mounting
- The firebox or lintel shows signs of structural damage
- You have a unique or non-standard fireplace configuration
- Previous DIY attempts have failed
- You’re unsure about your fireplace type or compatibility
Professional installation typically costs $200-400 but ensures proper fit and secure mounting. Consider this investment if you have any doubts about your ability to complete the installation safely.
Frequently Asked Questions
Can you install fireplace doors yourself?
Yes, you can install fireplace doors yourself. Most homeowners complete this DIY project in 1-2 hours using basic tools like a drill, level, and screwdriver. The process involves attaching mounting brackets to the lintel bar, securing the frame, and hanging the doors. No special skills are required beyond basic home improvement knowledge.
Can you put a door on a fireplace?
Yes, you can add doors to almost any existing fireplace. Both masonry (brick) and prefabricated fireplaces can accommodate glass doors. Standard-sized doors fit typical openings, and custom options exist for unique sizes. Adding doors improves safety, efficiency, and aesthetics.
Can you replace just the doors on a fireplace?
Yes, you can replace just the doors without replacing the entire frame. Many manufacturers sell replacement glass doors that fit existing frames. However, ensure the new doors are compatible with your specific fireplace model and frame type. Measure carefully and check manufacturer specifications before purchasing replacement doors.
How are fireplace screens attached?
Fireplace screens attach using several methods: magnetic strips that adhere to the fireplace face, tension rods that expand across the opening, hooks or brackets that mount to the lintel bar, or as free-standing screens that simply rest against the opening. Glass fireplace doors use a more permanent mounting system with screws or brackets for secure attachment.
How long does fireplace door installation take?
Most fireplace door installations take 1-2 hours for DIY installation. Masonry fireplaces may take longer due to drilling into brick. Prefabricated fireplaces typically install faster since they use self-tapping screws into metal. Having a helper can reduce installation time, especially when positioning and holding the frame in place.
Conclusion
Learning how to install fireplace door is a valuable DIY skill that saves money and improves your home’s comfort and safety. With proper tools, careful measurement, and attention to detail, you can achieve professional results in a single afternoon.
The key to success is identifying your fireplace type, following the manufacturer’s instructions, and taking your time with each step. Don’t rush the drilling and mounting process – precise installation ensures your doors operate smoothly for years to come.
If you encounter challenges beyond your comfort level, there’s no shame in calling a professional. But for most homeowners, fireplace door installation is an achievable weekend project that delivers immediate benefits in safety, efficiency, and visual appeal.
Leave a Reply