
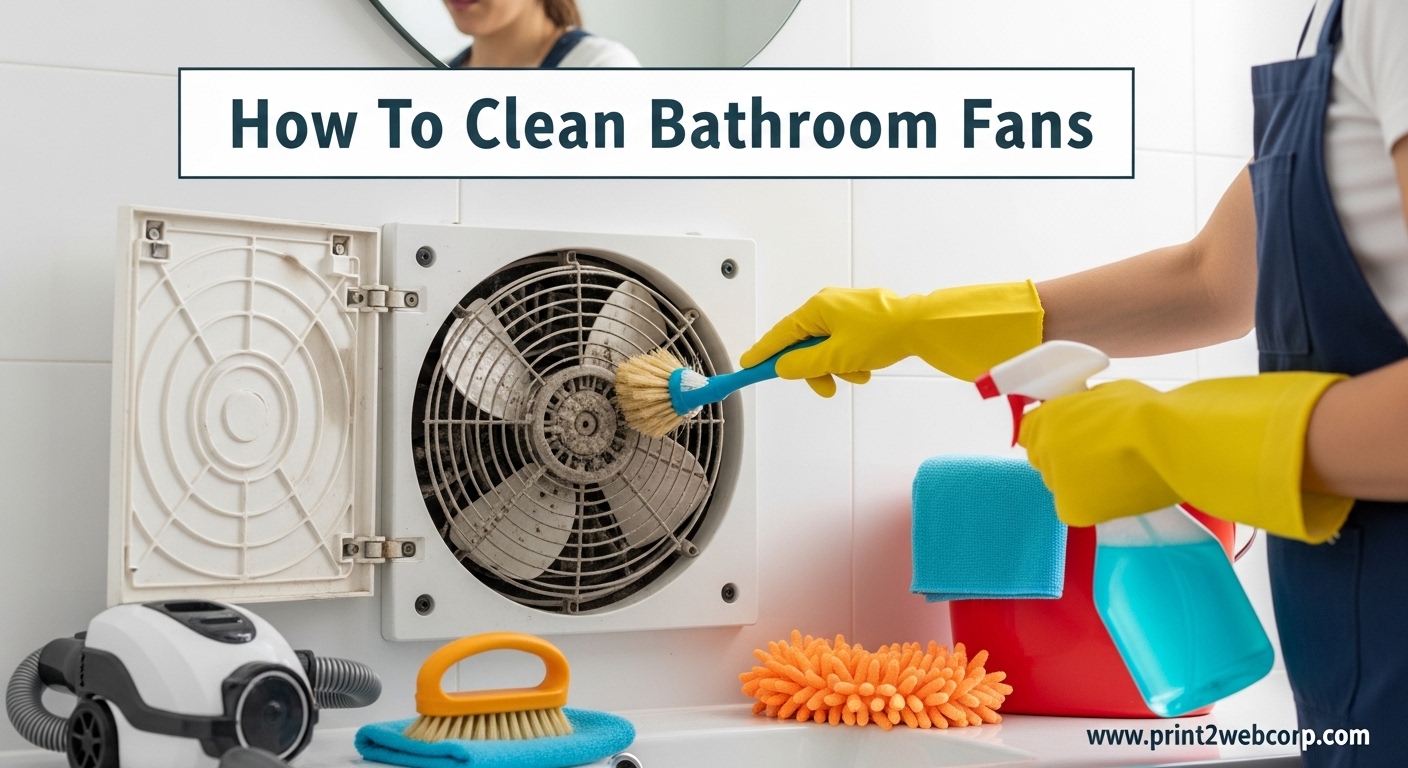
I’ll admit it – I went three years without cleaning my bathroom exhaust fan. When I finally pulled the cover off, I was shocked by the dust mountain that had accumulated. The fan had been getting progressively louder, and I assumed it was just dying. Turns out, a thick layer of dust was making the motor work overtime.
Learning how to clean bathroom fans is one of those DIY tasks that’s easy to ignore but pays off immediately. After spending 30 minutes cleaning my fan, the noise dropped dramatically and the moisture removal actually worked again. If you’ve noticed your bathroom staying steamy after showers or hearing a rattling sound from above, this guide is for you.
Why Clean Your Bathroom Fan
Your bathroom exhaust fan works hard every day, pulling moisture and odors out of the air. Over time, dust particles get sucked in and cling to the fan blades, motor housing, and vent cover. This buildup creates several problems that affect your home.
A dirty fan can’t move air effectively, which means moisture lingers after showers. This excess humidity creates the perfect environment for mold growth on walls, ceilings, and grout. I’ve seen bathrooms where peeling paint and warped drywall directly resulted from poor ventilation caused by clogged fans.
The noise factor alone should motivate you. Dust buildup unbalances the fan blades and strains the motor, creating that annoying rattling or humming sound. Cleaning often restores quiet operation without needing a replacement. Regular maintenance also extends the fan’s lifespan significantly – some homeowners report fans lasting 15+ years with proper care.
Tools and Supplies You’ll Need
The good news is you probably have everything you need already. Here’s what I gather before starting this project:
- Step stool or ladder – Safety first when reaching the ceiling
- Screwdriver – Only if your cover uses screws (many don’t)
- Vacuum with hose attachment – Essential for removing loose dust
- Soft-bristled brush or old toothbrush – For scrubbing stubborn dust
- Dish soap – Dawn works exceptionally well on greasy bathroom dust
- Microfiber cloth – For wiping down surfaces
- Warm water – In a bucket or sink for soaking
Optional items that can help: compressed air for dislodging dust from crevices, and a specialized vent cleaning brush if you have particularly stubborn buildup. I’ve also found that laying an old sheet on the floor catches falling dust and makes cleanup easier.
How To Clean Bathroom Fans: Step-by-Step Guide
Step 1: Turn Off the Power
Safety comes first. Before touching anything, locate your circuit breaker and switch off the power to the bathroom. If you’re unsure which breaker controls the bathroom, you can use the wall switch but tape it in the OFF position so no one accidentally turns it on while you’re working.
I learned this lesson the hard way when my fan unexpectedly turned on while I was cleaning the blades. Startling doesn’t begin to cover it. Taking two minutes to cut the power prevents accidents and keeps you safe.
Step 2: Remove the Vent Cover
This is where most people get stuck, but it’s usually simpler than you’d expect. Most bathroom fan covers use one of two attachment methods: spring clips or screws.
For spring-loaded covers, gently pull down on the cover to release the clips. You might need to wiggle it slightly to disengage the springs. Some models have small tabs you squeeze while pulling. Don’t force it – if it feels stuck, check for visible screws first.
Screw-mounted covers require removing the screws first (usually 2-4 around the perimeter). Keep track of these in a small bowl so they don’t disappear. Set the cover aside on your towel or sheet.
Step 3: Clean the Vent Cover
The vent cover likely has the most visible dust buildup. Take it to the sink and fill with warm water and a few drops of dish soap. Let it soak for 10-15 minutes to loosen the grime.
Use your soft brush or toothbrush to scrub the vent slots, working from both sides. Rinse thoroughly with warm water and dry with a microfiber cloth. I like to let it air dry while I clean the fan itself – this prevents water spots and ensures it’s completely dry before reinstallation.
Step 4: Vacuum the Fan Blades and Housing
Now for the satisfying part. Use your vacuum hose attachment to remove loose dust from the fan blades and motor housing. Work slowly and systematically, starting with the blades and moving to the surrounding area.
You’ll be amazed at how much dust comes off. Forum users consistently report being shocked by the amount – one redditor described it as pulling out a dust bunny the size of a small animal. Use your brush to gently dislodge stubborn dust while vacuuming, being careful not to bend the fan blades.
Step 5: Wipe Down Fan Housing and Motor
After vacuuming, dampen your microfiber cloth with warm water and give the fan housing a thorough wipe-down. Be careful around the motor – you want to remove surface dust without getting electrical components wet.
For stubborn dust that won’t vacuum off, use your brush with gentle pressure. Avoid using excessive water near the motor assembly. If you encounter grease buildup (common in bathrooms), a tiny amount of dish soap on your cloth can help, but rinse carefully.
Step 6: Reassemble and Test
Once everything is clean and dry, replace the vent cover. If it uses spring clips, align the clips with the slots and push firmly until you hear them click into place. For screw-mounted covers, reattach the screws securely but don’t overtighten.
Restore power at the circuit breaker and test the fan. You should notice immediate improvements in airflow and noise level. If the fan still seems loud or struggles to start, it might be time for a replacement rather than just cleaning.
How To Clean Bathroom Fans Without Removing the Cover
Sometimes you can’t remove the cover – maybe it’s painted in place, or the clips are broken. You can still improve performance with a partial cleaning approach.
Start by turning off the power. Use your vacuum hose to reach through the vent slots and remove as much loose dust as possible. A crevice attachment helps here. Compressed air can dislodge dust from the blades, but do this sparingly – you don’t want to push dust deeper into the ductwork.
Follow up with a vent cleaning brush designed for this purpose. These long, flexible tools reach through the slots to brush dust from the blades. Vacuum again to capture the dislodged particles.
This method isn’t as thorough as full removal, but it’s better than nothing. Plan to do it more frequently – every 3-4 months instead of annually – and consider full removal cleaning eventually when you have more time or help available.
How Often Should You Clean Your Bathroom Fan?
Most experts recommend cleaning bathroom exhaust fans every 6-12 months. If your bathroom gets heavy use or you notice it’s getting loud, clean it sooner. I set a recurring calendar reminder every 6 months to stay on top of this task.
Signs it’s time to clean: visible dust on the cover, increased fan noise, moisture lingering after showers, or a musty smell in the bathroom. Don’t wait until you see actual dust falling – by that point, the fan is working much harder than it should.
Factors that increase cleaning frequency include long hair shedding, powder-based products, and bathrooms with poor general ventilation. If you notice dust accumulating quickly in other areas of your bathroom, your fan probably needs more frequent attention too.
Special Considerations for Bathroom Fans with Lights
Many modern bathroom fans include integrated lighting, which adds a layer of complexity to cleaning. The electrical components require extra caution, and you may want to call a professional if you’re uncomfortable working around wiring.
Start by removing the light bulbs before touching anything else. This prevents breakage and gives you better access to the fan area. If the light fixture is separate from the fan housing, clean it with a dry or slightly damp cloth – avoid getting water near any electrical connections.
For fans where the light and motor are integrated, be extra careful not to disturb wiring when vacuuming or wiping down the housing. If you notice any exposed wires or damage during cleaning, stop immediately and call an electrician. Safety isn’t worth risking for a DIY cleaning project.
Frequently Asked Questions
How do you clean a dirty bathroom exhaust fan?
Turn off power at the circuit breaker, remove the vent cover (pull down for spring clips or unscrew), soak the cover in soapy water, vacuum dust from fan blades and housing, wipe down with a damp cloth, dry completely, then reassemble and restore power. The entire process takes about 30 minutes and dramatically improves fan performance.
How to take a bathroom fan cover off?
Most covers use spring clips – pull down firmly but gently on the cover to release the clips. You may need to wiggle it slightly. If pulling doesn’t work, check for screws around the perimeter and remove them first. Some models have small squeeze tabs. Never force it – if stuck, check for hidden screws or consult your fan’s manual.
How to remove caked on dust from bathroom fan?
Start by vacuuming loose dust with a hose attachment. For stubborn buildup, use a soft-bristled brush or old toothbrush to gently scrub while vacuuming. Compressed air can dislodge tough spots. For extremely caked dust, a damp cloth with mild dish soap helps – but avoid getting the motor wet. Patient, gentle pressure works better than force.
Can I spray WD-40 on a bathroom exhaust fan?
No – never spray WD-40 or any lubricant on your bathroom fan motor. WD-40 attracts dust and will make the problem worse quickly. Fan motors are sealed and don’t require lubrication. If your fan is squeaking or making noise, it’s usually due to dust buildup or worn bearings – cleaning often helps, but persistent noise means it’s time to replace the fan unit.
Why is my bathroom fan so loud even after cleaning?
If cleaning didn’t reduce the noise, the issue might be loose mounting screws, a failing motor, or worn bearings. Check that all cover screws are tight and the fan housing is secure. If the fan wobbles or makes grinding sounds, the motor or bearings are likely failing and the unit needs replacement. Bathroom fans typically last 10-15 years with proper maintenance.
Final Thoughts
Learning how to clean bathroom fans is one of the most rewarding DIY maintenance tasks. In just 30 minutes, you can transform a noisy, ineffective fan into one that quietly and efficiently removes moisture from your bathroom. The difference in air quality and noise level is immediately noticeable.
For bathrooms with persistent humidity issues, consider pairing your clean fan with dehumidifiers for controlling bathroom moisture. This combination creates a comprehensive moisture control strategy that protects your home from mold and water damage.
Set a calendar reminder for every six months and make this a regular part of your home maintenance routine. Your bathroom will stay fresher, your walls will thank you, and that annoying fan noise will become a thing of the past. Now grab your vacuum and let’s get that fan running like new again.
Leave a Reply